Ferrari 126C - GP Monaco 1981 - WIP

This is as far as I got back in 1995. The rollbar (green arrow) was way to small, and back then I didn't see how to replace it by a scratchbuilt one. Now I replaced it by metal wire, and I added some extra details (blue arrows).

But this was my real problem in 1995: I didn't know how to assemble this engine, because the instructions were very confusing. In the meantime, I lost the instructions completely! A few days ago I encountered a website with enlightning building pics!

So I was back on track! The engine is mostly built now, and I have to start painting it.

An overview of the model with chassis and engine dryfit.

And a shot of the main parts together with a jar of Tamiya paint to give you an idea of the proportions.

Another dryfit on the 'straithening bank', with the wheels on the car.

Another dryfit on the 'straithening bank', with the wheels on the car.

Drufit with the cowling mounted. Back in 1995 I fixed the decals after the complete build; that is why they are not fixed yet. Today I do this the other way around...

Drufit with the cowling mounted. Back in 1995 I fixed the decals after the complete build; that is why they are not fixed yet. Today I do this the other way around...

The cockpit has been completed with the dashboard and steering wheel. The seat belts have been improved as well.

The cockpit has been completed with the dashboard and steering wheel. The seat belts have been improved as well.

The cockpit has been completed with the dashboard and steering wheel. The seat belts have been improved as well.

The radiators have been installed, and they have been connected to the engine with solder tin.

The engine has been completed as well, put in colour and enhanced with some details.

The engine has been completed as well, put in colour and enhanced with some details.

The engine has been completed as well, put in colour and enhanced with some details.

The engine has been completed as well, put in colour and enhanced with some details.

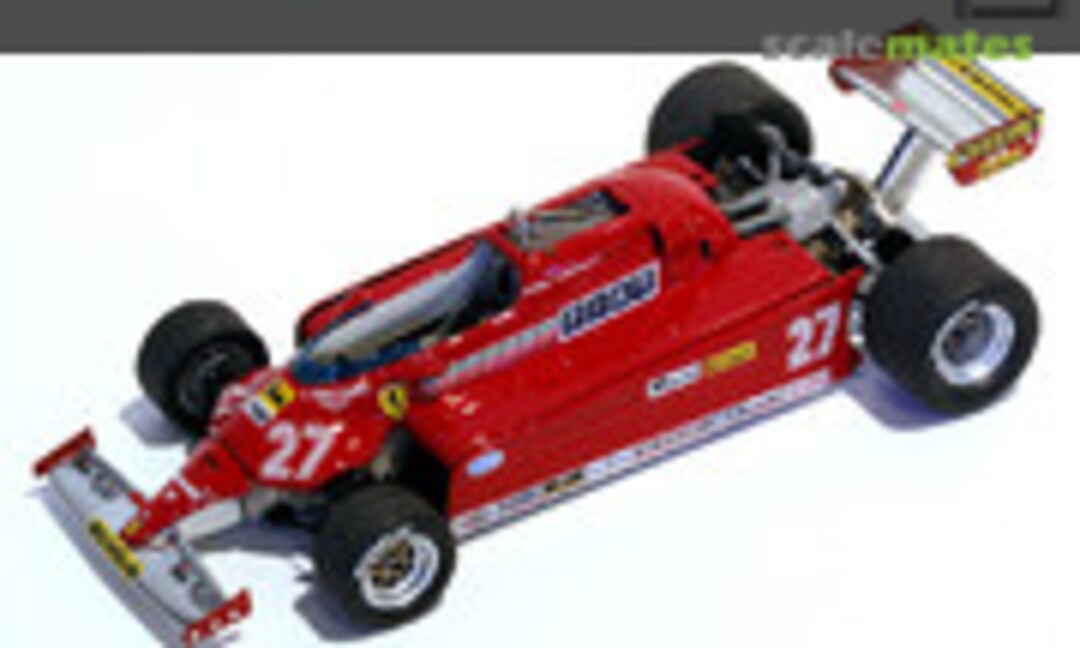
Next the engine was installed into the chassis and I did a dryfit with the wheels and cowling in place.

Here is the car dryfitted without the cowling. Some details still have to be added.

Between the gas tank and the engine are the turbo inlets which are protected by mesh wire which I tried to scratchbuild.

Close-up of the front of the Ferrari. I will add some punched bolts to the radiators later on.

Between the gas tank and the engine are the turbo inlets which are protected by mesh wire which I tried to scratchbuild.

Between the gas tank and the engine are the turbo inlets which are protected by mesh wire which I tried to scratchbuild.

Rear view of the still not completed car. Also, it's about time I put on some decals.

Total view of the still not completed car. Also, it's about time I put on some decals.

With the cowling in place, the lack of sponsoring decals is even more visible 😉

Here I added some small details like the punched bolts to the radiator fronts and the supports from the gas tank to the engine block.

Here I added some small details like the punched bolts to the radiator fronts and the supports from the gas tank to the engine block.

Before fixing the decals though, I made another picture with a jar of Tamiya paint next to the Ferrari to give an idea of the dimensions.
Коментари
16 October 2024, 21:15 -