

Lancia 037 - Rally Ypres 24 Hrs 1986 - Reference pics

Since I'm building the 1986 Ford RS200 driven by Droogmans, I kinda felt the need to bring back the Belgian rally balance by building the Lancia 037 driven by his most tough competitor Patrick Snijers.

Back in 1986, you were either a Droogmans fan or a Snijers fan...

This Arena kit is brand new. According to the instructions you can either build the 1984 Haspengouw rally winner or the 1986 24 Hrs Ypres 2nd place car.

This is not correct: in 1984 Snijers didn't drive a Lancia but a Porsche 911 SCRS. However, he did win the 1985 Haspengouw rally with this car. And in fact the decals in the kit are those of the 1985 car.

So far I've put the body in white primer and the chassis in grey primer.

Then I spraypainted the resin body with Tamiya TS-26 pure white from the rattlecan (1 coat).

On the pics there is hardly any difference to see with the white primer coat I guess.

I let the Tamiya paint dry for at least 24 hours.

Once the paint was hardened, I decided that it was time for the red areas on the car.

I had the choice between using the red decals or spray paint the red areas. Since the 'BASTOS' sponsor (Belgian cigarettes) have been printed on the side decals, I chose to use the decals.

So the first decal I set was the front decal which included the gold striping as well. The surface to cover is quite complicated and it took quite a while before I got it right. I also now noticed the (too) large front lip...

Since there is a photoetched front lip in the kit I decided to sand the resin lip away. I also set the left side decal in place.

Same procedure to the right side. This concludes the large surface decal job; now all what's left is putting on sponsors.

Before I continue putting on decals, I first fill in the unpainted areas on the car with Tamiya TS-49 bright red (small brush)

The red paint matches the red decals perfectly.

Although the paint and the decals have a different kind of gloss, this will be invisble after the whole body will be clear coated.

Once all the red areas have been painted and dry, I continue with the decal job.

In some areas I had to apply some of the photoetched parts already, since the decals have to be put on top of them.

I had to change the #6 on the rally plate, because for some weird reason Arena had printed a #2 on it, while the large numbers clearly show a #6...

The difficulty in this decalling job is to seek out where every single decal goed since the instructions only show the decal placement of the 1985 car. That's when reference pics come in handy...

The biggest challenge were the 'Texaco' logo's which are 20 separate decals in different sizes and you have to see for yourself which one goes where...

After completing the decal job, I sprayed a few clearcoats on the body.

Time to start building the engine. Here the main engine block + gearbox + exhaust.

Some of the other parts such as air filter and turbo are fixed as well.

Next I install the engine in the rear of the car.

The white metal rollcage parts are not used, I prefer to replace them by plastic rod + sheet.

Overall view of the engine bay + rollcage.

Then I add some more details to the engine, and I also install the rear suspension.

The engine bay looks busy enough, so I decide to leave it like this.

Next I fix the photoetched wheel covers to the rear of the body.

The wheel covers also cover part of the engine as you can see here.

Then I put the body on the chassis to check the fit of the engine.

No major problems here, everything looks fine.

This is how the Lancia looks up now. Next up will be the car interior.

Dryfit of the wheels.

I replaced the low profile tires from the kit by some larger spare tires.

The kit tires made the Lancia look like a go-kart...

Now the car and the wheels look ok to me.

Next I started building the cockpit.

I replaced the white metal safety roll cage parts by brass tubes, which look a lot better.

I also put a coin next to the chassis to give you an idea of the dimensions.

All I have left to do here is to paint the roll cage white, and then I can close the car up.

So that is exactly what I've done: close the car up.

Next I fixed the wheels and the windows in place, after which I put the decals on the windows.

I also fixed the front splitter, the radiator covers and the rear engine cover + taillights. I also fixed the mudflaps.

Now I could attach the model to a firm base, allowing me to fix the final trim without having to touch the car itself.
Коментари
18 August 2013, 17:00
I started the Lancia 037 Rally enabling me to have something to do whenever I need to let the Ford RS200 parts to dry...
18 August 2013, 17:07
The body and chassis have been joined together; now it's time for the final rush!
30 October 2013, 20:40
Tremendous finish and a big surprise as you compared this model with a coin. Watching the first pictures I was thinking it is a larger scale.
Very nice!
Thanks for your precise WIP comments.
Many useful hints and tips!
31 October 2013, 14:38

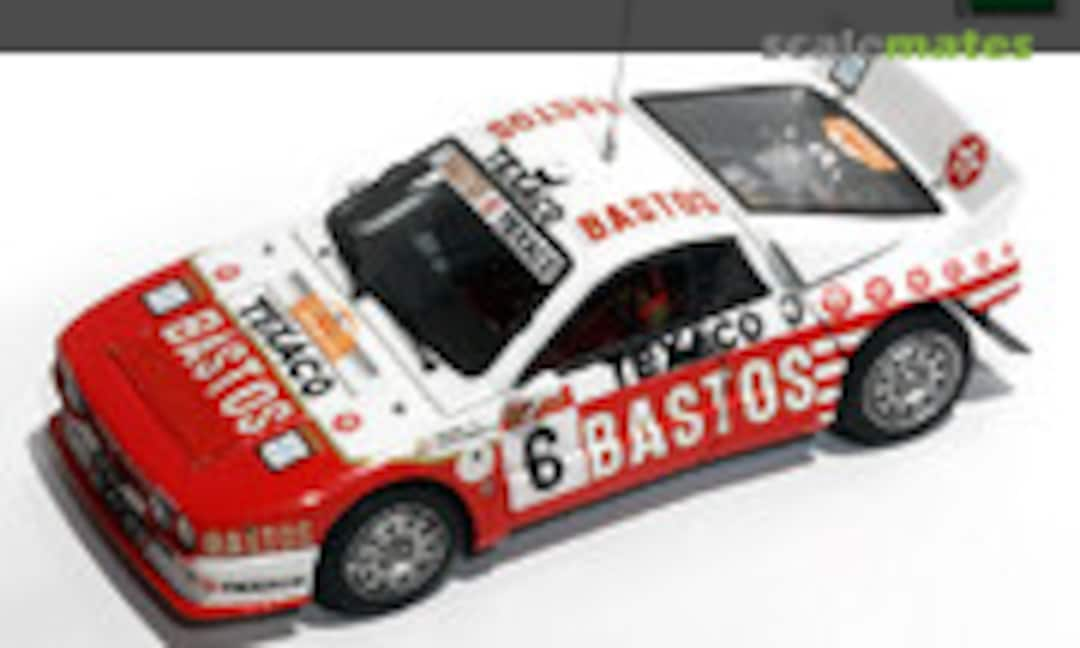
![1:43 Lancia Rally 037 [TO Y88745] "BASTOS" (Arena Modelli ARE625)](/products/img/7/1/7/208717-10911-54-t180.jpg)