

Su-35 Flanker E By Maquette tv

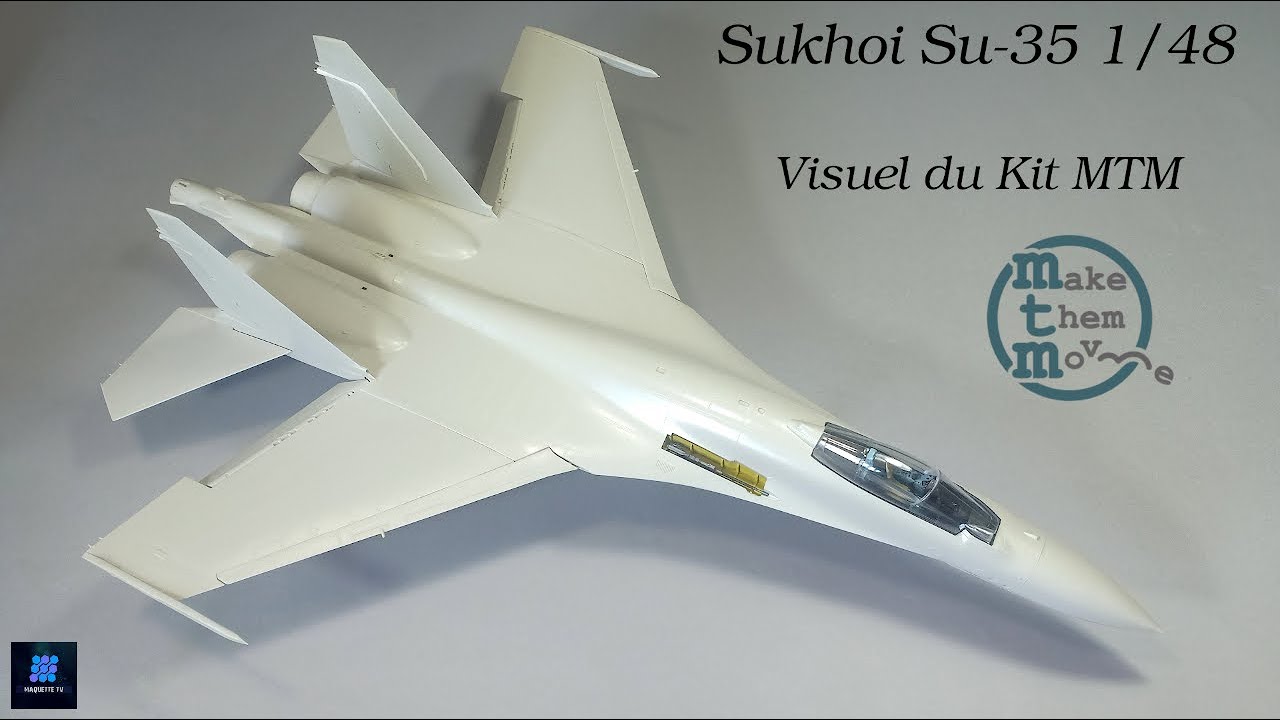
Scale model Su-35 1/48

Scale model Su-35 1/48

Scale model Su-35 1/48

Scale model Su-35 1/48

Scale model Su-35 1/48

Scale model Su-35 1/48

Scale model Su-35 1/48

Scale model Su-35 1/48

Scale model Su-35 1/48

Scale model Su-35 1/48

Scale model Su-35 1/48

Scale model Su-35 1/48

Scale model Su-35 1/48

Scale model Su-35 1/48

Scale model Su-35 1/48

Scale model Su-35 1/48

Scale model Su-35 1/48

Scale model Su-35 1/48

Scale model Su-35 1/48

Scale model Su-35 1/48

Scale model Su-35 1/48

Scale model Su-35 1/48

Scale model Su-35 1/48

Scale model Su-35 1/48

Scale model Su-35 1/48

Scale model Su-35 1/48

Scale model Su-35 1/48

Scale model Su-35 1/48

Scale model Su-35 1/48

Scale model Su-35 1/48

Scale model Su-35 1/48

Scale model Su-35 1/48

Scale model Su-35 1/48

Scale model Su-35 1/48

Scale model Su-35 1/48

Scale model Su-35 1/48

Scale model Su-35 1/48

Scale model Su-35 1/48

Scale model Su-35 1/48

Scale model Su-35 1/48

Scale model Su-35 1/48

Scale model Su-35 1/48

Scale model Su-35 1/48

Scale model Su-35 1/48

Scale model Su-35 1/48

Scale model Su-35 1/48

Scale model Su-35 1/48

Scale model Su-35 1/48

Scale model Su-35 1/48

Scale model Su-35 1/48

Scale model Su-35 1/48

Scale model Su-35 1/48

Scale model Su-35 1/48


Must to drill the area of the cockpit for pass the led light

I will use the clear sprue who i make smalest 0.7mm

I drill my plastic piece 0,8mm

I drill my plastic piece 0,8mm

I drill my plastic piece 0,8mm

View with the led light ( kit Make them move)

View with the led light ( kit Make them move)


use panel line for shadow

clean the panel line with white spirit

Make the high-light with the basic color and white

Make the high-light with the basic color and white


Radar it done

Radar it done

Radar it done

Radar it done

Draw for drill for the light


Primer surfacer 1500 black mr.hobby


Paint super metallic silver2

Paint super metallic silver2
Rest again some paint for modulation
Rest again some paint for modulation

Test for the light or engine

Masking

View of the second paint Mr.hobby sm titanium gold

View of the second paint Mr.hobby sm titanium gold

Add Gun metal paint

Add some layer of paint iron

Add some pigments


View of the engine with light and sound by makethemmove

View of the nozzle

View of the nozzle

View of the nozzle

Primer time

Primer time for the bomb

Before / after long masking time

Primer grey, primer white and paint it rest the decals sheet

Primer grey, primer white and paint it rest the decals sheet

Primer grey, primer white and paint it rest the decals sheet

Primer grey, primer white and paint it rest the decals sheet

Begin of the built of loading cart

Loading cart assembly


View of different missile and bomb (rest agin one paint on it)

Loading cart assembly

Primer on the loading cart

Paint on the loading cart

View with missiles

i drill the piece for creat the passage for the optical fiber

i drill the piece for creat the passage for the optical fiber

i drill the piece for creat the passage for the optical fiber

i drill the piece for creat the passage for the connectic

i drill the piece for creat the passage for the connectic

i paint the interior of the wing for the reflection of the light

Paint the optical fiber

Fix the clear sprue on the wing with the mig ultra glue

Fix the optical fiber with the clear sprue

Fix the optical fib with mig ultra glue

i apply the putty tamiya

sanding putty

i Paint the led for not have a reflection of the light on the wing

fix the optical fiber with the led light

Red light

Green light

View of the sukhoi with the wings who connected with the light.

Let's go for the new installation of the led

Let's go for the new installation of the led, drill

fix the led

Test

Test

Test

Fix the last piece

Fix the last piece

Landing gear with the color and light

Landing gear with the color and light

the landing gear stay on position

the landing gear stay on position

View of the aircraft

Landing gear with the color and light

Landing gear with the color and light

View with the light close

View with the light open

i Forget some photo etch on the loading cart

Installation of the photo ect

And make the highlight of the oliv drab on the upper part

And make the highlight of the oliv drab on the upper part

And make the highlight of the oliv drab on the upper part

The plastic part ask a lot of work of sanding

View of the second loading cart.

View of the third loading cart.

Primer on the loading cart

Paint oliv drab Mr.color C38

Highlight of the oliv drab with the yellow paint Mr.color C4

Highlight of the oliv drab with the yellow paint Mr.color C4
You can see the color is not same on the upper part and lower part
You can see the color is not same on the upper part and lower part

After clear gloss

View of the 3 loading cart who wait the gloss clear

View after weathering and mat clear

View after weathering and mat clear

View after weathering and mat clear

View after weathering and mat clear

View after weathering and mat clear

View after weathering and mat clear

View after weathering and mat clear

View after weathering and mat clear

View after weathering and mat clear

View after weathering and mat clear

View of the loading cart with weathering and missilles

View of the missile KH-58 finish

View of the bomb KAB-1500kl finish

View of the bomb KH-29 finish

View of the missile R-77 finish

View of the missile R-27 finish

View of the missile R-73 finish

View of the missiles and bomb finish

View with the loading cart.

Masking and apply some putty

Primer time

Paint on flat black

View after clear mat

Let's go for instaling the new led, so i begin to draw where i will pass the connection

After i use knife and sand paper for create the passage on the piece

Now i paint the led

After fix the connection i apply some putty

Result after sand the putty

it the time to check, the light open but still have the work for the finition

Example of the pilote ( box art of the kit)

Paint of the pilot with the acrylic Vallejo , not be professional for this 🙂

Last check before to cement it, i must to re-fix the hud because the canopy not close and modify the figure.

I fix all the fuselage and electronic elements.

I fix all the fuselage and electronic elements.

I fix all the fuselage and electronic elements.

View of the radar
I fix all the fuselage and electronic elements.
I fix all the fuselage and electronic elements.

I fix all the fuselage and electronic elements.

View of the led
I fix all the fuselage and electronic elements.
I fix all the fuselage and electronic elements.

I fix all the fuselage and electronic elements.

I fix the nose with some weight inside.

New loading Cart

New loading Cart

New loading Cart with missiles

New loading Cart with missiles

New loading Cart with missiles

All loading Cart with missiles,i must to build again 2 pieces

Paint dark aluminiun on the air inlet

Fix the air inlet on the fuselage

I start to apply the putty

I start to apply the putty

I start to apply the putty

I start to apply the putty

View of the aircraft for this moment
Komentáře
45 24 February 2021, 04:38
Thank's Augie, just to instaling the light inside i will post the photo soon
26 May 2021, 15:50
Merci jorge j'ai encore du boulot sur la phase peinture des réacteur mais sa avance bien la vidéo arrivera pour le week end je pense.
23 June 2021, 10:53
Merci Jorge la vidéo arrive demain pour voir tout le procédé pour arriver a ce résultat.
15 July 2021, 12:56
Following, certainly some very interesting stuff brewing up here! 👍
11 August 2021, 08:37
En visualisant en mode lister, on apprecie la qualité du kit, du montage et mise en peinture
12 August 2021, 18:44
"Jsukifo" C'est quoi le mode Lister ? Merci j'essaie du faire du mieux que je peux🙂
"Clifford" Thank's my friends
16 August 2021, 04:28
En ouvrant un album photo, en tête il y a une sélection de 3 modes de visualisation, désigner : "vue" "view"
16 August 2021, 15:39
Thank's Spanjaard, it's true you can look the result on video in my channel YouTube "maquettetv"
26 September 2021, 00:32
Waou jolie travail sur l'armement👌
tu a ajouter 2 remorqueurs/citerne au projet ?
9 October 2021, 21:51
Merci Juskifo, je vais essayer de les trouver a prix raisonnable je pense que sa pourra faire un belle effet sur le diorama avec les chariots de manutention et un hangar.
10 October 2021, 06:26
Update on the video in my channel youtube (maquettetv) with the led system in action :
Youtube Video
26 March 2022, 14:08
Album info
Built of the sukhoi su-35 of Kitty Hawk in 1/48 scale

