

Eunos Roadster(Mazda MX-5 Miata) - JobLog (Deion for Novice)

Water washed.

I had to build two cars, so I duplicated the optional parts(USCP front splitter) I had.

I plan to remove it for now and recreate it later, as the convex will interfere with the polishing operation.

It's an old mold, so it's good to scrape the panel line deeply.

The part that suffered because of the severe step difference.

I started with 120 grit sandpaper and finished sanding by changing to fine sandpaper.

A black surfacer was painted on the inside to prevent light penetration.
The side skirt is semi-glossy black, so I pre-painted that part as well.
The side skirt is semi-glossy black, so I pre-painted that part as well.

But, it was scratched off easily, so I sanded it again and erased it.

After painting the white surfacer, I painted the body color.
Airbrush the panel lines and edges to make sure they are well painted...
Airbrush the panel lines and edges to make sure they are well painted...

Then, I painted the whole thing evenly so that it didn't stain.

Since the open car without a roof cannot be attached to a place such as a bottle cap, there is no way to hold it and paint it, so you have to make a handle.
This is the B-runner left after cutting out the parts.
This is the B-runner left after cutting out the parts.

Cut off the marked part...

Glue it in the right position...

Just stick it to the inside of the body with masking tape.

Of course, if you have this, it doesn't matter... 🙂

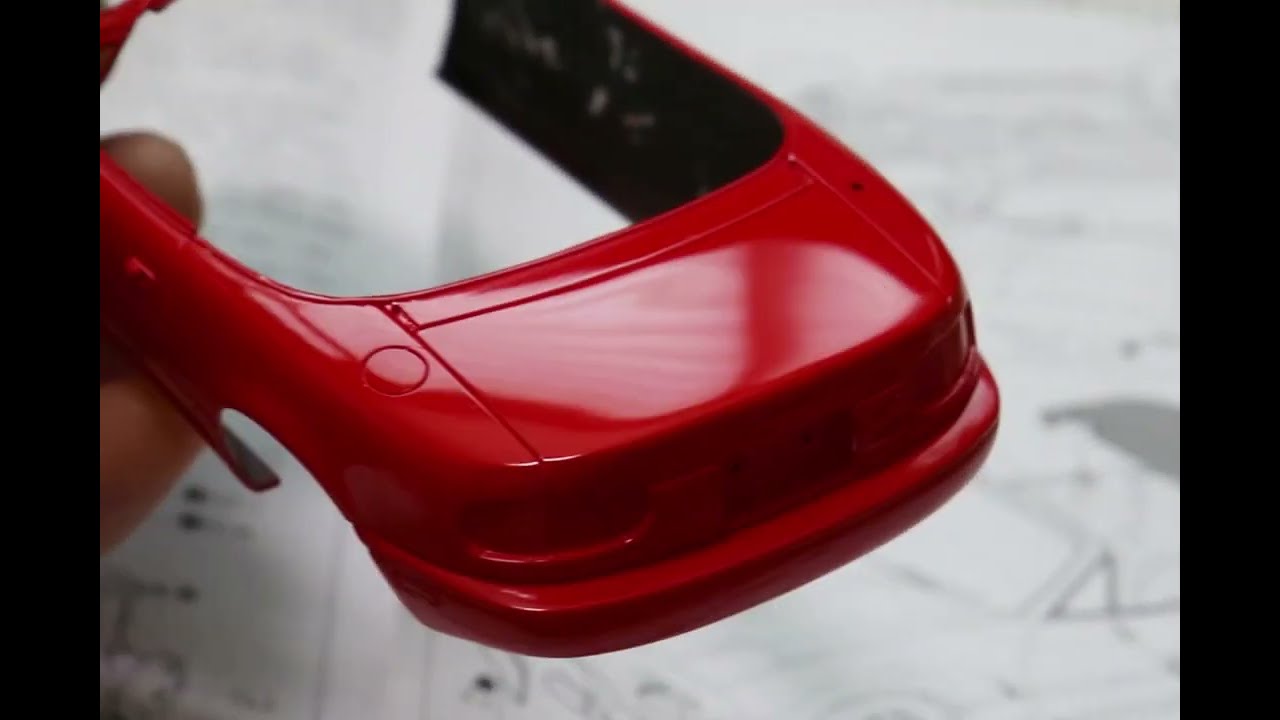
Clear coated.

After clear coating, the surface needs to be cleaned, but if you look around the panel line or the deep mold as shown, there seems to be no problem...

If you turn it around, you can see that the paint is a little clumped.

If you gently rub it with sandpaper, the paint agglomeration is more clearly visible.
All should be sanded so that they look like the green arrows.
All should be sanded so that they look like the green arrows.

It is convenient to use sponge sandpaper for wide curved surfaces.

However, rather than rubbing only with very fine sandpaper, it is better to start with #800 and change to fine sandpaper gradually.

After sanding, it is time to compounding. (I used GSI rough compound)
First, I polished it by catching scratches made with sandpaper with a rough tool.
First, I polished it by catching scratches made with sandpaper with a rough tool.

After rough compounded, wash thoroughly with water...

Fine compounded. (Tamiya fine compound)

water wash again.

Finish with final compounding. (Tamiya super fine compound)


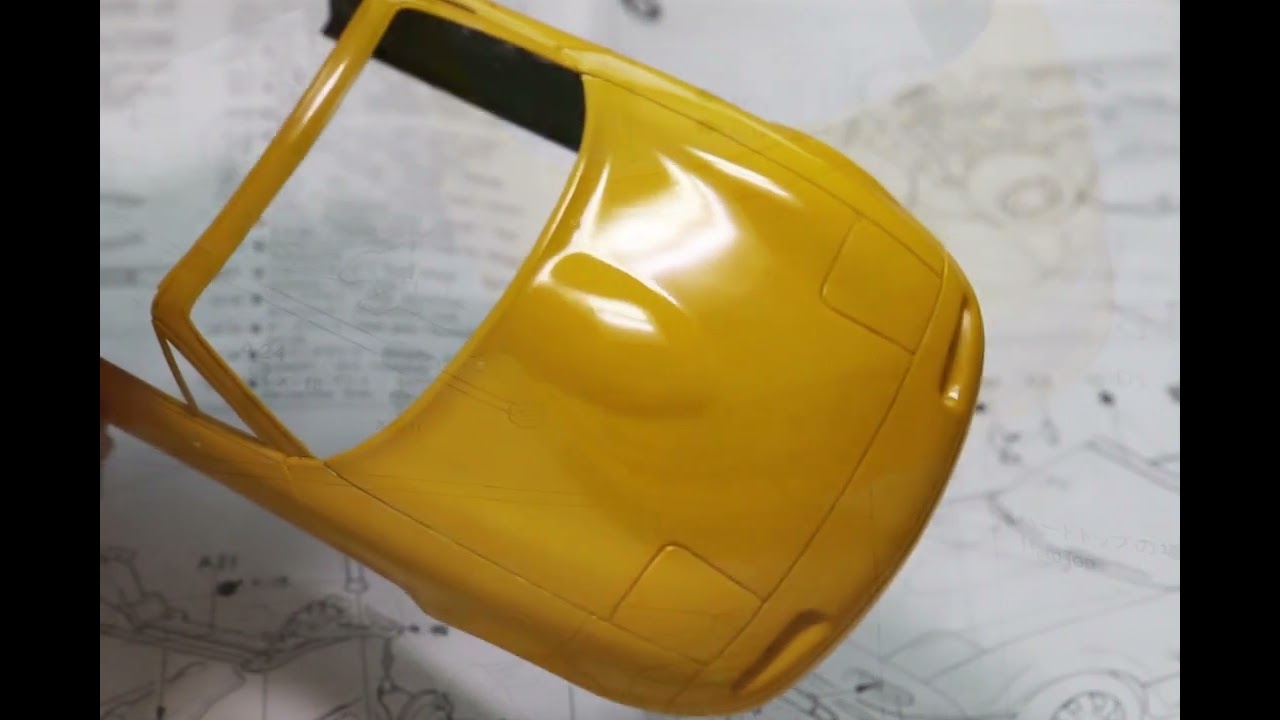
I'll explain it one more time with a yellow vehicle. 😉
If you dry it after applying clear, it usually becomes this kind of surface.
At first glance, it looks shiny and shiny, but when zoom-in it, it is difficult to expect a smooth clean reflection as there is a noisy bump.
If you dry it after applying clear, it usually becomes this kind of surface.
At first glance, it looks shiny and shiny, but when zoom-in it, it is difficult to expect a smooth clean reflection as there is a noisy bump.

Noisy bumps can be seen more easily by rubbing with #1000 sandpaper.

Even around the panel line that doesn't seem to have any problems...

Also, if you gently rub it with #1000 sandpaper, you can see that the paint is slightly clumped.

In general, the paint is clumped at the end of all molds detail, including the panel line.


The color faded a bit because I rubbed it too hard.
But I don't care because I'm giving it to a friend. 🙂
In the first place, it is a law to roughly make other people's things. yeah~
But I don't care because I'm giving it to a friend. 🙂
In the first place, it is a law to roughly make other people's things. yeah~

Lustering done.

Sort by color to be painted.

Scraped with scraper.

Sanded.

I made and attached a handle for holding and coloring.

The muffler was drilled and trimmed.

R: orginal , L: modified

Tail lamp need little circle mask. (Radius 2mm)

This is a disk type circle cutter.
It is more cumbersome to use than the compass type, but the advantage is that there is no pinhole at the center point and it can cut even small circles cleanly.
It is more cumbersome to use than the compass type, but the advantage is that there is no pinhole at the center point and it can cut even small circles cleanly.

I lost a pair of blinkers while trimming with knife.
Once they escape from their hands, they disappear.
I decided to use the beads out of necessity.
Once they escape from their hands, they disappear.
I decided to use the beads out of necessity.

These are the hemispherical beads that I use often.

Some of the small parts do not have a handle to hold and paint, and sometimes it is difficult to attach and paint.
In this case, just fold the masking tape in the middle and attach it to make a simple handle.
CAUTION: They should not roll over when mouth blown.
In this case, just fold the masking tape in the middle and attach it to make a simple handle.
CAUTION: They should not roll over when mouth blown.

The wheels were not stripped to be painted with gunmetal, and instead of a regular surfacer, Vallejo primer was used.
Note: The product shown is 73.660, not 73.602.
This is an basecoat exclusively for Vallejo's metallic color paint, so it is characterized by its glossy finish.
Note: The product shown is 73.660, not 73.602.
This is an basecoat exclusively for Vallejo's metallic color paint, so it is characterized by its glossy finish.

Painted 1st step.

Masking...

This is masking film.

It is easy to cut because the masking line marked on the inside of the transparent part is visible.

If cut it immediately with a knife, but if you are uneasy, you can draw it with a line pen, peel it off, cut it, and then attach it again.

On the other hand, since it is difficult to adhere well to the small noisy embossed surface, it is recommended to use a fresh blade.

Painted chrome on the gloss black.

XF-16 flat aluminium

Painted 2nd step.

Cut the side window with acrylic cutter.

Done. In this case, it is much cleaner to use an acrylic cutter than an etching saw.

Masking...

Mask and cut...

Masking done.

Painted to black surfacer.

Remove the mask.

Done.

Removed all remaining masking tape.

Since I had painted without a surfacer, the paint came off along with the masking tape.

When the masking tape was removed, the paint fell from the edge.
It can be easily solved by painting the Gundam marker from the inside.
It can be easily solved by painting the Gundam marker from the inside.

L: Masking Film
R: ZoomOn's Mask
R: ZoomOn's Mask

Painted with paint brush.

And I painted this again with a brush.

I used 'Tamiya Panel Line Accent'

Wiped clean with a cotton swab.

A little bit of clear orange was mixed with transparent resin and filled in the indicated blinker.

The antenna.
Insert the stretched runner and cut at the 0.5mm protrusion.
And take it back...
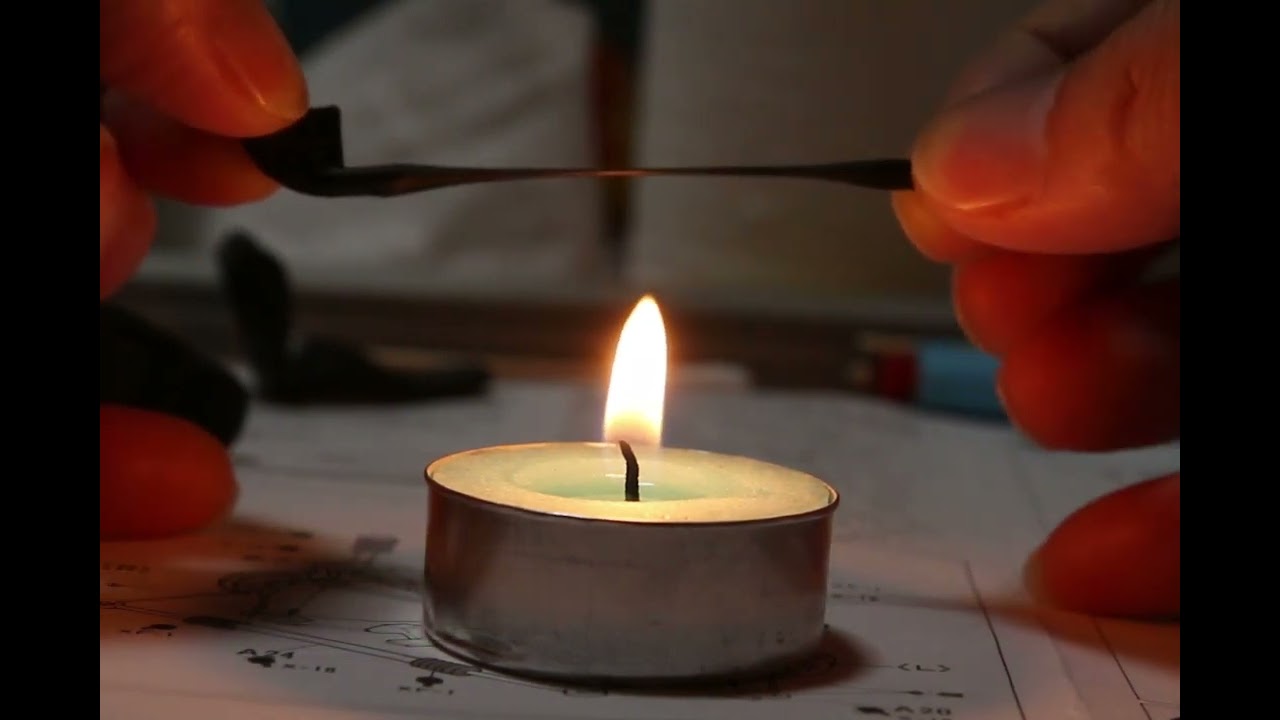
Then, after removing it again, as in this video, melt only the tip in a fire.
Youtube Video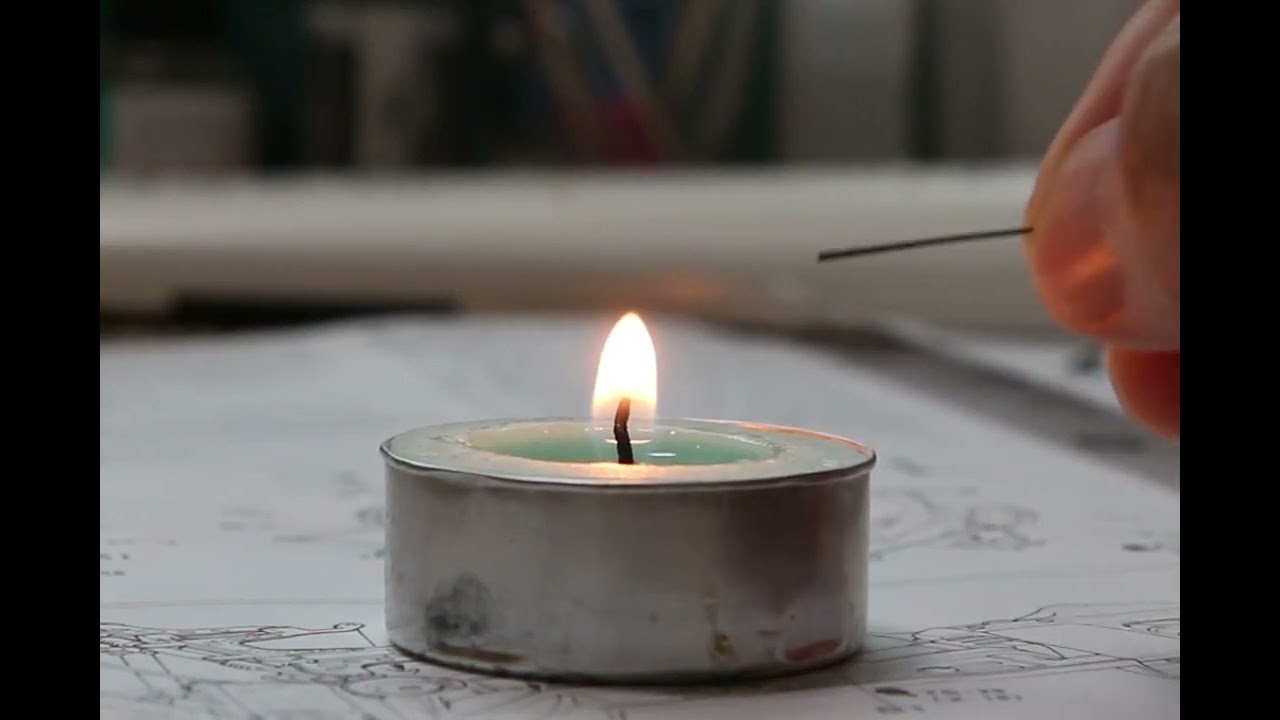
Insert the stretched runner and cut at the 0.5mm protrusion.
And take it back...
Then, after removing it again, as in this video, melt only the tip in a fire.
Youtube Video

Then cut it, plug it back in, and glue it back together.

You can also make it simple by using a stretched black runner on the window washer fluid nozzle.
Prepare an elongated runner of appropriate thickness...
The video of stretching the runner is at this URL...
Thin - Youtube Video
Thic - Youtube Video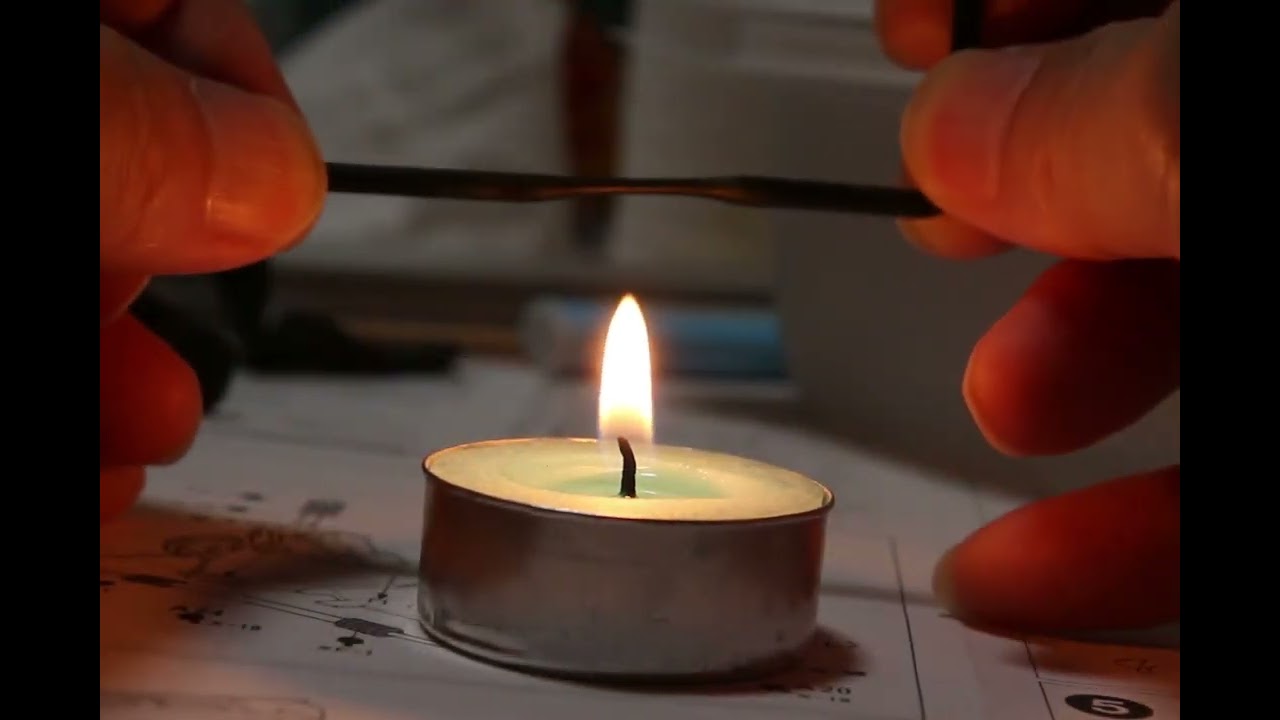
Prepare an elongated runner of appropriate thickness...
The video of stretching the runner is at this URL...
Thin - Youtube Video
Thic - Youtube Video

Like the picture in the circle, it can be made with just 2 cuts.

Because I used a black runner, I don't even need to color it.

This is Hasegawa Mirror Finish.

Apply it to the tail lamp.

Done. There is no need to cut too cleanly.

The front fog lights were painted with chrome markers.

All paint job is done. Ready to assemble.

Interior decal.

In most kits, when you press the wiper root, the tip of the wiper comes up as in the picture.

This problem can be solved by simply bending the appropriate area with your finger.

Fixed it.

This is the silver foil sticker that was included in the robot kit.

The silver foil sticker made of paper is perfect for the expression of a room mirror.

I plan to make a mirror by placing the mirror parts on the logo sticker included in the Tamiya case, drawing the edges with a steel pen, and then cutting with scissors.

Done.

Assemble the drivetrain parts according to the manual...

Bottom body done.

Interior assembly done.

I accidentally cut that part off.
It was cumbersome and insignificant to turn back, so I gave up 😄
It was cumbersome and insignificant to turn back, so I gave up 😄

As for the windshield, it was risky to apply adhesive to the roof side, so instead, it was firmly attached only to the inside of the bonnet.

Attach the license plate and tail lamp.

Accidentally, the Art Knife escaped from my hand and ate the corner of the bumper 😭

For the rear reflector, Hasegawa sheet paper will be applied.

Emblems will be applied with ZoomOn's metal stickers.

Done.
The keyhole (blue arrow): painted with a chrome marker.
The keyhole (blue arrow): painted with a chrome marker.

Fog lights (clear orange)

Attached.
The right part does not fit well, so you have to grind it with sandpaper to fit it.
The right part does not fit well, so you have to grind it with sandpaper to fit it.

Finally, attach the rest of the parts, including the wheels, and you're done.

I was trying to attach the front splitter, but it went wrong and stained glue.
Another splitter is already attached to the red car.
This car was a gift car...
Another splitter is already attached to the red car.
This car was a gift car...

Roughly painted with Tamiya markers and finished.
It's shaded so it's hard to see.
In the first place, it is a rule to roughly make things to give to others. hahaha
It's shaded so it's hard to see.
In the first place, it is a rule to roughly make things to give to others. hahaha

Finished.

Finished.
Komentáře
25 15 September 2022, 13:35
Very nice as always
And of course I will be following your build
Thanks for sharing all your great info
15 September 2022, 15:16
Thanks Dominik Weitzer, Jv 🙂
The yellow car is a gift for my friend, and the red car is mine.
15 September 2022, 17:26
Man, I like your pictures and descriptions. I like what you do. The scraping of the panel lines pay off a lot! Very cool.
19 September 2022, 04:14
Thanks Christian W.
Right. Older kits will look like a much sharper surface when scraping the panel lines.
19 September 2022, 04:27
And you don't need that dumb panellining, which makes a lot of models looking worse than without. Scraping gives the panel lines that deepness what is needed - if you want it.
19 September 2022, 04:57
Great. I like the step by step pictures and description. I mostly don't polish my paint. I'm to lazy for that 😄 But what's interesting for me: the washing between the phases. This is new for me. It makes sense for me too because I usually wash the original cars after water sanding. Never thought to do that on model kits. Super! Have to memory that.
20 September 2022, 20:33
very nice detailed instructions! There is always something to learn! I bow to you!
27 September 2022, 17:18
Album info
FHD Images are here.
Review - motorart.tistory.com/517
JobLog 01 - motorart.tistory.com/533
JobLog 02 - motorart.tistory.com/542
JobLog 03 - motorart.tistory.com/546
JobLog 04 - motorart.tistory.com/548
JobLog 05 - motorart.tistory.com/550


