Shinmeiwa SS-2 (prototype) - completed starting with picture 127


In my opinion the mix of raised (original in the kit, wing) and self made rivets on the flaps (with a riveting tool) looks interesting.

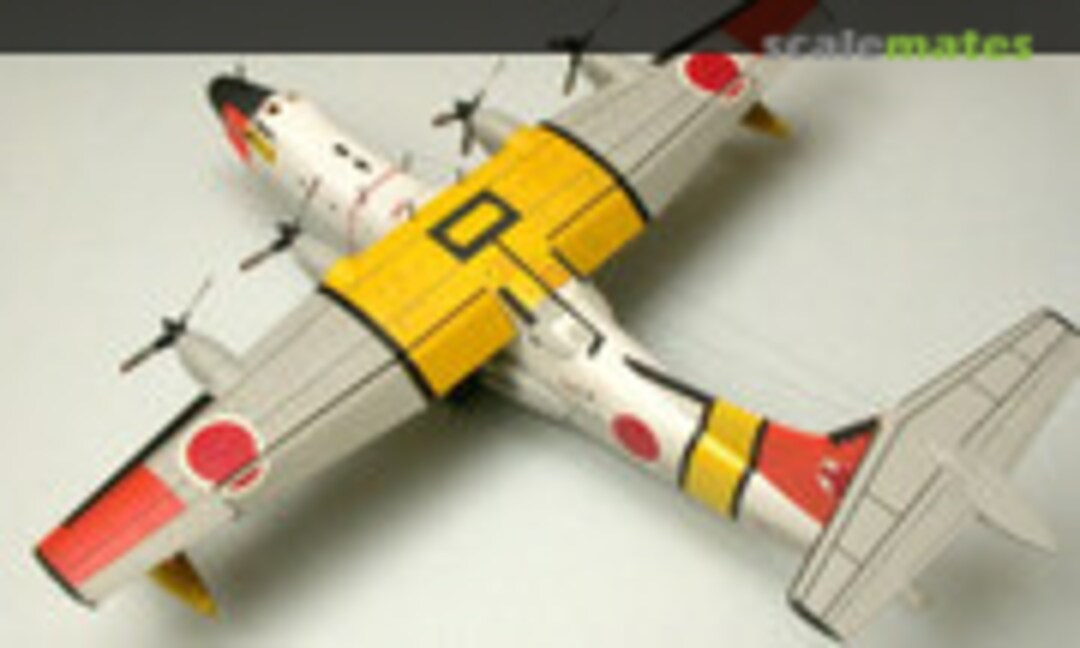
It's really stunning that such large airplane is powered by such small propellers...

The kit offers no exhaust pipes so I created them from thin sheet wrapped around a 6mm drill.


Last year I overlooked the black "no step stripes".

Walkway-stripes after demasking.


Unfortunately the prominent inline-gaps for enhancing the water performance are missing in the kit...

Created gaps via engravings, because the plastic is too thick for a complete "cut". The shape of the gap end-area was corrected.

The original has a complicated superstructure for better strength. I made only a part of it using 0,42mm drill and 0,40mm plastic-rod.

Lost raised rivets restored with a needle and....

... the holes in the "craters" filled with polishing paste (rose).


1st step: prepaint the fuselage with white (outer side) & dark grey (inner side). 2nd step: mask the openings on the outer side with a small piece of transparent tape. 3rd step: fill the windows with Bondix, coat as thin as possible & let it harden.

4th step: fill the windows 2nd time with Bondix, put a piece of thin transparent plastic into the wet Bondix and let it harden. 5th: step; remove the Tesa film from the outside and carefully remove the Tesa-glue from hard Bondix with cotton swab & Humbrol


This rectangular window has an two pieces of thin plastic glued with Bondix together.


Upholstery is made from ureol (the most soft variant).


Sketch for engraving, rivets and producing files🙂

Nothing much to see of the engravings.... Need paint. Little details (inlets, outlets and mesh for the round exhaust) comming soon.

White card was the tool for engraving the oval hole. The inlay helped to cut the mesh in correct shape.


Yellow pieces of tape: locations of aux-holes (0,4 mm) for applying of CA-Glue from outside.

Engraved contour of door on the lower side of hull.


Lost raised rivets (top of the double row on the right side sanded off for demonstration).

1. Step: engraved rivets made with self made rivet roller (the same pitch as original raised rivets).

2. Step: producing a deep crater with raised edges via pressing with needle (working speed: aprox. 40-50 rivets per minute)

3. Step: filling of the craters, in this case with polishing paste.

4. Step: whip of of the paste. The paste remains only IN the craters. Lost rivets are restored.


Oversized hole for pitot will be filled.


Good visible are the 6 connection points for the rescue rope.


Good visible are the the 3 connection points on the bow for the anchor rope.

Different inlets and outlets from plastic here and there.


Masking for orange not removed jet except the circle.

Good visible are the FORMERLY heavy raised rivets.


20 minutes later than picture 108...


Pitottube, whiper, mast with the aoa-indicators and wireantennas.


Mr Surfacer 500 ist auch für Einstellung der Spannung der beiden Antennenkabel gut🙂


Kommentare
19 October 2024, 03:15 -
Album info
- About 5 years ago I separated the first parts from the spruces...
- In early 2013 after a true never ending story I completed and airbrushed the wings and floats...
- Now I have reactivated the retired Shinmeiwa.
- 6 months later (january 2015): game over again, 4th match.