

GPM Hangar

Nice flat package - reminds me of something from IKEA

The package contains several sheets of thin cardboard (some flat, some corrugated) with laser cut parts.

Planning the diorama - I intend to glue it all down on board of some kind and fill out the sides from a ready-made grass roll and maybe some grass tufts and stuff. The grass I am using is Woodland Scenics grass that comes on a vinyl roll. I guess I will need to mess it up a bit and airbrush it to break up the monochrome, slightly artificial appearance.

In front of the hangar, I intend to place a set of tiles, resembling old Soviet (and eastern block) prefabricated concrete slabs used at military airfields. (ICM No. 72214, 'Soviet PAG-14 Airfield Plates')

These are from the ICM set - just regular styrene molding although without sprues. After painting and a lot of weathering it should look pretty convincing.

And this is what I will use as base for the diorama - it is a black laminated countertop from IKEA with just the right size. Only the edges will be left black, everything else will be covered with grass and concrete.

I plan to install a custom made ceiling light installation, so I need to plan a little. I will make three overhead crossbeams with 6 LED's in each, for a total of 18 LED's, driven in parallel by a regular 9V battery. In case somebody is interested, here are my calculations and schematics. I haven't been dealing with this kind of stuff this since my high school like 35 years ago, but Ohm's Law is still sort of stuck somewhere in the back of my head... I hope.

Starting with the hangar structure: as you see in this macro, there are tiny "gates" around the parts that ensure that they stay on the sheets. All the outlines thus need to be scored with a modeling knife to completely remove the parts from the sheets. The material looks like cardboard paper - as it looks a bit porous, I will need to think how to spray paint it so it doesn't get deformed.

Scoring the parts with a new blade, taking care to not break them - although the matarial looks pretty flexible and sturdy.

The remaining tiny "gates" are sanded off with a sanding stick

I will use a high quality water based adhesive for wood - it cures solid in a few minutes and forms a super strong and almost invisible bond without needing to clamp the parts together overnight.

I apply the glue with paintbrush. It bites within 10 seconds - almost like superglue for wood! Really excellent stuff!

Roof almost finished - it is a bit wobbly, but the additional beams in the center and on the edges for the lights will hopefully add some rigidity.

The inner wall assemblies are joined to the roof

Before I added the back wall assembly, I cut off the corners to get a perfectly smooth join - otherwise the corners would be stuck on the outside of the roof beams.

It's a much better fit this way! Not sure why it wasn't done like this from the box.

Inner structure done! Looks pretty neat although it is just straight out of the box! The side walls are slightly bent inwards, but they should straighten out once the corrugated outer walls are glued in place and everything is cemented to the base.

Load up the airbrush to start painting the internal structure - I will use XF-53 dark gray for the beams and roof, white for the inside walls and XF-12 green-gray for the outsides. And then some healthy amount of rust and dirt of course. I could use a rattle can instead of the airbrush, but I am a bit worried that I might flood the parts and cause the material to swell or deform.

Well... that's all a 10ml jar would cover although I thinned it to like 70%. The material is rather porous so it sucks in the paint like a sponge. I will definitely need at least one more jar for a full and even coverage (and since my local hobby shop doesn't have any XF-53 in stock, I will need to wait for my order from MojeHobby to arrive before I can continue). The good thing is that the cardboard takes the paint quite nicely without any warping or swelling.

The corrugated outer walls come next - I chose Tamiya XF-12 J.N. Gray, because, well, why the heck not.

For the inner walls I succumbed to the ease of a rattle can and just sprayed it white (Tamiya TS-27 Matt White).

While I am waiting for the ordered LED stuff to arrive, I started with a little weathering. I cannot apply my usual enamel weathering techniques as the thinner will dissolve the paper, so I am using AK Interactive acrylic weathering pencils instead. I need to be careful not to overdo it - it is supposed to be an active hangar, not a ruin. The window frames are just placed there for reference, they will be attached later.

The three cross-beams to hold the lights (one in the center and one on each side) are fabricated using the leftover cardboard, painted in the same color as the roof skeleton.

Measure where the lights will sit - one in each segment, so 6 lights per cross-beam.

Drill some holes in the middle of the markings ...

... and use a round file to ream out the holes to the right size (~ 4 mm)

In each hole a LED holder is attached

Now, it is time to solder together the LED assemblies!

I have a pretty basic soldering station, but for this project it will certainly do!

Each LED will get its individual resistor, so all LED's will be connected in parallel. If you are good at soldering, you may want to look away now ...

And here is the result - I know I am rubbish with soldering, so this is the best I can do. BTW, the wire looks like regular copper wire, but is in fact insulated with a layer of varnish, so several strands of wires can be placed next to each other regardless of their polarity without shorting out. It makes soldering a bit more tricky because the ends first need to be tinned at 400 degrees C to burn off the insulation layer.

All the lights are in place - we will now need some power to see if it works!

Let's use 5V USB power to see what happens! Let's start with freeing the internal wires ...

The red (+5V) and black (ground) are the ones we need. The green and white are for data and can be cut off.

Connecting the wire to an USB power supply ...

... and the other one temporarily to the LED strip. Yay, it works!

Central light strip cemented in place

All three light strip beams added and painted, and side walls glued in place.

Plastic tubes are used to hide the wires, painted in the same color as the inner structure and hidden under the roof dome to be as little visible as possible. I don't worry about the slightly wavy support beams, they will soon be straightened out as the back wall is added.

Front and back outer walls glued in place. Time to mate the structure with the roof!

The roof dome is a single sheet of corrugated cardboard. Before gluing it onto the structure, it is sprayed gray and then painstakingly weathered with Tamiya pastels and AKI acrylic pencils to break up the monochrome appearance and give it a look of painted, dirty sheet metal.

Left half of the roof dome glued to the sides ...

... and than the other half! Now let the glue dry properly for a few hours before we continue working on the windows.

The clear acetate sheets were cut to fit the window parts and cemented in place. I will leave the frames unpainted as they already have this interesting "rusty" weathering effect from the laser cutting.

Slowly getting there - now I will need to tackle the sliding hangar doors

Although the diorama is not yet finished, I just couldn't help checking out the general appearance as a photo background ... now I am starting to understand why Łukasz used it on so many of his pictures, it is much better that just my kitchen walls.

Hangar doors and a scratch-built L-shaped runner added - this actually pretty much concludes the hangar assembly. Let's next do the inner floor, and the concrete plates on the apron!

Regular white glue is used to fix the Soviet style concrete slabs to the board. I bought two boxes of slabs so I can have plenty of space in front of the hangar for photo shoots of multiple aircraft.

20 minutes and 60 concrete slabs later, the hangar floor is also cemented in place. Everything will of now be painted and weathered to represent dirt, oil stains, dust and skid marks.

While the glue dried, I printed out a few tiny signs designed in Photoshop (like the Hungarian "no-smoking" one in this picture) on matt photo paper that I can temporarily attach with blu-tak on walls and doors, depending on the time period and geographical location I want to depict. Really insignificant details, but eye-catching and fun.

Sprayed in various hues of gray - slightly more white mixed in in the middle of the slabs and leaving the edges slightly darker. The bright streaks on the top is just sunlight coming in through the window. The edges, where the board can be seen, will be covered with some vinyl grass to cover the overspray.

AKI acrylic weathering pencils and Tamiya weathering pigments used to add some more detail.

Some stains, some calcium deposits, some algae and some oil leaks... Well, it looks concrete enough for me. Next I will need to simulate the railing on the floor for the sliding doors with a glued down piece of styrene strip.

Early morning autumn sunshine through the hangar... Some vinyl grass has been added to pad out the space around the diorama. I guess a thousand small additional items might be added, like barrels, ladders, tool boxes and stuff, but since this was only meant as a backdrop for my photos and not a complete model on its own, I think I will just call it done!

Aircraft noses peeking out.

Oops, forgot to turn the lights on.

Lights on - a nest of Gripens

Looks more like our hangar at my airfield, where we play hangar-tetris with the parked aircraft. I don't think the military would park two million dollar jets this close to each other in real life.

Hangar tetris

Sorry for the slightly grainy photo, my iPhone didn't want to cooperate.

Waiting for the airmen.

That's all for now folks! More photos will come as I intend to use this hangar as backdrop for future builds and photo sessions.
Comentarios
32 8 August 2020, 16:25
Indeed! Hadn't it been for Łukasz, I would never have found this kit. But it is a brilliant design by GPM: just a few sheets of thick cardboard and clear acetate, and it looks absolutely beautiful straight OOTB. I am thinking of adding LED lights in the ceiling, we'll see if it works.
10 August 2020, 04:23
Thinking adding LED lights in the ceiling?? Good news!!
This may be promising 🙂
10 August 2020, 18:52
The LED lighting is still just an idea ... I would need to scratch build a few parallel "boxes" in the roof to hide the wiring, but I am still not sure how to do it yet....
10 August 2020, 19:39
@Cuajete: GPM used to provide it via their own website all the time. Not sure about other sources.
10 August 2020, 20:11
@Erik, I bought it directly from GPM's web shop.
sklep.gpm.pl/modele-..odel-wyciety-laserem
11 August 2020, 03:10
I once bought a 5V led strip in a bargain shop. It has a USB connection and you can cut it on length. Sure you can find these in Sweden too.
11 August 2020, 06:06
I see you have reached the most tricky part - the grid assembly.
My parts became bit wavy once put together, but your skeleton looks much better. 👍
You can seal the paper using some kind of epoxy or soak it with CA glue. I went for the latter and just sprayed it with quick-drying car paint using a rattle can.
12 August 2020, 13:40
Łukasz, yes, I noticed that the roof grid has a tendency to be a bit wonky so I needed to work slowly, section by section and let the glue dry properly between the sections. I will also add three lateral cross-beams, one in the center and one on each side to give it some stability, before adding the roof to the lower walls. Thanks for the tip on impregnating the material with CA! I actually did some spray painting with Tamiya acrylics on a cutoff piece and couldn't see any negative effect as long as I sprayed consecutive thin layers.
12 August 2020, 18:07
Now I will need to wait a week or so until the 330 Ω resistors for the LED lights arrive in the mail. In the meantime I can try to improve my (sub-par) soldering skills and try to figure out how to hide the inevitable wiring mess...
14 August 2020, 13:44
Soldering is easy, clean up the connections, add some flux and let the temperature do it's job
14 August 2020, 14:15
Erik, absolutely, that was my first intention, but I got a bit worried that I might flood the parts with paint and get them to swell, deform, sag or bend. Probably not, but I didn't want to risk it - it is just cardboard paper after all. With the airbrush I can just mist on the paint.
16 August 2020, 11:52
Nice sunshine you've got up there😉
Fully agree with you Thomas, though I went the same way Erik proposed 🙂
16 August 2020, 18:42
Wow, that's gonna be much more realistic than mine, I can now call my hangar a quickbuild 😄
18 August 2020, 07:05
Łukasz, not sure, I will try to make the hangar pretty neutral, not a war-zone ruin. This weekend I took a bunch of photos of our hangar at our airport for reference - it definitely looks far more well-maintained than the Humbrol clip. I think I already went way overboard with the rusty deposits... 😉
18 August 2020, 08:00
Nice effect, Thomas. Glad to hear those LEDs are on the way 🙂
They're making me want to try and get one of these hangars 😄
18 August 2020, 18:51
One LED strip of three is finished... it wasn't easy but I got there. So now I will need to make two more of these and then the tricky part will be to attach the light strips to the roof. I definitely don't want the wiring to be visible so it is a bit of a challenge.
21 August 2020, 19:23
Having sorted out the wiring, the next challenge will be where to hide the battery box. I am not too happy having a big ugly 9V battery sitting on the outside with a bunch of wires leading out through the walls, so I will need to think a bit. Maybe building a small, movable "shed" hiding the battery?
22 August 2020, 09:34
I'd attach an 'outhouse' to one of the walls (on the outside of course) 👍
22 August 2020, 11:24
Łukasz, yes, that, or something like a "workshop office" on the inside, kind of like the one in the corner in my project photo. I have plenty of leftover material, so it should be doable.
22 August 2020, 12:18
Nice work! May be a bit late, but I have remarks.
I would reduce the current a bit, the brightness is still nearly the same, the LEDs live longer and your battery will last longer. Try it first, may be 15mA or 12mA is enough, they look very bright on your pic.
With a 9V supply you can at least put two LED in a row, of course with new calculation for the resistor. This would reduce the actual current to the half! May be even 3 would work, if a 9V battery has 9,5V; also depending on real LED voltage. Less heat on the resistors and longer battery live.
Another good option for power supply is 5V, since you can use a USB power supply.
Good luck!
22 August 2020, 15:56
At home you have power, and on a exhibition or something like that you can use a USB Power Bank.
22 August 2020, 16:21
Bughunter, thanks a lot for the tips! The USB power is a great idea, not sure why I didn't think of that! I just tested using a cut off USB cable as power - guess what, the 5V power from my iPhone charger is perfectly enough to get all the LED's to light up. Slightly less bright, but still perfectly adequate. Not quite sure how though, the current (7 mA) should in theory not be enough for the 20 mA LED's to light up, but they certainly do. 🙂
22 August 2020, 17:27
Nice that I could help and really great that you implement my suggestions immediately! 👍
That's why I suggest 12mA, nearly half is often a good value. As you see less then half is still enough. Your LED will last forever!
22 August 2020, 18:37
Interesting exchange of ideas, with the input of bughunter, I used LEDs in my projects too. At the end, Lukasz will have to upgrade his hangar to Thomas standards ...
I was thinking of buying the GPM kit for a diorama based on these pictures :
warbirdinformationex..ewtopic.php?p=630678
23 August 2020, 14:09
Erik, what a jaw-dropping WW2 diorama that would be, particularly that color photo with the shot up fake buildings and that B-25 peaking out... 🙂 Although if you intend to build on the GPM kit, particularly if adding more weight on top of it, I would recommend reinforcing it with something like balsa wood, as the wall structures have a tendency to sag a bit. It is after all just cardboard paper.
23 August 2020, 14:21
Łukasz, don't think you need it, after all I stole the idea from you! 😉
23 August 2020, 16:15
Yeah, I can see the followers are passing me by😉 Still, I prefer the real sunlight 🙂
23 August 2020, 16:58
Wow... great job, Thomas! The wiring is very well camouflaged and the lighting effect looks super. Very well solved 🙂
Łukasz, you should upgrade the hangar with solar panels to take advantage of its sunlight 😄 😛
23 August 2020, 18:13
Remember he's located up there in Sweden, so he would have to store the all the summer energy for half a year of darkness 😄
23 August 2020, 18:59
Solar panels are mostly no good during the dark winters in Sweden. But I thought I would scratch build a small fission reactor. I am trying to purchase some Uranium-235 on eBay ... oh, hold on a minute, I got to go, there are men in black knocking on the front door.
23 August 2020, 19:37
Any project involving LEDs gets my attention. Great imaginative display.
23 August 2020, 21:29
Łukasz, well the roof is definitely gray (just plain Ultimate Primer for a completely flat finish), but the outer walls are sort of industrial green. You can see it more clearly on photo 20. The window frames will be left unpainted; it looks pretty nice that way, as the laser cuts have left some brown burn-marks that almost looks like rust.
28 August 2020, 05:36
Main hangar more or less done, now I am tackling the sliding doors. I will obviously need to create some sort of railing, surely the doors need to have something to slide on, but it is not provided.
28 August 2020, 15:27
Watching and already loving the result....👍
Have to get one of those
28 August 2020, 17:47
The doors are intented as static in this kit and this is what my hangar features.
Even without the doors it looks outstanding, mine seems so old right now.
28 August 2020, 18:37
Łukasz, ha ha, I didn't mean that the doors would be working (although that would be cool), they just look a bit strange to me without a slider rail on the top. But I have already fixed it with a strip of cardboard. Also I realized that I planned to add two working floodlights in the front, but I simply forgot. Well, whatever.
28 August 2020, 19:16
Well, well, what do you know, you are right, it is actually there, I must have missed it. Anyway, I made my own part so I will use that instead. It seems to fit better without cutting out a part of the roof.
29 August 2020, 10:16
Wow... Looks fantastic with leeds and natural light.
Have to get one of those, like Daniel 😛
30 August 2020, 12:34
Daniel & Cuajete, thank you! You can still get them from the GPM web shop in different scales. I am now actually thinking to purchase that F-16 hangar they have and to turn it into a 70's Soviet style, dome-shaped, underground aircraft shelter.
sklep.gpm.pl/modele-..odel-wyciety-laserem
30 August 2020, 13:04
Thomas, you don't have to convert it, just head for one of their older products:
sklep.gpm.pl/modele-..odel-wyciety-laserem
Thinking of it too, but for me it would require respraying, the printed colours don't look that realistic to me.
30 August 2020, 13:06
Łukasz, wow, that is just perfect! I am ordering that one right away, it will look amazing with some MiG-21's! 🙂 I agree, respraying is mandatory, that one in the illustration looks like the entry to a delfinarium or something.
30 August 2020, 13:59
Looking forward to seeing it being built, it's exactly the Warsaw Pact type than can be found in multiple locations on this side of the Baltic Sea 🙂
Example on the cover here: Book: MiG 23 MF
The Midget pic is just brilliant 👍
")
30 August 2020, 18:08
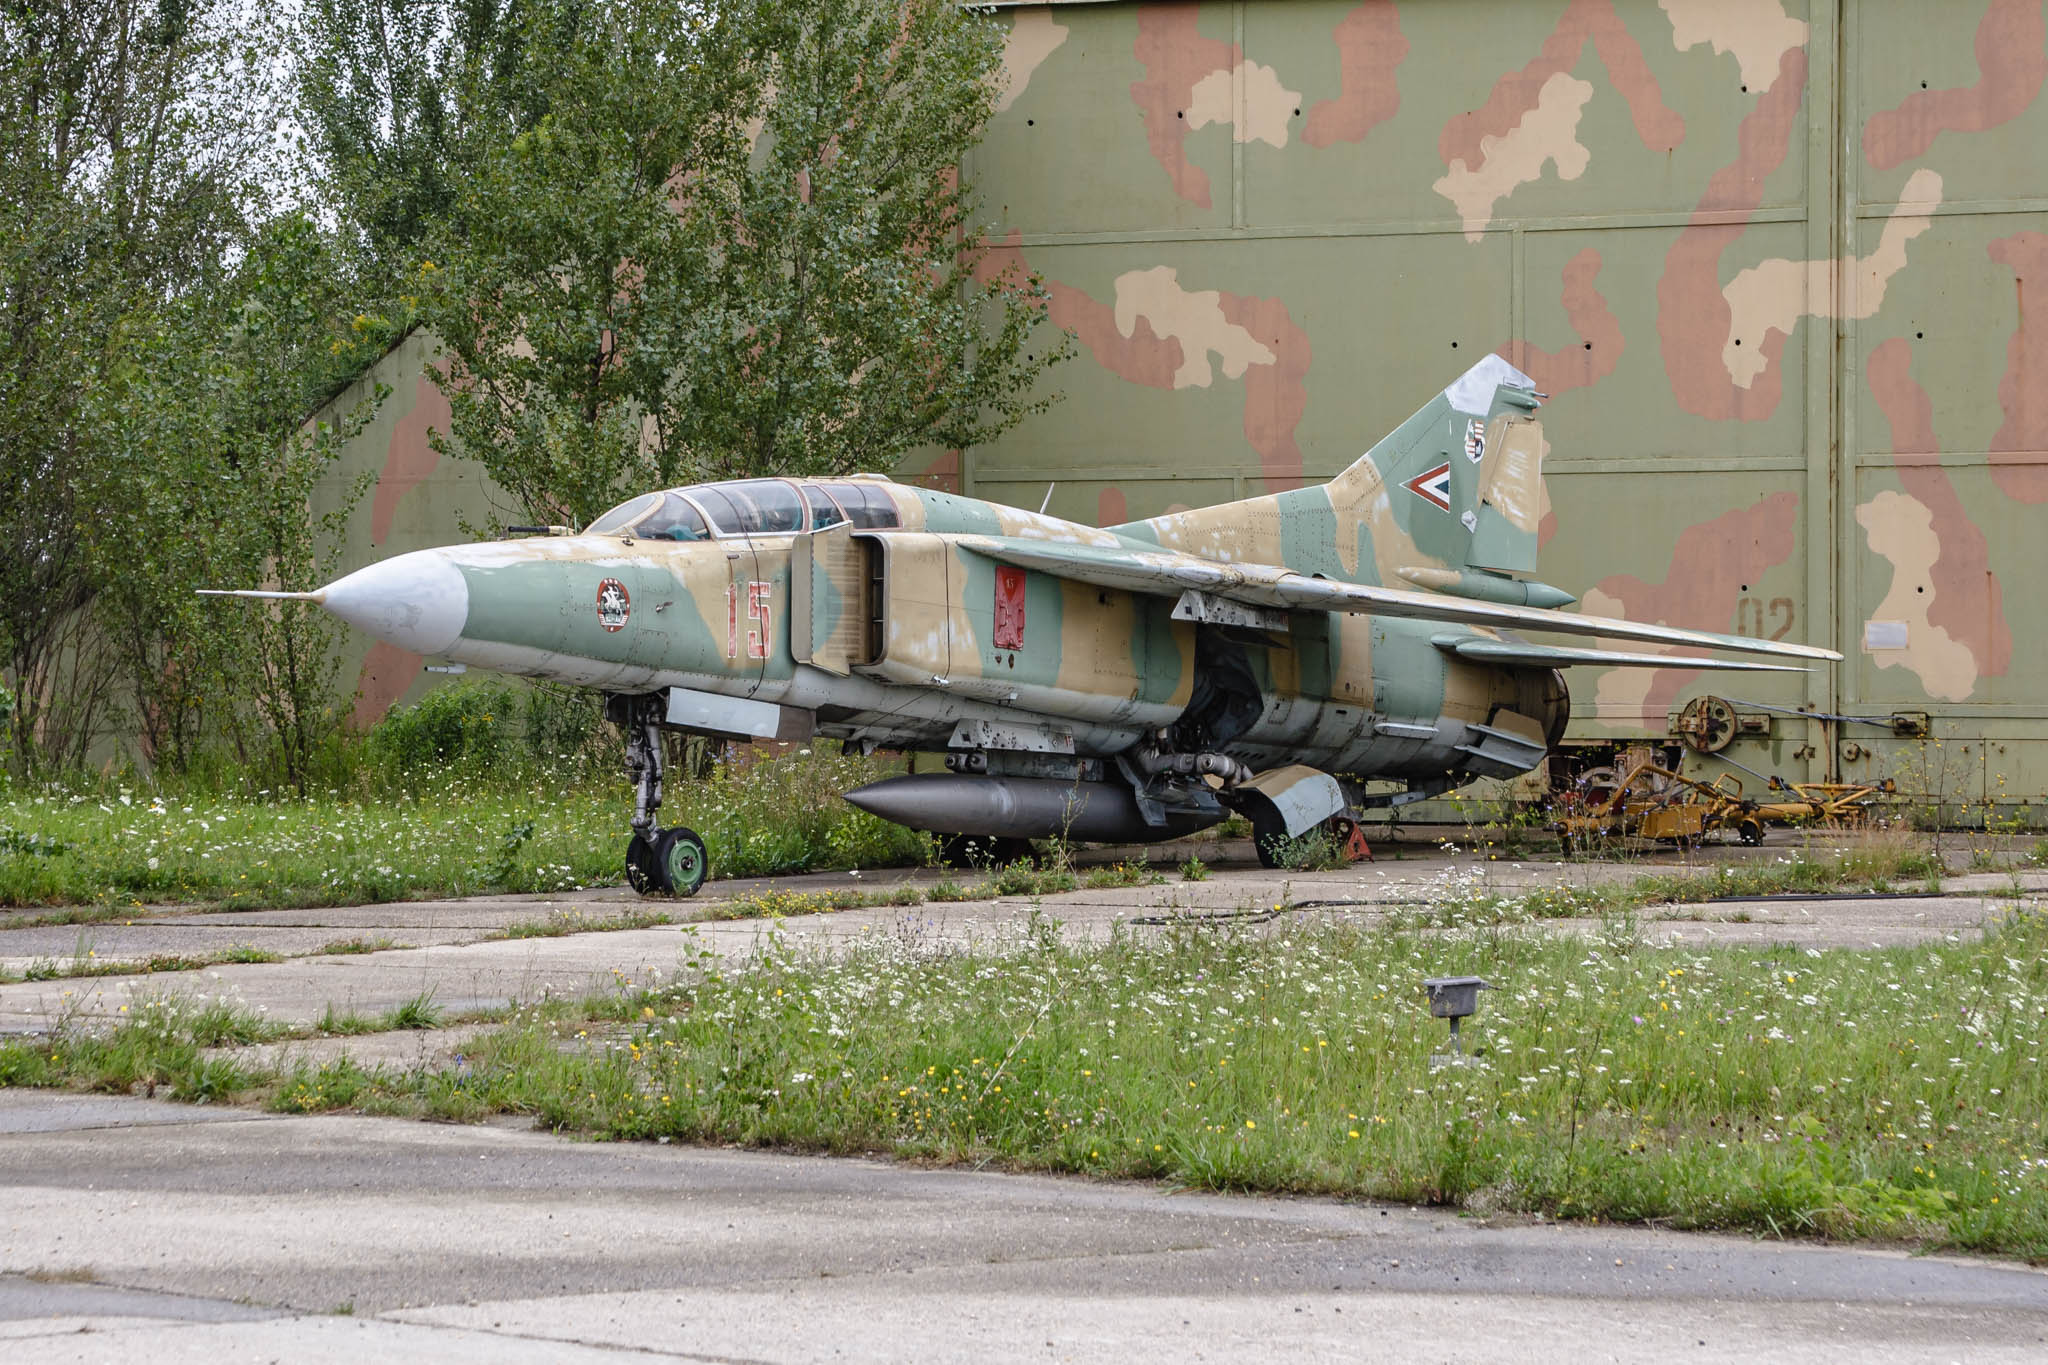
Łukasz, bloody hell, you Polish guys always took such great care of your equipment. It always looks so nice, well maintained and clean on pictures. Hungarian air bases... not so much.
[img1]
30 August 2020, 18:47
Thomas, after all the hints you got from Lukasz , you should dig in your Stash and build at least one Polish plane to give him credit. btw I ordered the gpm hangar too ...
30 August 2020, 19:19
@Thomas: Hey, it's a still flying one on the photo😉
@Erik: Guinness, ekhm, a hangar is good for you😉
30 August 2020, 19:40
Got a bit stuck with finishing the base plate for the hangar diorama, I simply don't have room to store the complete assembly. I think I will just cement down the concrete plates on the board, add some paint and weathering and put the hangar in place when needed.
1 October 2020, 05:34
This is what I wanted mine to look like 👍
The thing is quite big indeed, maybe you can just store the apron separately and add it for photo-sessions only?
1 October 2020, 07:05
picture 47 simply seems like a reference picture.... perfect for shooting as background no doubt. great job!
1 October 2020, 07:17
Yes, that is the idea, but the entire set just turns out way too big for my hobby room. I am thinking to store the base plate (with the apron plates glued on) leaning against a wall and leave out a rectangle for the hangar assembly to place for the photo shoots.
1 October 2020, 10:52
Great layout for presenting any model,Thomas. Did you fix the hangar on the same base ?
14 October 2020, 10:09
Erik, no, the hangar is just placed loosely on the base. I unfortunately have no room to store it assembled like that, so the base will need to be stored leaning against the wall behind my home office computer screens (need to keep the missus happy).
14 October 2020, 10:54
Awesome work mate..That looks so impressive.👍
Still waiting fo mine because the first went to wrong postal code with the same Streetname aarghh.
Cant wait to get.
15 October 2020, 16:17
Pawel, Ben, Konrad & Daniel, thank you for your kind words! Daniel, yes, I know what it's like to just wait and wait for a package, one is like a kid waiting for Christmas!
15 October 2020, 16:27
Album info
Having stolen this idea with pride from my fellow model builder and mate Łukasz 'Woody' Gliński here at SM, I intend to build it to have some sort if nice backdrop to my photos.


