M3 Lee
![Album image #1 Album image #1](/albums/img/6/6/6/420666-10252-31-720.jpg)
![Album image #2 Album image #2](/albums/img/6/6/7/420667-10252-71-720.jpg)
![Album image #3 Album image #3](/albums/img/6/6/8/420668-10252-17-720.jpg)
![Album image #4 Album image #4](/albums/img/6/6/9/420669-10252-28-720.jpg)
![Album image #5 Album image #5](/albums/img/6/7/0/420670-10252-86-720.jpg)
![Album image #6 Album image #6](/albums/img/6/7/1/420671-10252-14-720.jpg)
![Album image #7 Album image #7](/albums/img/6/7/2/420672-10252-52-720.jpg)
![Album image #8 Album image #8](/albums/img/6/7/3/420673-10252-24-720.jpg)
![Album image #9 Album image #9](/albums/img/6/7/4/420674-10252-97-720.jpg)
![Album image #10 Album image #10](/albums/img/6/7/5/420675-10252-67-720.jpg)
![Album image #11 Album image #11](/albums/img/6/7/6/420676-10252-65-720.jpg)
AK interactiv: easy cast texture
![Album image #12 Album image #12](/albums/img/6/7/7/420677-10252-73-720.jpg)
fully moveable bogie
![Album image #13 Album image #13](/albums/img/3/2/9/422329-10252-12-720.jpg)
![Album image #14 Album image #14](/albums/img/3/3/0/422330-10252-91-720.jpg)
Set of six bogie´s
![Album image #15 Album image #15](/albums/img/3/3/1/422331-10252-82-720.jpg)
New casting with MrSurfacer 500
![Album image #16 Album image #16](/albums/img/3/3/2/422332-10252-54-720.jpg)
![Album image #17 Album image #17](/albums/img/3/3/3/422333-10252-83-720.jpg)
![Album image #18 Album image #18](/albums/img/3/3/4/422334-10252-84-720.jpg)
![Album image #19 Album image #19](/albums/img/8/9/1/423891-10252-41-720.jpg)
The jig glue some piece of scrap stripes to the back
![Album image #20 Album image #20](/albums/img/8/9/2/423892-10252-50-720.jpg)
The jig is a tiny help to glue the single links
![Album image #21 Album image #21](/albums/img/8/9/3/423893-10252-40-720.jpg)
![Album image #22 Album image #22](/albums/img/8/9/4/423894-10252-46-720.jpg)
![Album image #23 Album image #23](/albums/img/8/9/5/423895-10252-81-720.jpg)
![Album image #24 Album image #24](/albums/img/8/9/6/423896-10252-46-720.jpg)
![Album image #25 Album image #25](/albums/img/9/9/6/425996-10252-90-720.jpg)
Ok, first time to see the different track links nr 4 (left side) and nr 3 (right side)
![Album image #26 Album image #26](/albums/img/9/9/7/425997-10252-19-720.jpg)
![Album image #27 Album image #27](/albums/img/9/9/8/425998-10252-26-720.jpg)
track completed, after pull and drag the track links
![Album image #28 Album image #28](/albums/img/9/9/9/425999-10252-34-720.jpg)
not so nice but fits
![Album image #29 Album image #29](/albums/img/2/6/9/430269-10252-64-720.jpg)
![Album image #30 Album image #30](/albums/img/2/6/6/430266-10252-32-720.jpg)
sidewall, front armour, doors
![Album image #31 Album image #31](/albums/img/2/6/7/430267-10252-70-720.jpg)
Fender and side armour
![Album image #32 Album image #32](/albums/img/2/6/8/430268-10252-46-720.jpg)
Door in and out side
![Album image #33 Album image #33](/albums/img/2/7/0/430270-10252-77-720.jpg)
![Album image #34 Album image #34](/albums/img/2/7/1/430271-10252-45-720.jpg)
Alignment befor glueing
![Album image #35 Album image #35](/albums/img/2/7/2/430272-10252-98-720.jpg)
Texture casting transmission box with Mr. Surfacer 500
![Album image #36 Album image #36](/albums/img/1/2/9/432129-10252-11-720.jpg)
![Album image #37 Album image #37](/albums/img/1/3/0/432130-10252-59-720.jpg)
![Album image #38 Album image #38](/albums/img/1/3/1/432131-10252-88-720.jpg)
![Album image #39 Album image #39](/albums/img/1/3/2/432132-10252-43-720.jpg)
![Album image #40 Album image #40](/albums/img/1/3/3/432133-10252-60-720.jpg)
![Album image #41 Album image #41](/albums/img/1/3/4/432134-10252-67-720.jpg)
![Album image #42 Album image #42](/albums/img/1/3/5/432135-10252-78-720.jpg)
![Album image #43 Album image #43](/albums/img/1/3/6/432136-10252-84-720.jpg)
![Album image #44 Album image #44](/albums/img/1/3/7/432137-10252-16-720.jpg)
![Album image #45 Album image #45](/albums/img/1/4/0/432140-10252-72-720.jpg)
Mr.Surfacer will help to recreate the cast texture
![Album image #46 Album image #46](/albums/img/1/3/9/432139-10252-87-720.jpg)
![Album image #47 Album image #47](/albums/img/1/4/1/432141-10252-56-720.jpg)
Detail: Gun barrel from RB Model
![Album image #48 Album image #48](/albums/img/1/3/8/432138-10252-39-720.jpg)
Kommentit
1 January 2018, 13:25
![](/profiles/img/11530-326-s.jpg)
Sehr schön. Du hast an den Gehäusen der Antriebsräder noch Gussstruktur aufgebracht,oder?
4 January 2018, 20:25
![](/profiles/img/10252-408-s.jpg)
Ja, fehlt ja. Der Vorderbereich wird auch noch behandelt, dort fehlt die gesamte Gussstruktur. Nervig ist halt das sich die Teile für das Fahrwerk fast über alle Spritzlinge verteilen
4 January 2018, 20:47
![](/profiles/img/10518-177-s.jpg)
Das ist mal ein schöner Baubericht! Hast du für die Textur dann doch nicht das Zeuch von AK hergenommen?
21 January 2018, 19:18
![](/profiles/img/10252-408-s.jpg)
Hatte ich erstmal probiert, aber das Ergebnis war nicht das, was mit Mr.Surfacer 500 machbar ist. Aber es wird seine Möglichkeiten noch bekommen. Habe ja noch zwei weitere M3 da.
21 January 2018, 20:04
![](/profiles/img/34174-191-s.jpg)
I love the Lee! Ever since I saw the movie Sahara with Bogart!
Is it a good kit?
/B)
21 January 2018, 21:19
![](/profiles/img/10252-408-s.jpg)
@Björn Svedberg: Nice Kit, i got three of them. Typical Takom quality, great details with some tiny issues. a bit to short tracks in the lenght, missing casting texture on the transmisson housing. Bogie assembly - Asuka/Tamiya/Italeri has done a better job, in my opinion.
22 January 2018, 09:56
![](/profiles/img/13457-212-s.jpg)
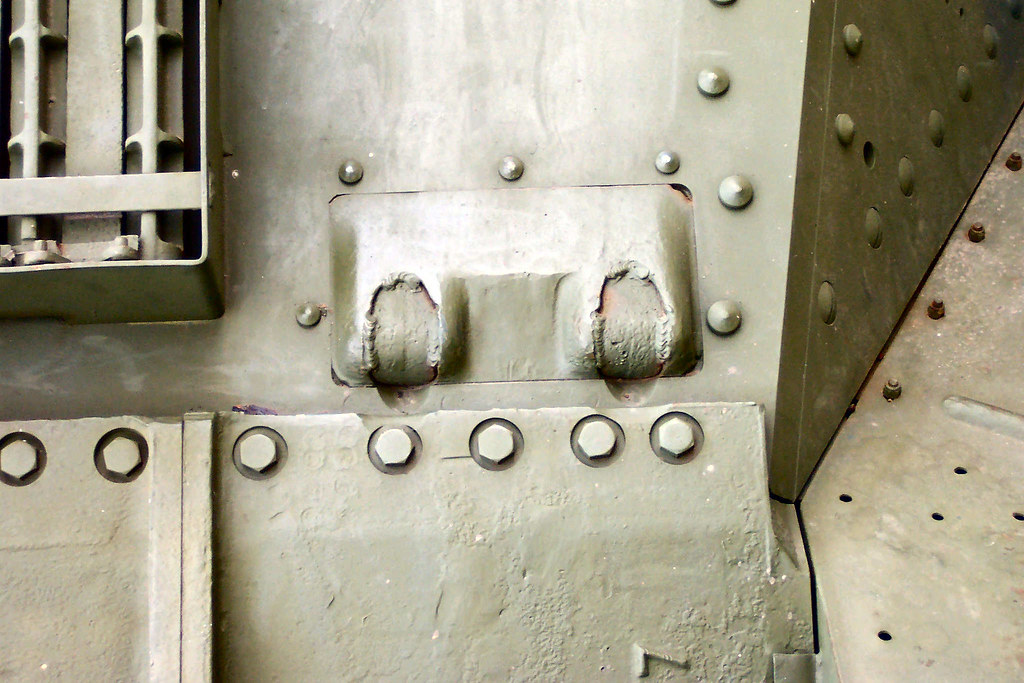
Nice work. Build Takom's Grant recently so I had to deal with the same issues. The parts of the transmission cover with the screws should have some (light) casting texture as well. On some Lees/Grants the two holes for the two hull MGs were pluged and welded shut. Takom offers just an "in the middle" solution. Easiest fix is to add some welds:
Example Lee: [img1] Grant: [img2]
If you should need help with the wiring of the lamps, there is a walkaround for the Grant which shows it in detail:
svsm.org/gallery/m3_grant
22 January 2018, 15:13
![](/profiles/img/10252-408-s.jpg)
Wird noch schwer die restlichen Teile auszurichten und zu verkleben, man kann nirgends wo eine Klammer anbringen, also kleben und mit der Hand pressen bis der Kleber abbindet.
26 January 2018, 09:56
![](/profiles/img/26692-411-s.jpg)
Das Problem hatte ich auch mit Takoms Whippet. Mir hat der schnell abbindende Tamiya Extra thin (hellgrün) da wertvolle Dienste erwiesen
26 January 2018, 10:09
![](/profiles/img/10252-408-s.jpg)
Okay, Danke für den Tip. Steht neben dem normalen Extra Thin aufn Tisch. Garnicht daran gedacht.
26 January 2018, 11:18
![](/profiles/img/10518-177-s.jpg)
In ganz krassen Fällen nehme ich UV-Sekundenkleber: viel Zeit zum Ausrichten, dann mit der UV-Lampe anstrahlen, hält!
26 January 2018, 16:53