

Scalemates Schwalbe Group build 2021

Ready to go


Decals from japo

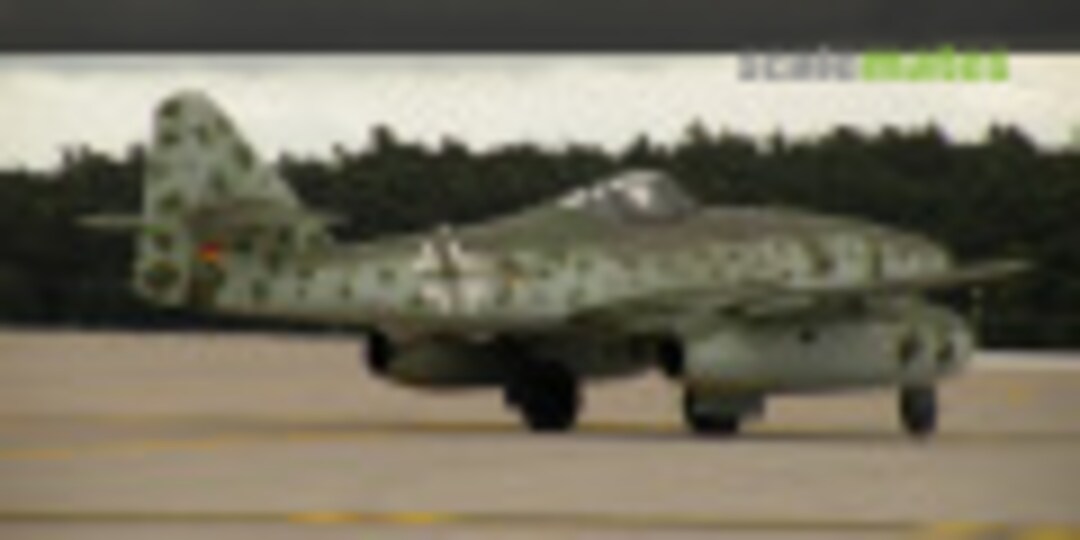
The subject of this build

Or kagero

First layers of rlm 66

Seatbelts added from the sparesbox

Seatbelts added from the sparesbox

Painted and ready for installing, looks terrible in the picture, yet not as bad in real life


Kit dash with kit decals, good enough for this scale

Added some details to the rear of the cockpit.

Cockpit tub closed

Inside painted aluminium

Good fit all 'round, little need for filler. I added a small strip of styrene to represent the metal strip between the gun doors, will sand this back later.

Good fit all 'round, little need for filler

Ring pulls added to the starters

In order to improve the fit of the upper wings remove all knock out tabs inside.

Added some details to the rear of the cockpit.

Added some details to the rear of the cockpit.

Cutting the ribs on the lower wing will help improve the fit of the engine nacelles, yet filler will be needed to blend them in. The fit is never good on any kit of the me 262 I've build, except for the tamiya kit maybe, but this will eventually be acceptable.

Blending the nacelles, with a big blob of filler 🙁

Blending the nacelles, with a big blob of filler 🙁


After sanding it isn't that bad, altough I'm not too pleased with the right nacelle, will put some paint on it tomorrow as a final check

About ready to paint🙂

Canopy masked and fitted, almost ready to paint

Basic paint has been aplied

Basic paint has been aplied

Basic paint has been aplied

Painted the replacement nose a different colour

Painted the replacement nose a different colour

First camouflage aplied


Camouflage ready for decals

Camouflage ready for decals

Camouflage ready for decals

Camouflage ready for decals

Reichs defence band included in the kit disintegrated when I tried to place them on the model 🙁

Lucky for me, I had a printscale sheet in my stash

Reichs defence band aplied🙂

Most of the decals aplied to the top.

Most of the decals aplied to the top.

Added the decals to the lower end, and started on those little stencils


Underside washed with Mig neutral wash


Siscorlink added from the sparesbox

Up on its feet, and the antenna wire fixed ( needs to dry before it gets cut)

I'm calling it done

I'm calling it done

I'm calling it done

I'm calling it done

Added to the collection 🙂
Kommentit
28 1 January 2021, 16:00
You're quite welcome 🙂
I'm well underway now, really enjoying it!
Overall this is a nice kit, yet to get it to fit perfect it needs loads of fiddling. Also, detail is lacking here and there.
3 January 2021, 16:45
I struggled with the topsides of the wings too today. I seems they should be shorter on the fuselage end, but the edge is not straight there 🙁
Let's see if your tab concept works 🙂
3 January 2021, 20:21
Make sure you clean all of the flash, I got the upper wings to mate with the fuselage. The engine nacelles don't meet the wing on the front, these require some work too. Testfit everthing before glueing the top of the wings.
3 January 2021, 21:55
Something I would recommend for filling is Vallejo putty. Just apply it and while it's still wet, use a damp cotton swab to wipe away the excess. You'll then have the gap perfectly filled without having to do any sanding (and thus sanding away the detail)
4 January 2021, 18:15
There's even a better one I can recommend:
Perfect Plastic Putty (Deluxe Materials BD44, No).
Why? It's always water-washable, even after drying 😮
")
4 January 2021, 20:56
@Otto, I have valejo putty, but don't like it, as it tends to shrink. I have used Tamiya White putty, which works for me.
@Lukasz, I'll have a look at it, where can you buy this?
4 January 2021, 21:55
Here the Martola shop used to import it. It's made in the UK, so now I have no clue it's still available on this side of the Channel 🙁
5 January 2021, 11:01
I remember seeing these being sold at euro militaire, many moons ago. Will have a look sometime
5 January 2021, 11:31
One important notice - it doesn't shrink, but also is not suitable for scribing.
5 January 2021, 12:02
Perfect is great for filling seams, Wing roots, and such. But not for any areas where you need to build-up, it dries too 'soft'. And as Lucasz mentioned, can't scribe it very well.
5 January 2021, 12:14
It's just the basecolour, after drying the rest will follow, probably friday
5 January 2021, 14:56
Ouahhhhh ,,, that's fast-modelling ,,,, I'm still trying to decide whether to build the Revell or the Airfix kit ,,,,, and, of course, which decoration go for.
Nice airbrush work BTW.
5 January 2021, 18:39
It helps to have a few days off from work, yet tomorrow I have to work again, so progress will be slower again 😉
5 January 2021, 19:31
Thanks mates.
Most of the decals have been aplied to the top, only the crosses on the wings are from the kit, unit marking, hull crosses and number two from japo, swastika from a kitsworld sheet.
10 January 2021, 15:51
I decided not to use the brassin wheels, as I feel this one is not good enough.I will use them on a future airfix me 262
29 January 2021, 14:45
I was contemplating this paint scheme for my own 262...until I took a closer look 😉 You did it more justice than I ever could have done. Stunning paint job Jan 👍
29 January 2021, 17:41
Thanks mates 🙂
Sebastian, just go for it, it looks harder then it actually is
29 January 2021, 18:13
Thanks Jan! For now I stick with my simple green-grey-white-red 'what if' japanese 262 😉
29 January 2021, 19:45
Thanks mates, you are too kind🙂
Roland, this family is still growing, I have another four in my stash
7 March 2021, 12:27
Absolutely amazingly cool and rare seen Camo Jan.
Wonderful executed .. I really like your Swallow... Very well done Mate 👍
7 March 2021, 12:47
Project info


Group Build
Scalemates Schwalbe Group build 2021
1. tammikuu siihen asti kun 31. joulukuu 2021
1. tammikuu siihen asti kun 31. joulukuu 2021