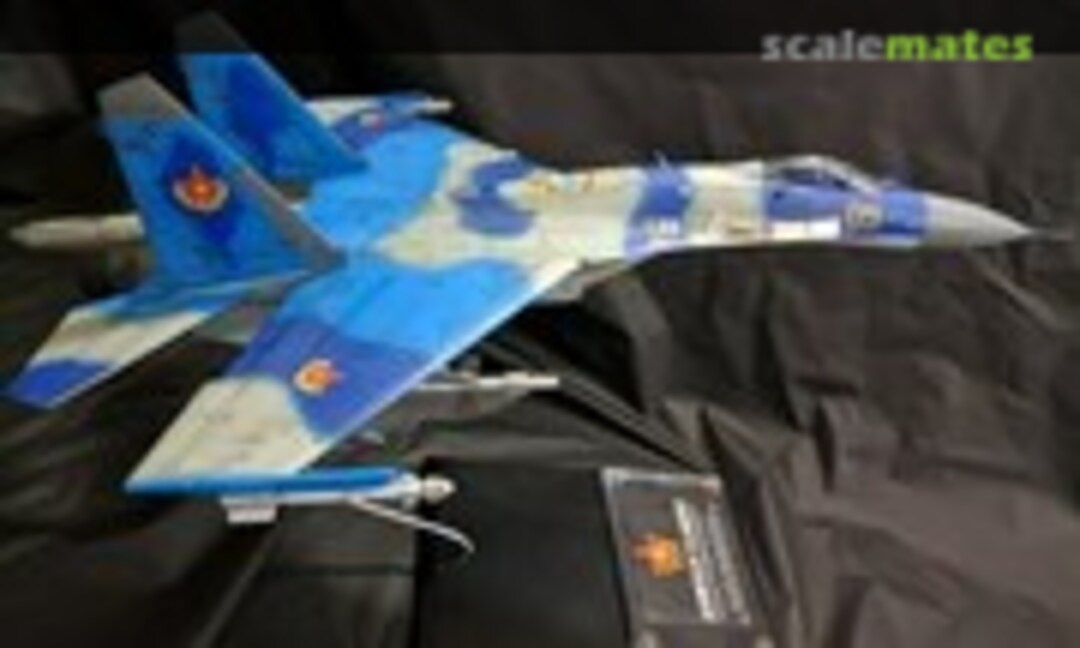
Academy Su-27 Flanker-B - WIP
Commenti
28 September 2016, 14:24
Decals not shown in first pic, but they are Begemot Flanker Family 2 and are en route from Russia right now. Scheme will be Kazakh Air Force and this will be an in-flight display.
28 September 2016, 14:39
watching! I was told it is the current best kit in 1:48 scale of a Flanker?
28 September 2016, 15:02
Welcome Marko and Melf! Melf, this was the best Flanker kit in 1/48 for a LONG time. The others were merely poor copies of this kit. That has changed, however, now that the Hobby Boss Su-27 and J-11B have come out. But the best Flanker of all in 1:48 is the Kinetic Su-33. That is an AMAZING kit!
28 September 2016, 15:07
i am in, i can resist a Su-27, and i am sure you will make something really great
28 September 2016, 19:14
Hi Michael, Since you are investing in aftermarket, try to take a look at the metal landing gear:
scalemates.com/kits/193202-s..0-su-27-flanker-landing-gear
They're excellent, but work best with the rubber wheels kit version (special edition). And I assume from the badge on on the lower right corner on box it has rubber wheels.
Metal parts will support this large and heavy model and hence will live longer on shelf also details are not bad : )
29 September 2016, 08:32
Thanks for the suggestion Cortex, however this one will be built "wheels up" in-flight, so I won't need any landing gear at all for this project. 🙂
29 September 2016, 12:45
Oh thats a build for my taste, i´ll take a seat, Michael! 🙂 Has anyone a beer for me?
29 September 2016, 14:57
Holger, I have traded my beer drinking in for something a little different... So can I offer you up a Captain Morgan and Coke... Cheers!
29 September 2016, 17:24
So a little update... I masked and painted the individual intake halves last night, and after looking at the pics today and checking my paint references, it appears I definitely painted them the wrong color of light blue (too dark). So back to re-masking and re-painting them tonight. Doh!
29 September 2016, 17:27
Fixed the light blue booboo on the front of the intakes, and put them all together and closed up the wheel bays. Yep, I sure do have some filling and sanding in my near future. Lovely.
3 October 2016, 19:16
Got the canopy masked and attached, as well as the Metallic Details nose. It took me awhile to be sure I got the nose on correct as there is really no mark to sort which way it goes, but studying pictures I am pretty sure I got it right. Now I have to sand and blend the nose in, it is ever-so-slightly larger than the kit.
4 October 2016, 13:08
Looking good Michael! How did the nose fit? Mine on the SU-30 build was a bit over contoured. Had to be creative to stretch the kit fuselage out to match the nose.
4 October 2016, 22:55
Mine fit pretty good, actually. Just a little filler and sand the cone slightly. Looking at the nose from the top I am still not sure I got it on right. I wish there was some kind of indicator on which way it goes!
5 October 2016, 18:31
Very nice Flanker so far. I'm looking forward to see the finished model.
9 October 2016, 07:47
OOo I am liking so far, I have one of these to do, how did you deal with the mold seam on the canopy?
9 October 2016, 16:00
Thanks Adam, Stefan, and Augie. Augie, I used a 4-way nail buffer to remove the seam. Started with the most coarse down to the buffer and polisher side. Then I dipped it in future. Works great and takes like 10 minutes.
9 October 2016, 16:39
Thats the same way, i deal with seams on canopys. Nailbuffers and future/pledge, or what ever, works fine!
9 October 2016, 16:46
Excellent, had to ask as I've not had to deal with many. thanks for the tip 🙂
9 October 2016, 17:59
Thanks Bart! Cleaned up the camo edges and painted the tail caps and radome last night. Just gotta clean up the light blue underside and it will be time for a future coat in preparation for the decals.
10 October 2016, 12:26
Thanks Murad! Decals added last night... all twelve of them. LOL Not putting stencils on, although I might look to see what stencils are in the OOB decals and apply those.
12 October 2016, 12:39
Wow a very colourful Kazakh Flanker Murad. Nice to see a Flanker from a different airforce. Incredible paint job also 👍
12 October 2016, 18:47
Yep, sprayed freehand. I hate masking, so I worked on holding my airbrush in a way that I can keep a very steady line (leveraging/bracing against my other hand or arm).
14 October 2016, 05:03
Maybe its just me but the replacement nose looks too long, compared to your original picture. LOL 😄
14 October 2016, 08:02
Holger, I put it against the OOB nose and it is only slightly longer, and is the same length as the QB nose and Miniarm noses I also have, so maybe it was just the photo angle or something. 🙂
16 October 2016, 05:54
So I had a decal fiasco last night. While masking for the bare metal gun panels, I pulled off most of the "5" of the 05 Bort #. But there was a little bit of the decal left as well as a glossy shape of where the decal was. So I masked and painted white and then yellow (matched as best I could to the decal) then hand painted the thin red outline of the number. It is not perfect, but it sure beats shelling out $20 and waiting for a replacement decal.
16 October 2016, 05:57
Album info
In-flight build.


