

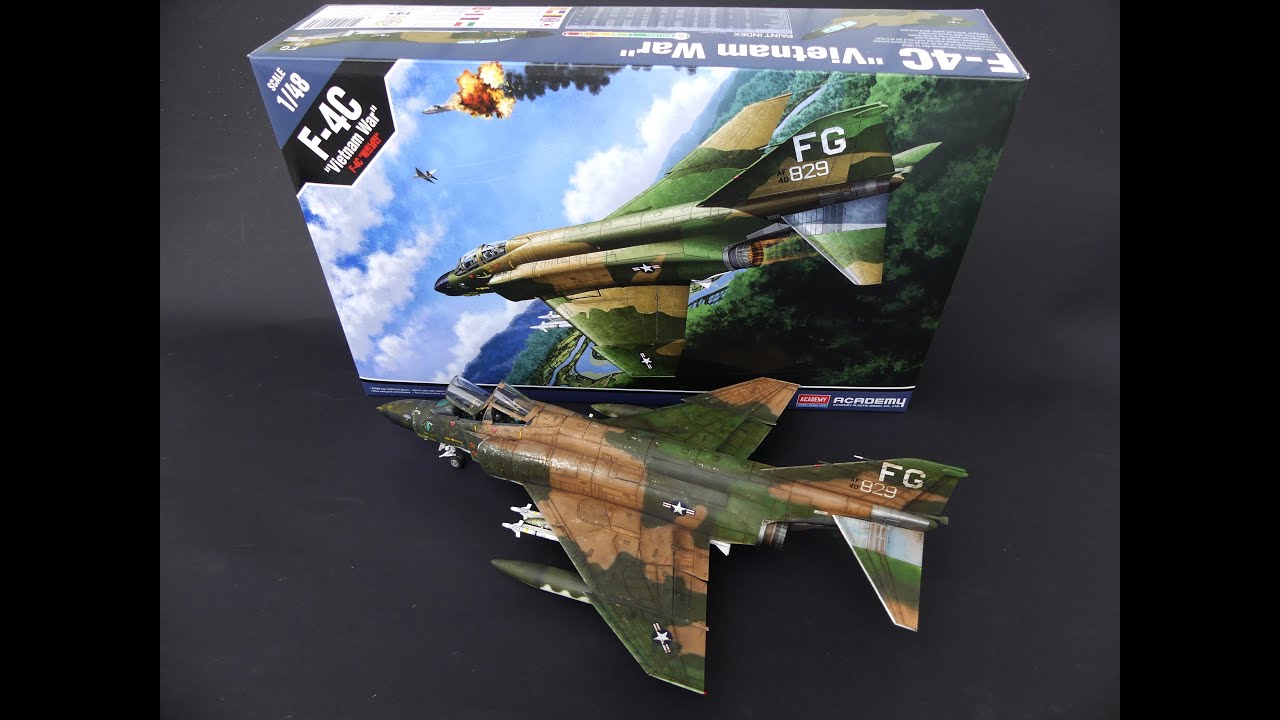
F-4C Phantom II 1/48 (Academy) Robin Olds Scat XXVII

Cockpit with scratch built parts and Quick boost ejection seats


Scratch built side walls glued into the fuselage

Scratch built side walls glued into the fuselage

Intakes and exhausts

Exhaust painted. I didn't use aftermarket exhaust as it gets far less attention than cockpit. I tried to create some illusion of more complicated exhaust with paint.

Scratch built engine part

Parts in lower fuselage

I added dial backgrounds and some wires to both cockpits

After those are painted, they quite blend in

When seats are in place, very little can be seen.. Cockpit is now ready.

I really hated this three colored plastic thing, it reminded me of old Matchbox kits. Everything ready for paint

Bottom side, you can see the scratch built parts between landing gear

Now this looks much better, now it looks like Navy plane to my eye

Bottom will stay white as this was not painted with camouflage grey at any point

Top painted (free hand camo) with AK real colors SEA scheme, I didn't like the colors (I would have preferred MrPaint) but these I can chip

No much difference to last one, but bottom was painted with MRPAint insignia white

Some masking to the metal parts..

Painted markings to the bottom (and tail metal parts painted)

Chipping to the top paint and some fading to the radome

Over painted bottom markings (and better view of tail metal parts)

A lot of markings going over this overpainted insignia..

Decals goes nicely on, no need for Tamiya Mark fit super strong, Micro SOL does the trick

All the decal are on top

All the decal are on bottom, those overpainted markings blend to the bottom quite much

Bottom side weathered with Flory wash and oils

Topside weathered with Flory wash and oils

Everything ready for final assembly


コメント
64 18 November 2022, 18:58
I hope you like it. I update this when I have something to show.
23 November 2022, 15:31
Nice paintwork. Colors look good, I wouldn't worry that's an issue. Can always change the tone with a wash anyway. 👍
28 January 2023, 18:41
Thanks! Yes that is very true. I think after the weathering I don't see the original colours too much..
28 January 2023, 19:25
A true legend! awesome painting, the chipping is just perfectly made for this particular jet, (not an easy task, theres a thin line between realistic used look and repainting the whole thing...)
19 March 2023, 16:41
Extremly nice and awesome details (overpainted insignia for example). Excelent. I'm curious how the phantom will look like in the end.
Is there a photo that you use as a reference?
19 March 2023, 16:53
Thanks for the comments!
Weathering was interesting, it is always difficult to balance realistic and nice looking. I'm glad you like it!
I used pics on the Internet and excellent fundecals instruction
for reference. And my books of course too.
Some sites:
piccianiaircraftphot..-4c_phantom_page_one
fundekals.net
19 March 2023, 17:53
Thanks for the links.
I think the weathering has become great. The aircrafts were partly very weathered during the war.
27 March 2023, 16:15
Stunning looking F-4! 👍
I keep saying to myself that THIS will be the year that I pull my finger out and build one; but it never eventuates. This build has definitely renewed my desire to finally do it. 😉
27 March 2023, 16:26
Wall to wall stencils, but your scratch building skills and eye for the painting and weathering are awesome. Wow!
27 March 2023, 19:40
Thanks for your feedback! Here is a build video if you are interested:
Youtube Video
28 March 2023, 04:08

