
News Feed
")
")
")
")
")
")
")
")


")
")
")
wants this item
")
Plan 9 from Outer Space
Custom Base for Polar Lights/Lindberg/Glencoe/Atlantis UFO Flying SaucerSkyhook Models 1:48
None 6 October, 01:05

")

")
")
")
added a new photoalbum.


6 29 September, 22:20
If I do them in batches of 8 I need 11 batches for each side. That helps me keep count.
29 September, 22:21
Oh good, peer pressure, that'll keep me from slacking off. ^_^ I'm up to six 8-link sections of track so far, 16 to go. I had a panic moment where I was afraid I'd bought the wrong tracks, so the first thing I assembled from the Trumpeter kit proper was the sprocket wheels. And whew they do fit! Got a start on the lower hull too before bedtime.
30 September, 03:02
I've been curious about metal tracks. I find the plastic individual links hard to work with but maybe I just need more practice.
30 September, 14:37
I'm still figuring this website out, is the 2nd photo visible? I'm halfway there with the track, 11 of 22 sections, and in addition to the sprockets I've got the idlers and all the road wheels assembled. I was hoping to finish all of Step 1 as well, but I had some fit problems with the upper deck. Did it have to be in 3 pieces, Trumpeter? 😛
For one part of the rear, there's a choice of plastic or PE parts, and I had a go at trying the PE, using a tool handle that was about the right diameter as a mandrel. It didn't come out perfect, but I was looking at photos online of a real KV-85 on display in St Petersburg--the kit instructions were a little unclear about how it should look once assembled--and the real flange has a good big dent in it too. So I figure I'm good. ^_^
Following some old advice I remember from ~20 years ago when I first heard of Friul tracks, I'm using sewing pins rather than the softer wire that comes with the tracks. The fit is snug enough that I can press two links together and they will (4 times out of 5) stay put long enough to slide the pin in. Couple things I've learned the hard way: 1) gotta use a pin vise to drill them out, as hard as it is on my poor old wrists. Using a Dremel, it's too easy to do irreversible damage too fast; 2) don't cut off the pin heads and glue the pins down until I'm REALLY REALLY sure I've got them in the right order.
Two days, 11 sections totaling 88 tracks, and I've only stabbed myself with a pin 3 times. Go me.
1 October, 02:39
Yes, the second photo is visible. You can go into the album, click edit, then for "teaser" select "use last image" and then click "save and close" if you want the newest picture to always show.
I would never have guessed to use sewing pins for this, yeah I think drilling all those holes with a pin vise sounds like fun for my arthritis.
1 October, 02:54
Finished Step 1, not counting some gaps to fill and other cleanup. Oh god, those tiny tiny engine deck lift rings. Thank god the kit came with spares, I yeeted at least 6 of them into oblivion. 😛
2 October, 02:13
Today's progress was making those two engine vents from the ET Model PE set. I've had that etch-mate sitting in a bin for 20 years, still in the original packaging, never used. 😛 It was a little frustrating to get those teeny teeny pieces aligned, but it was also very satisfying. Part of what attracts me to modeling--especially tank modeling--is a fascination with machinery. How parts fit together, and how they move and interact with each other to make a working machine. It's why I had to choose a subject I could get those working metal Friul tracks for. And bending those PE parts, turning flat sheets into a 3-dimensional object, that just really makes me happy for some reason.
Thank GOD for my optivisor, though.
Hey, more experienced people, I would really appreciate some advice on how to fill that horrible gap between the middle and rear upper deck pieces.
5 October, 02:27
> If I do them in batches of 8 I need 11 batches for each side. That helps me keep count.
Quick tip for building tracks: write 1 on the tenth link right after you put it in, 2 on the 20th, 3 on the 30th, etc. That way you can build the whole track in one length but don't have to keep counting to see how far you've gotten.
5 October, 10:49
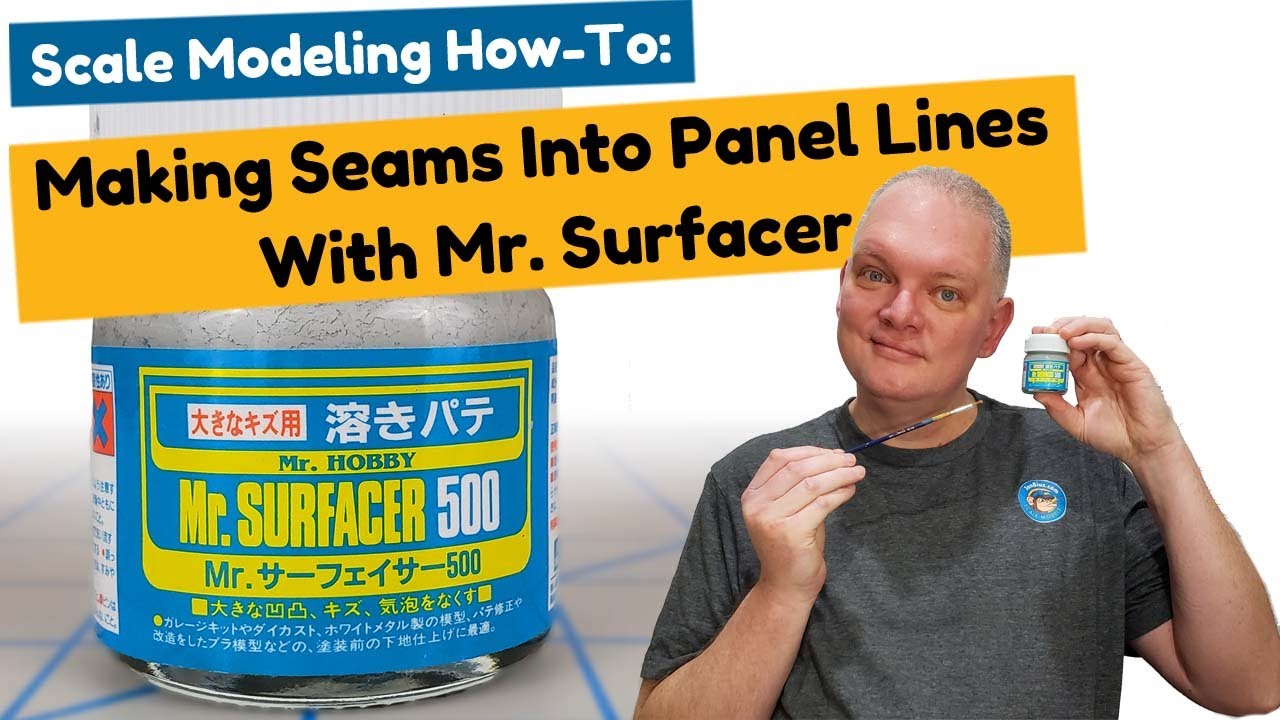
Ben M and Jakko, thanks for the suggestions! I ended up trying a technique I found on youtube that uses Mr. Surfacer 500, because that's what I had on hand. It seems to have worked pretty well, although the cleaning-up process afterward was a bit of work. I'll have to see if I can find that putty. Here's a link to the technique I tried: Youtube Video
6 October, 01:00
/search.php?q=*&page=newsfeed&fkSECTION[]=Newsfeed
search-solr.php?lang=en
35
35
/search.php?q=*&page=newsfeed&fkSECTION[]=Newsfeed
35
todo