
Newsfeed
")
")
")
heeft een nieuw fotoalbum toegevoegd.
4 afbeeldingen
1:72 Hobbycraft CC-142 Dash 8-100 CFB Lahr 1987-1991
1:72
What I expected...


Project: CC-142 Dash 8-100 CFB Lahr 1987-1991


15 September, 18:24
")
")
heeft een nieuw fotoalbum toegevoegd.
4 afbeeldingen
Panzerjäger der Bundeswehr
1:35
The KaJaPa from „Das Werk“. Nice kit.


Project: VT 1-2: The StuG for the Eighties


6 11 July 2022, 18:37
")
")
")
heeft een nieuw fotoalbum toegevoegd.


27 25 August, 10:13
These four pictures begin a project that should result in one of the largest models I have ever attempted. Not the biggest - the 1:32 Liberator holds my record here - but close!
However, the impressively large box contains surprisingly little and, also surprisingly, large components such as the fuselage, wings and tailplane are already assembled. Incidentally, these are made of fibreglass and require their own treatment.
These parts are also stable and clean. A bit of filling was required, as the traces of glue and filler on the seams are very rough and show air pockets. This will now be sanded, the cockpit sawn out and the windows drilled - well, modelling a little differently than usual! 🙂
25 August, 10:20
The panel lines look ok I guess. I mean, I would be happy with those panel lines.
25 August, 11:26
Like it , nice project.
I'm working on the Beriev Be-6 Armoured Flying boat,
Revisiting a kit after 33yrs.
All the best with yours...😃👍👍
25 August, 11:52
A true behemoth it is. I will surely follow this build with utmost interest!
25 August, 13:15
Looking forward to seeing this take shape. 🙂
I believe the last Mars had it's final flight two weeks ago.
Youtube Video
Youtube Video
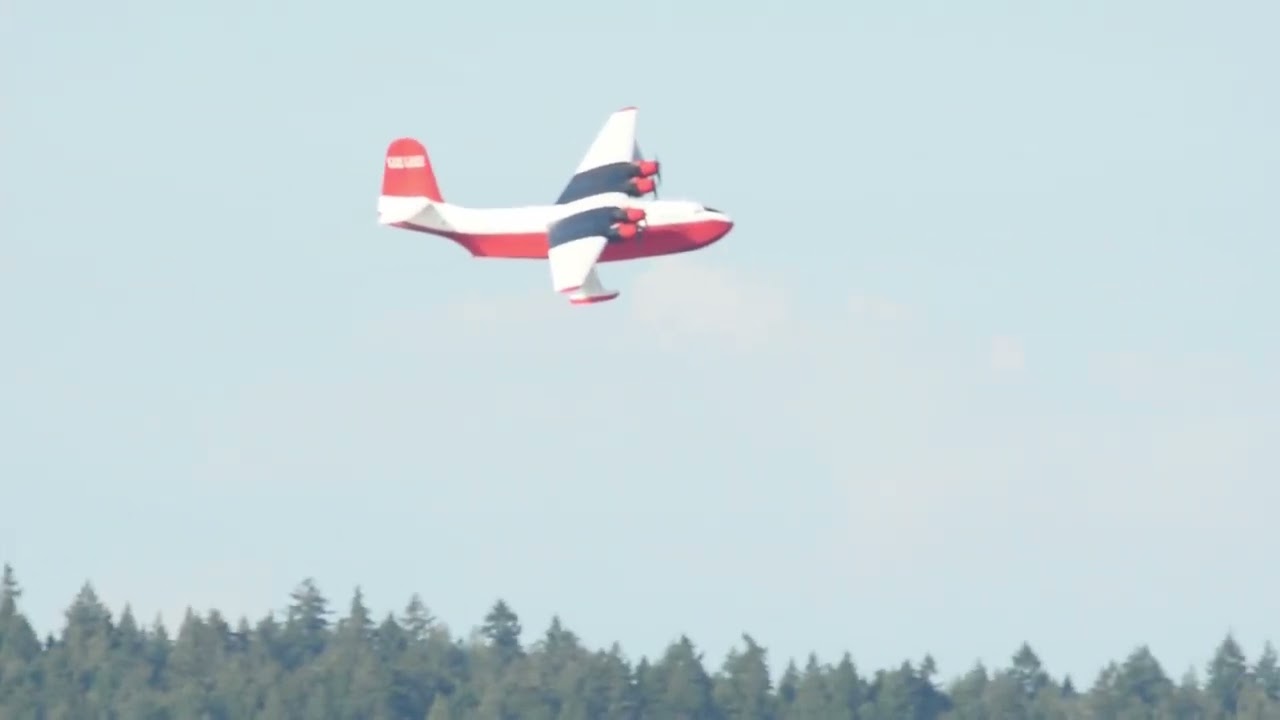
25 August, 13:22
I am very happy about all your interest! In fact, I also started this project because of its topicality; the pictures of the last flight of Hawai Mars are always a heart-warming pleasure; this one in particular, thanks Gorby for posting it!
Today I drilled the openings for the windows in the fuselage; I determined the diameter of the holes from kit glass parts. They seem a bit big to me, but we'll see. As I'm not going to use the clear parts from the kit, but want to make them with Klearfix, I could reduce the diameter quite a bit.
The next steps will be to finish sanding the fuselage seams - now only the top side has to be done - and then to glue the wings and stabilisers to the fuselage. To do this, I'm cutting solid steel rods to length, which I'll glue in place with a two-component adhesive.
The Mars should be ready by mid-October: I want to take it to the Euromodel in Ried, Upper Austria.
And yes, In fact, the more or less finished Fairchild F.91 had to serve as a scale model in the background! 🙂
25 August, 14:11
Du bist echt eine Bau-Maschine, Roland! Und immer kommt etwas sehr schönes raus! 👍
25 August, 14:26
The construction of Mars is progressing: I'll show you a few construction steps in a little 'time lapse'. Attaching the wings and tailplane with 2k glue worked well; the materials could be sanded smooth and fine afterwards. However, the brittleness of the fibreglass caused some difficulties; parts kept splintering off and had to be filled, sanded and re-engraved. As I always do the whole thing standing up, wearing a mask and under running water, this always turns into an almost athletic exercise 🙂 But now it seems to be over and the Mars is ready for its first encounter with colour... I took the two crew members under the cockpit canopy to make the proportions clear and to keep my options open for presenting the finished aircraft - who knows, maybe it will take off or fly?
29 August, 07:38
It's a bit of a monster! 😮
Doesn't look like an easy build but you seem to be beating it into shape. 🙂
29 August, 08:57
Wow... an unusual and gigant model... It seems like fiberglass is difficult to handle.
Great job so far, Roland!
29 August, 19:49
Thank you very much for your motivating feedback and your interest, mates!
30 August, 10:50
I have to follow that behemoth 👍 I don't think I'll ever find enough space to build one myself 😄
30 August, 11:00
My goodness, your models are just getting bigger and bigger! I cannot wait to see it finished!
30 August, 12:04
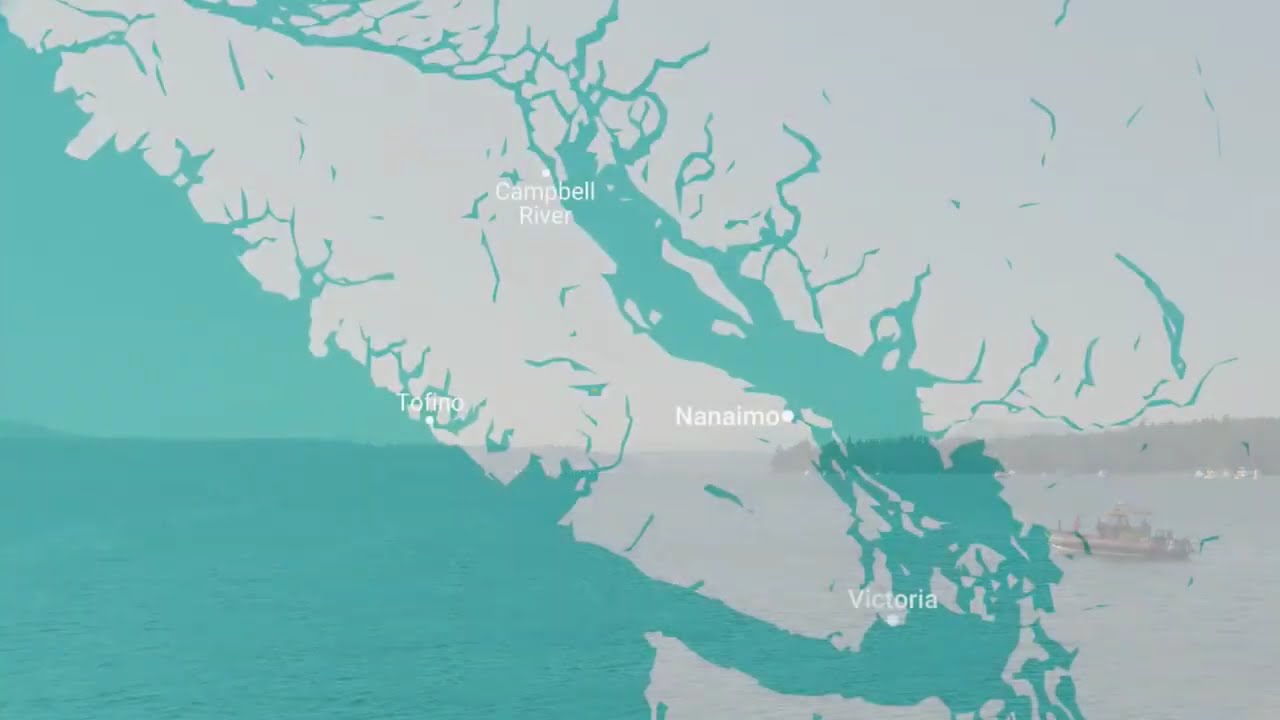
Following as well. Just saw its retirement flyby and landing in Pat Bay, Its Huge.
31 August, 13:19
Fortunately, the Martin Mars has reached the stage where the colouring and surface design will be the main thing; so far I've been 'plugging holes' again and again: the fibreglass surface proves to be quite brittle, damage is difficult to putty, and when re-engraving the lost panel lines it quickly happens that it cracks again under the carefully guided scalpel blade - and a new hole has already appeared. The new pictures show a few such construction sites, for example at the bow under the cockpit glazing or on the back of the fuselage between the wings.
But, all in all, in retrospect it's all half as bad, now I'm looking forward to the paintwork!
Thank you, mates, for your interest and feedback! Ray, I would have liked to have experienced that too!
15 September, 18:24
Roland, I was unaware of these problems with fiberglass and it is a shame that these kits are so expensive considering the quality of these materials. I think the worst is over. You can feel proud of the work done so far. The effort was worth it. Go on!
15 September, 18:31
Those are encouraging responses, yes, Cuajete, I think so too. Thank you both for your interest and comments!
15 September, 18:33
")
")
")
")
wil dit item
")
Ah-6F/J Attack Version Conversion and weapon set
CMK (Czech Master Kits) 1:48
4276 15 September, 18:32
wil dit item
")
1977 Pontiac Firebird Trans Am Special Edition
Rays Kits Decals (Rays Decals) 1:25
RKD246 2023 Nieuwe mallen 15 September, 18:32
")
")
")
")
wil dit item
")
MD 500F extended vacuformed canopy
AVM Scale Models 1:48
15 September, 18:31
")
")
")
heeft een nieuw fotoalbum toegevoegd.


16 15 September, 09:45
Well done pretty model! Shows how extremely detailed kit this is for this scale 👍👍👍
15 September, 15:30
I heard this kit is extremely detailed, but you made it look even more realistic 👍
15 September, 18:29
wil dit item
")
Mi-24 Hind "UAV" & Humanoid Light Tank "Goat UGV" Limited Edition
Hasegawa 1:72
02368 2021 Nieuwe onderdelen 15 September, 18:29
wil dit item
")
MH-6E/J Little Bird - Conversion set for Academy
CMK (Czech Master Kits) 1:48
4275 2012 Nieuwe mallen 15 September, 18:29
")
")
heeft een nieuw fotoalbum toegevoegd.
22 afbeeldingen
1968 Camaro Z/28
1:25
Calling it done


Project: '68 Chevrolet Camaro Z/28

4 21 August, 20:17
")
")
")
")
/nl/search.php?q=*&page=newsfeed&fkSECTION[]=Newsfeed
search-solr.php?lang=nl
35
35
/nl/search.php?q=*&page=newsfeed&fkSECTION[]=Newsfeed
35
todo