

Henschel HS P.75

Main parts cut from the blocks and prepared for glueing. Drilled holes for alignment pins to aid in positioning while glueing.

dryfit

first sections glued and sanded

and bottom side

nosejob 😉

Kit cockpit was sparce and left some big opening to the rear frame

made a cockpit in styrene

totally removable for painting and detailing

The resin landing gear is rather solid, but the model in very heavy. I think it will bend from it's own weight over time. So I soldered some Albion alloys tubing to replace the original parts..

Checking the seams

Checking the seams

Checking the seams

Cockpit painted in base RLM66

Cutting up the Quinta decals

And glue them till it looks busy

Section of the wings is euhm... weird

To have a regular section, this should be removed

Also one of the wings has a dent

Some heat later

Then some reinforcement pins

Dryfit... some large holes to fill

First one done

Second too

Both equal

Still some sanding to do when joined to the hull, but that is place by place, here at the rear

Here at the front

But first the landing gear, even in dryfit, or it can't be mounted anymore.

filling the rather large gaps.. luckily I had enough sanding dust to use as a filler

filling the rather large gaps.. luckily I had enough sanding dust to use as a filler

and for the more fine work... drying for the next sanding session. The wing has a lot of micro-holes from bubbles

and for the more fine work... drying for the next sanding session

still some wings to add, but so far so good

Ready for a check with primer

Ready for a check with primer

More filler was needed

Looks promising

Looks promising

Looks promising

Pleasantly surprised

Pleasantly surprised, some small pitting still in the wing, but...

Tracing the lines for scribing. These small holes from bubbles were filled with tiny amounts of CA

Tracing the lines for scribing


Cutting out the louvres

Cutting/deepening the lines before scraping

Both sides done

Started the bottom side

Proposal fot bottom lay-out, with additional droptank and wing mounted guns

Top lay-out, the beige exhaust is from the kit, the grey ones are from a Typhoon... but look more sleek, albeit too large for the top

The right one are smaller but from a He-111. I only want to use the top scoops

These...


cutting up the exhaust

in tiny parts

clamping before thinning the contact surface

sanding paperthin

all done

Canards, with some reinforcement insid

Canards, with some reinforcement inside

Canards, with some reinforcement inside, gaps filled

Canards, with some reinforcement inside, gaps filled

Tail, same story

Dryfit

Further scribing topside

Further scribing bottom

Exhausts bottom

Exhausts top

Exhausts top

Dryfit main landing gear

Dryfit main landing gear

Added some detail with paper

Nose landing gear dryfit

Other details too

And at the bottom. Still need to check for droptank etc...

Riveting almost added
Opmerkingen
27 16 September 2022, 07:57
Some progress on the wings.. dryfit is now OK, but the section of the wings is something that bothers me from the start...
25 September 2022, 20:30
Are the wing sections not matching up to blueprints and they need to be flatter? That looks like a lot of sanding so I'd leave it be, but that's me being lazy.
Cool looking bird, it kind of looks like a Shinden that someone stepped on a little!
26 September 2022, 01:29
Bitten the bullet and started sanding. First 80 grit, then 120 and 360 grit. Then some wet sanding.
Next up is joining them with the hull
26 September 2022, 20:46
Remarkable subject Bart, never seen this one before. Also a challenging kit but I see you are doing fine, just take your time with this one! Also watch out with sanding resin, best to sand under water.
27 September 2022, 06:59
Thx erik. It is a so called paper plane. think it never got past the design phase, or maybe windtunnel tests. Think the inherent instability of the aircraft was a killer without the more modern computer aided compensation. For sanding I use a mask (thanks to corona there's an abundance at home). Wet sanding is for the finer work.
28 September 2022, 07:08
Very interesting subject! Looks like a challenging kit, but you're doing great. Can't wait to see the painting stage on this build.
28 September 2022, 13:52
Thx Nathan.. that will take some more time. First sanding the hull smooth, then rescribe....
29 September 2022, 17:17
Thank you.
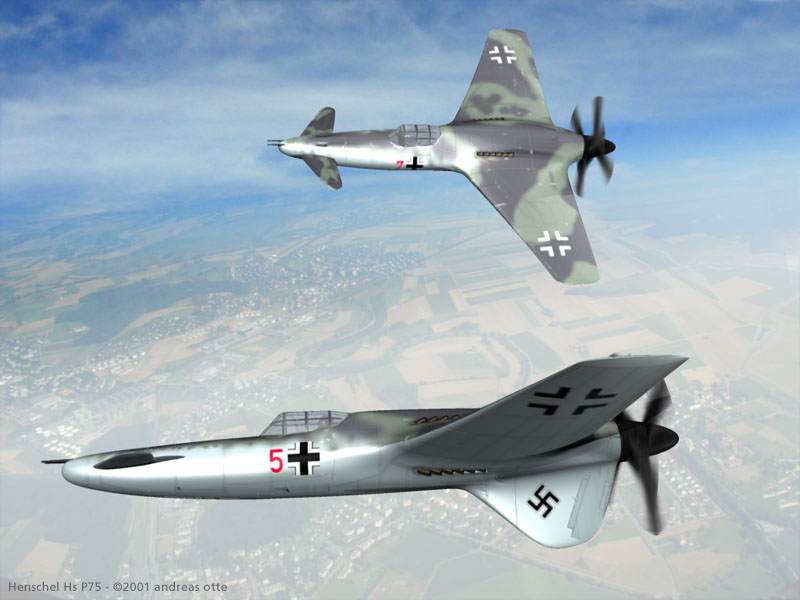
Still looking at some late war camo's, but this one looks tempting:
[img1]
30 September 2022, 11:22
Now this looks like some serious modelling to me. Watching and wishing success.
30 September 2022, 14:34
Thx Erik. Main tracing of the upper hull has been finished. Riveting has to follow. On the nose I will still have some work to fill the original tracing. Made another lay-out there with regards to the canards...
5 October 2022, 04:05
Some questions/proposals about the lay-out for exhausts etc. Opinions are welcome
8 October 2022, 07:09
I really like your drop tank and gun pod additions. My opinion on the upper exhaust is for the He-111 type. Definitely better than the kit version.
8 October 2022, 08:53
Hi Bart, I am not sure about the droptank in this position. Have the feeling this airflow and turbulences would interfere with the vertical stabilizer. Definitely it would change once it is dropped!
13 October 2022, 06:00
Thank you Andreas. It has to move anyway because of the exhausts at the bottom. They had to be closer together due to engine lay-out. Will come back to that later on, omit it alltogether or go for a P-51 lay-out... time will tell
13 October 2022, 06:14
Great progress Bart! Quite a work with a resin kit and you make the best out of it.
13 October 2022, 19:04
Thank you. I have confidence in building, it's a bit the painting stage that worries me. Tonight I worked on the main landing gear... dryfit looks OK, only to adjust the height
13 October 2022, 20:41
Thx guys. I used a Rosie the rivetter for the smaller holes. The larger holes are made with a MRP needle scriber.
20 October 2022, 05:46


