

03- Assembling the Wittmann's Tiger I Late

while we wait for the new airbrush to arrive at the post office to continue painting on the Panther Ausf.G by M.N.H. I'm going to start working on the Tiger I possibly used by Michael Wittmann in the battle of Villers-Bocage, here's the kit!

taking some notes about the corrections of the kit, what options are correct or not, and things to do in assembly steps!


start of the basic assembly of the chassis and tower to apply the zimmerit, here correcting the the ejection pins marks!

while the self-curing resin to cover the marks of the ejection pins is drying, we will work on the rear panel
On top of the rear hull wall, there are 8 small raised locator tabs. These were used with the Feifel filter system in Academy's Early Tiger kit. But, in a Mid or Late Tiger, they should not exist. You should cut these tabs off.
On top of the rear hull wall, there are 8 small raised locator tabs. These were used with the Feifel filter system in Academy's Early Tiger kit. But, in a Mid or Late Tiger, they should not exist. You should cut these tabs off.

These raised rectangular frames for mudguard, on the left and right side of the rear hull wall, did not exist in Mid or Late Tigers. They were present in some Early Tigers, but Academy have mistakenly included them in Mid and Late kits.

The Tiger had an adaptor tool to align the starter handle with the engine.

On some Academy kits, the tool is glued to the rear hull wall. There is a raised circle to locate it. here the circle was removed, but you can see his shadow yet

But in a real Tiger, the tool was fixed to 2 small poles, holding it some distance from the hull wall, here made with some useless spare parts!

Two posts were welded on the Tiger's upper rear plate, for storing the starter adapter. This diagram shows one post

and here the two holes in the hull wall to guide the tool were he will be fixed after the zimmerit coat be applied

In December 1942, when sheet-metal exhaust shields were added to the Tiger as standard, the posts were rotated 60 degrees about their initial position

The adapter was now held vertical, avoiding a collision with the shields.
diagram references from: tiger1.info/EN/Starter-adapter-posts.html
diagram references from: tiger1.info/EN/Starter-adapter-posts.html

preparing the pieces for apply the Zimmerit

preparing the pieces for apply the Zimmerit

preparing the pieces for apply the Zimmerit

preparing the pieces for apply the Zimmerit

preparing the pieces for apply the Zimmerit

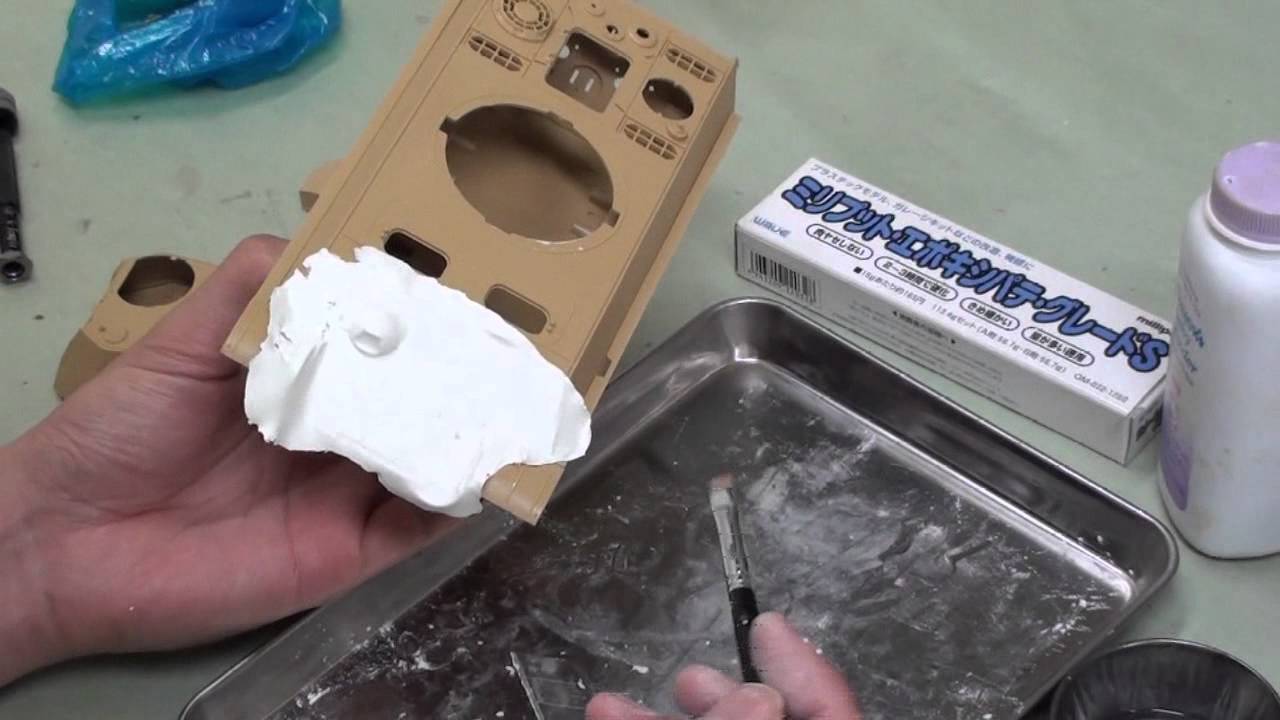
I am using epoxi putty to my Zimmerit!

mix the two equal parts of epoxi putty and throw a lot of talc on the table! (I made a short board with 0.20mm high jigs, it kills me a lot of the time it takes to open the dough)

put the putty on top of the talcum and slowly open it with your fingertip

go opening the putty slowly and without forcing too much, turn and powder it constantly so that it does not stick to the roll or the table!

when the putty becomes in the size of the piece what you want to cover, you will wet your finger and wet the place that will receive the putty and a litle the contact side of the outty! otherwise it will not stick, it will go wrong and you will curse me! 😄

and the putty has to be VERY thin! ( so the thinner you open the putty, better he is!!! So then throw more talcum and open more!)

and again, mooooooore talcum! 😄 😄 😄
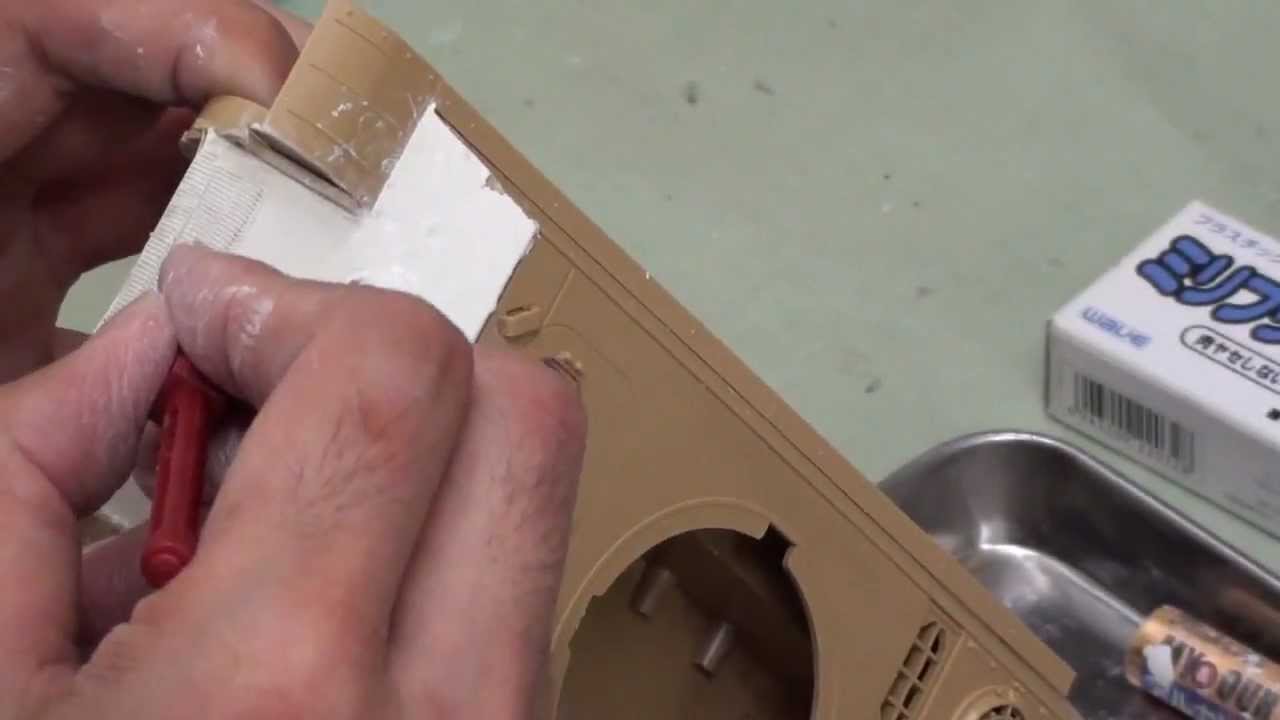
but now for the tools!
but now for the tools!

as you pass the tool, the epoxy will get thinner and thinner and spread! (that's why I used the tape to delimit the area I wanted to leave without zimmerit and also to help remove the excess!

after cleaning the excess this is the result!

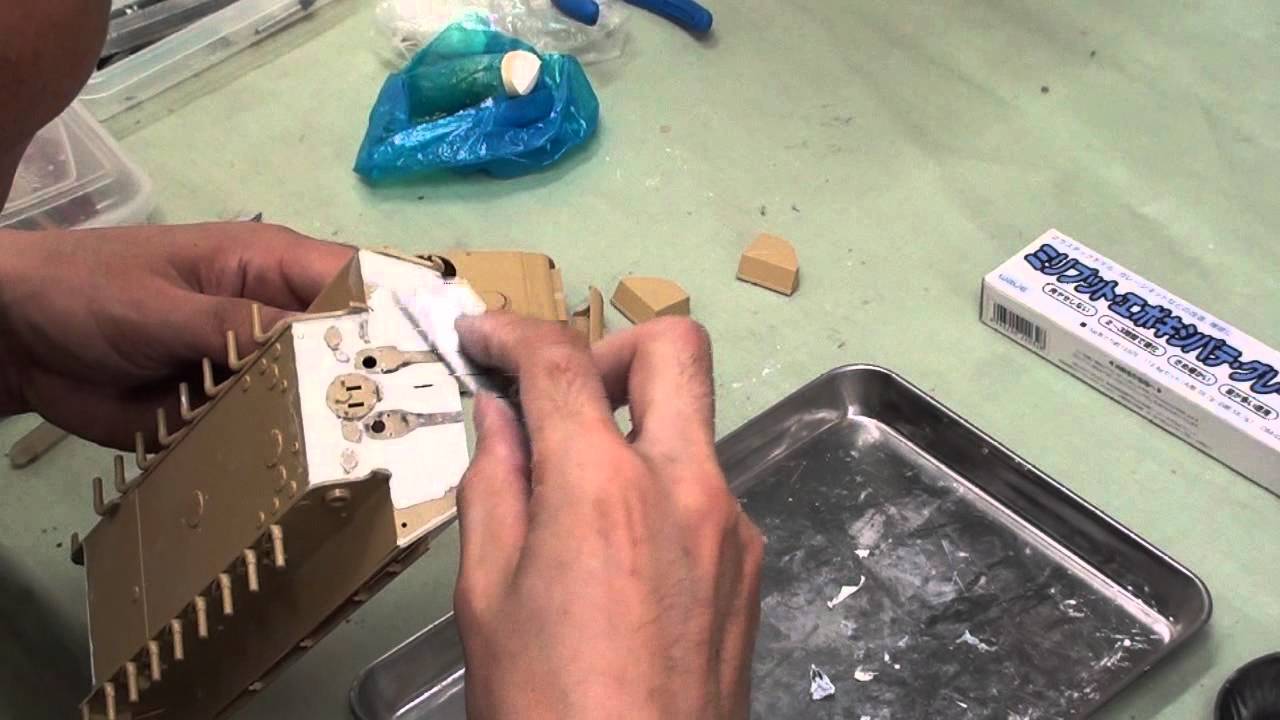
rear panel done!

Left side done! now the zimmerit on lower hull is 75% complete, now I gonna set aside for dry properly and tomorow I'm gonna make the front plate and finish the zimmerit of lower hull

one error associated with the turret are the turret bin and the "notch" that faces the turret: this does not extend all the way to the base of the bin as in the kit, but only about 1/3 of the way down. You will need to close with plasticard and sand smooth the fill (check out this cross-section of a proper bin).

the fixed turret bin,


Academy's Late and Mid Tiger kits re-use the turret side hatch from their Early kit (part K9). This is a round hatch with bevelled sides which is suitable only for an Early Tiger. But, the real hatch on these Tigers was a simple disc without bevelled sides.
Let's go try to correct him! 😄
Let's go try to correct him! 😄

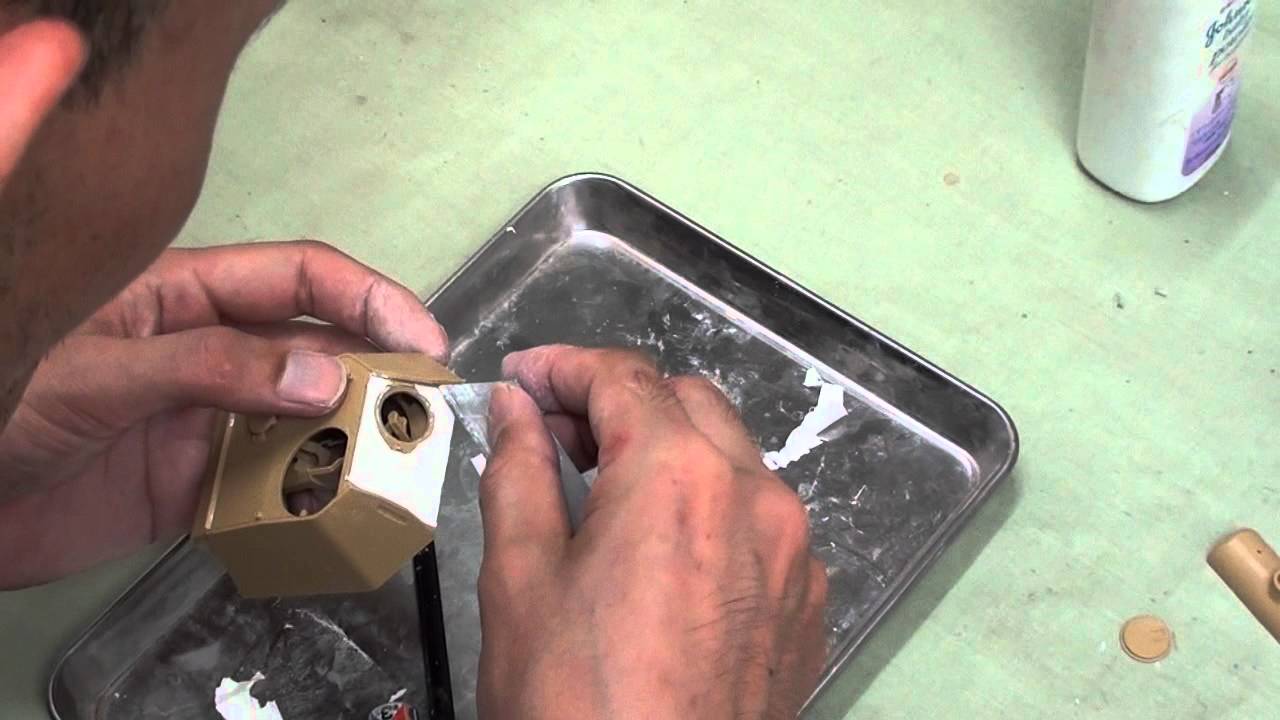
now like the real hatch on Mid and Late Tigers, just a simple disc without bevelled sides.

and we cover with the epoxy putty

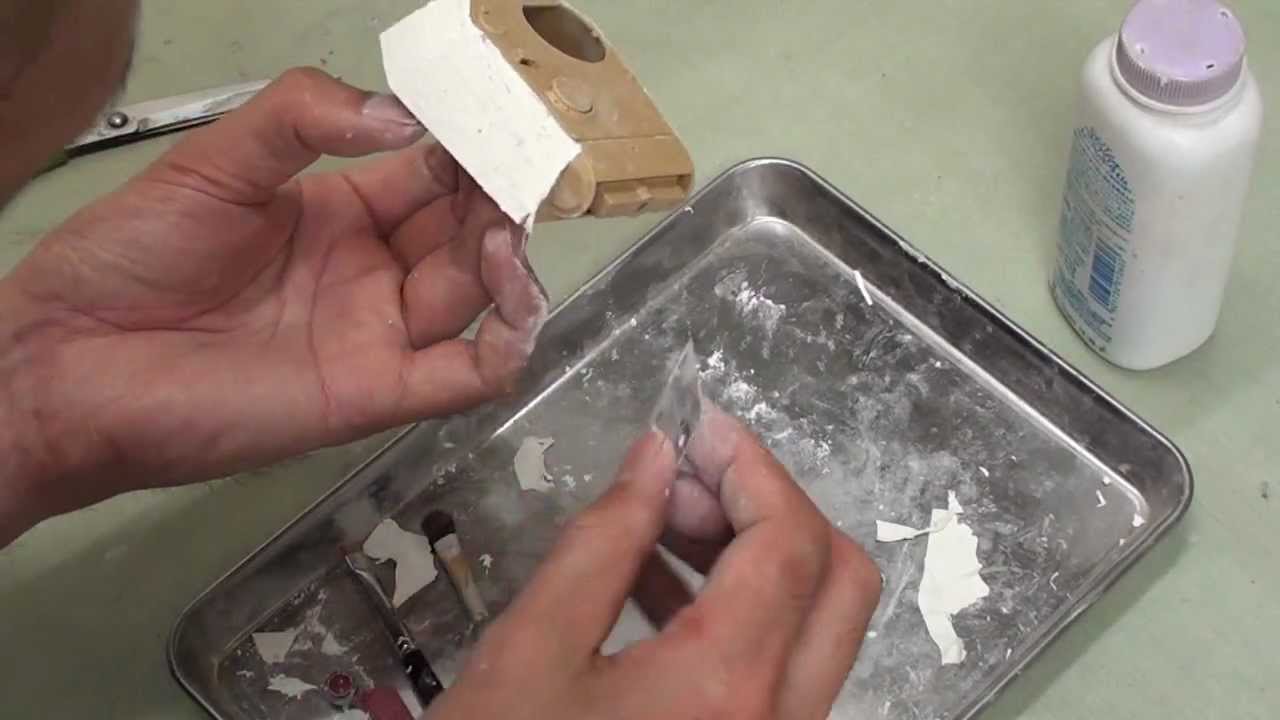
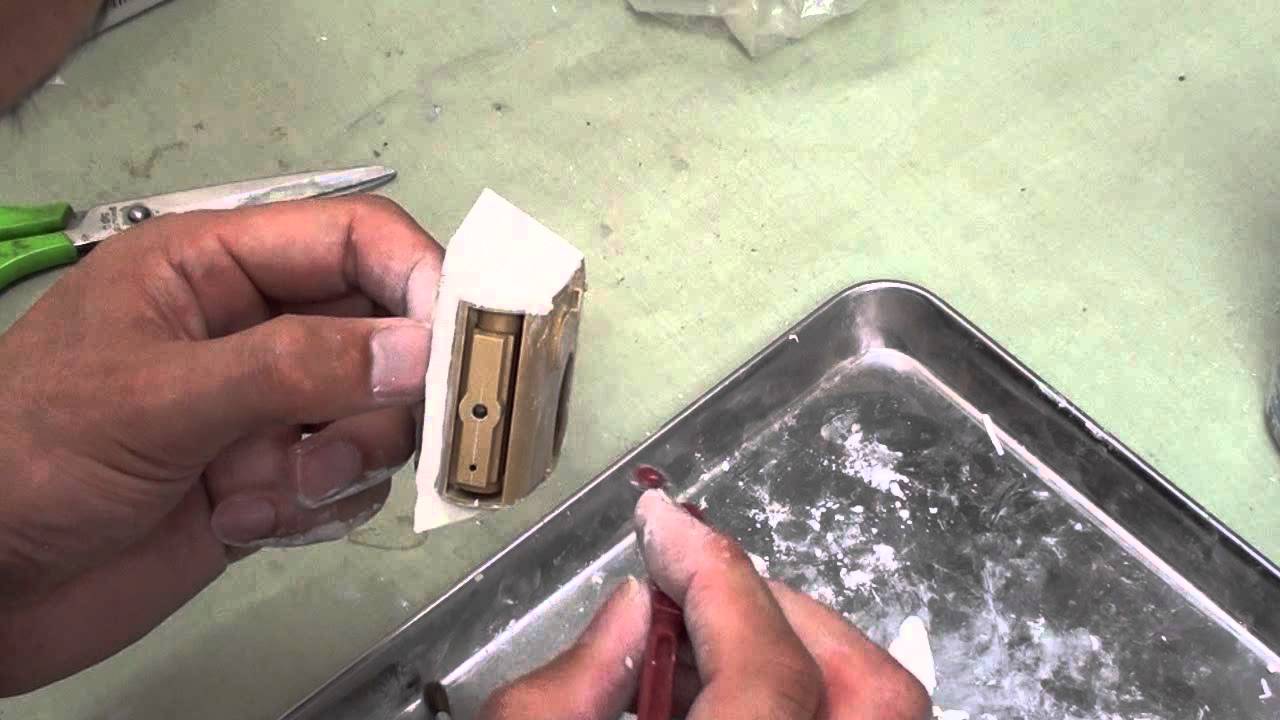
remove the excess of the areas we don't want to cover!

and make our magic with the Zimmerit! 😄 😉

Let's start the turret Zimmerit


I forgot to take a picture of the Mantlet and the zimmerit on the other side of the tower before setting it up!

but it was a very pleasant view

the rear view of the tower and the rear panel!

the scape hatch aligned like the real one!

the front hatches for driver and radio operator are ready too!

enjoying the view of your beautiful sexy back, here's a little dry-fit to see how things will be after it's finished!

then you buy a lot of tools to make zimmerit and they don't go into the corners to do their job and you have to appeal to PS plates and make a tool in a hurry!
😄 😄 😄 😄 😄 😄 😄 😄 😄 😄 😄 😄 😄 😄 😄 😄
😄 😄 😄 😄 😄 😄 😄 😄 😄 😄 😄 😄 😄 😄 😄 😄

and this is the photoshoot sequence of the work of the day!


shaping with hot water the new commander's cupola MG ring made in 0.5mm polystyrene sheet

glued in place, much better than from the comes in the kit! 😄

The later Tigers were fitted with holders on the turret sides for spare links of track. I follow the diagrams from Hillary Doyle who show the form and position of the holders.

very different from the others pictures of the assembly, but this os here Just because I like this picture a lot, and show the zimmerit almost done!


doing the U-shaped metal rod

The hook could be locked by putting this U-shaped metal rod


This diagram shows how a track link was held in its holder. Note that only the wider 'combat' track links would fit. Also note that the track guide horns are towards the lower end of the link. The pin on the bottom support fits into the hole for the track pin.

this is a dry-fit to show how the spare tracks will be in the end!
The lower and upper parts of supports were slightly offset. They were welded at right angles to the hull armour.
The lower and upper parts of supports were slightly offset. They were welded at right angles to the hull armour.

let's improve the escape muffler, for the center hole 1mm drill

for the satellite holes 0.4mm holes

0.4mm cooper wire for supports

the head of mufflers in place

cut the excess and ready! easy peasy!

let's do it again in the next muffler

dry-fit in place!

looks good to me! what's next step to do???? 😄 😄 😄

let's go to the steel cable, I prefer to make mine at home, wrapping copper wire! for the thin cable I use 4 wires and I'm rooting with the dremel!

gluing the supports in the cables!
I will make yet the heads of cables!
I will make yet the heads of cables!

and this is how he will be in place!

0.6mm hole for the perfect adjustment of cable!

the final piece! satisfies me 😛

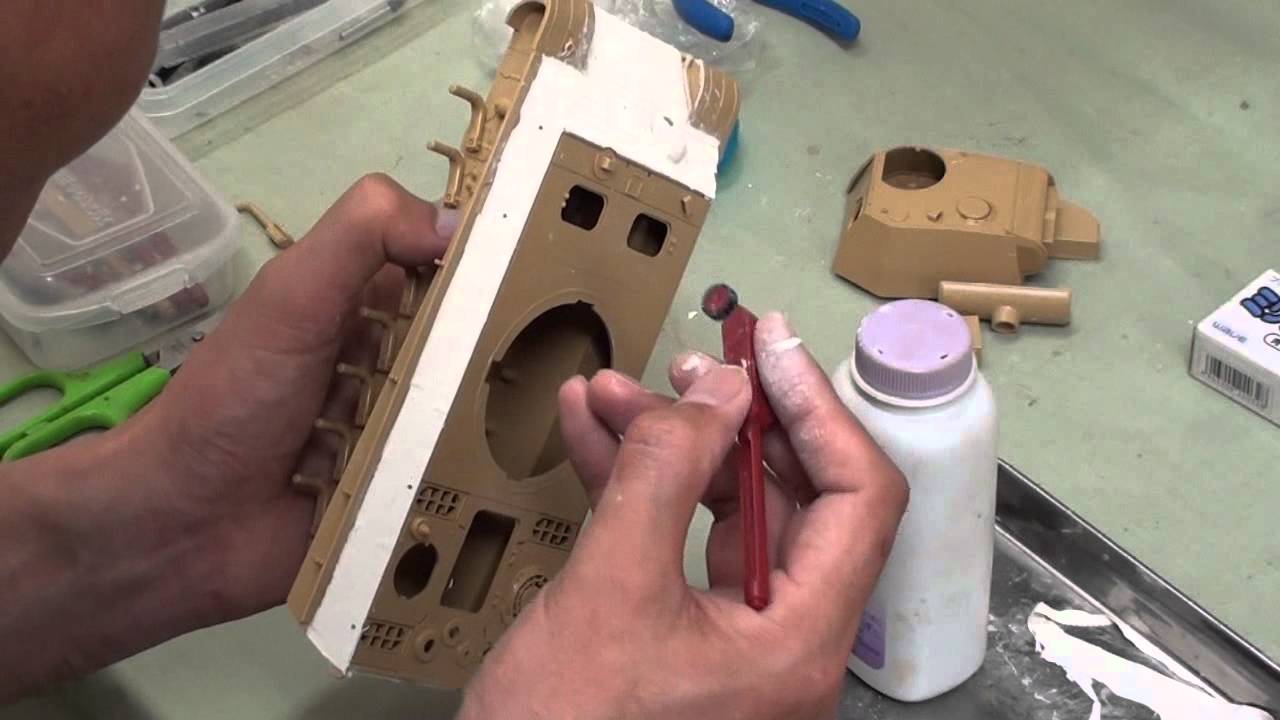
I painted the lower hull in flat black to decrease the visibility of the interior through the ventilation slots of radiator!


lots of wheels to clean

now lets start to make one line of the wheels so you can easily remove them without having to assemble them all individually when painting

I usually don't need more than CA glue to do this, but these wheels were too far apart, so I decided to use a 0.5mm chock between them, and so stick them firmly and well hidden!

when the wheels of the middle rows are glued, the chocks are well hidden behind all the external ones and will no longer be seen!

the wheels of the outer row are not yet glued together as this makes it easier to correctly paint the wheels of the second row!

firmly and strong!

the idler is very misaligned when placed correctly, so it must be relocated to the correct position, but there is a large space in its axle bar!

to correct it I used the polly cap of the tractor wheel that I did not use, cut it in half and made a wedge as needed!

this os the final piece in your right place! I strongly recommend that you do not forget to use the polly caps of the tensioning wheels, they are sorely needed!!!

Some of Academy's kits have a detail on the rear mudguards that should not be present.

The mudguards, parts B4 and B5, have cross-shaped holes in them. But, in a Mid or Late Tiger, these holes were simple rectangles.

corrected and ready for rest in their last place!

0.5mm cooper wire used to make the wire of notek lights and MG34 in their place of ball mount

watch out allies airplanes, keep them in sight!!! 😄

now I have to think how to make the belt for bullets and put him in this MG-34 on the commander's cupola!

well, I think the assembly stage is over, here some photoshots of the complete assembly!


now the torture of painting begins! 😄 😄 😄 😄

I found an old Tamiya figure here by stash, I think this one will represent Wittmann now! 😄 😄 😄 😄 😄
Kommentarer
2 8 June 2020, 20:19
Belas dicas para zemerit Mate. Bom trabalho. 👍
A pasta adere só com água ao plástico ou colocou alguma cola?
10 June 2020, 15:51
obrigado Rui, eu uso somente água, a cola é a propria da massa epoxi! mas já vi um pessoal passando cola liquida por baixo também!
10 June 2020, 18:39
Rui, na embalagem da que eu uso diz que entre 2 e 4 horas ja está seco, mas eu sempre deixo um bom tempo a mais, coisa de dias, pois eu não monto tão rapido quanto deveria, entao ele seca por dias (as vezes meses) antes de ver o primer (que só o faço depois de tooooda a montagem concluída!)
10 June 2020, 22:53
Hehehe, percebo perfeitamente, Rafael 😄 é mais ou menos o tempo que eu deixo secar as minhas pinturas com óleos. 😄
10 June 2020, 23:01
Rui, olha aqui a epoxi putty da green stuff, é perto de você e funciona como essa minha por aqui!
greenstuffworld.com/..inches-with-gap.html
11 June 2020, 05:21
e aqui uma sequência de videos que achei de um japonês que ele mostra como abre e aplica de forma bem parecida com a minha!
porem não gosto de como ele abre a massa epoxy ,por isso uso muito talco em pó para evitar de grudar no gabarito que fiz com a altura determinada! facilita muito essa minha ferramenta principalmente se acompanhada de um bom rolo liso!
aqui está os videos da sequência do panther!
Youtube Video
Youtube Video
Youtube Video
Youtube Video
Youtube Video
Youtube Video
Youtube Video
Youtube Video
boa diversão assistindo esses videos todos! 😄 😄 😄 😄
11 June 2020, 05:35
Claro que sim Rafael, e como já tivemos oportunidade de ver o seu melhor é muito bom ou excelente.
13 June 2020, 12:29
obrogado, mas nem sou tudo isso, tenho minhas falhas ainda 😄 pintura mesmo é a maior delas, é uma coisa que nunca me agrada e ainda não descobri o prazer em fazê-la !
15 June 2020, 04:11
Thank you Bryn! and although it doesn't seem like it is a relatively easy process to do!
18 June 2020, 16:06


