

Big 'un

Contents of box

The first major components come together

Still not connected, but it gives a good impression of the size of the kit.

Ready to go into a diorama


Although pricey, I decided to order these anyway.

Messy stuff, working with foam

After adding grass and using modelling paste to create a road

Base layer of sand color

Adding shadows, a mix of beige red and black red

First highlight, with beige red

Second highlights with base flesh

Final highlights with light flesh

Adding the eyes. Whites with white and a tad of sky blue, black irises /pupils.

Lips painted, with a mixture of beige red and burned red

Chin strap, black

Eyebrows, color depends on hair color

The whole bunch finished.


The last addition to the dio has entered

The contents

The base is ready to be filled

The gun in place

And populated...

This gun most certainly has not been idle

Climbing up

Waiting for new ammo to arrive.

Aiming...

Will is take much longer?

The munitions hoisters

Ready ammo, ready to go up...

Driver: ready... Althoug I found out later that he was too high (or the cab was too low) to fit!!! I had to remove the lower part of the body :!@#!#

Ready for weathering and to add the last details...

The hood is created from square plastic (holders), Metal wires, alu foil (straps for the "windows") and tissue paper.

Driver in place, with rolled down window.

Rearflap of the hood

Overall view. The cargo body is still separate.

Very special "camouflage"

Also on chassis and cab..

After applying white spirit...

A spray of both dark yellow and sand

A serious amount of Russian Earth pigments

Added both light covers and windscreen wipers


Fastening strap added to the tarp.

The diorama is complete. Everything is in place

From the other side

Nice perspective.


And, nów it is really finished...
Comentários
4 2 April 2020, 15:25
Tulips ? Of course we are in Holland. You will need a whole room for the diorama. Looking forward to discovering it.
8 April 2020, 18:16
Thank you for your compliments. The dio will not be too big, I think around 28x32 cm
9 April 2020, 07:14
Making nice progress: the base is ready, the gun is in place and so are the figures. Also piled up a bunch of empty shells. More details will be added, so is the supply truck, which is still under construction.
9 May 2020, 18:01
The driver does not seem happy that you took his photo. Will the colour of the tilt remain like that ?
14 May 2020, 08:06
I will use some pigments to blend it with the lower body, but what I 've seen is that the tilts where somewhere between khaki and light grey (on current ww2 vehicles) so I thought this would be suitable colour.
14 May 2020, 09:01
I usually paint them with Feld Grau (field gray) which I find coherent with RAL 7021 Panzer gray. It is darker than your version but I am not sure which is best.
14 May 2020, 09:08
I've been looking at pics like these:
[img1]
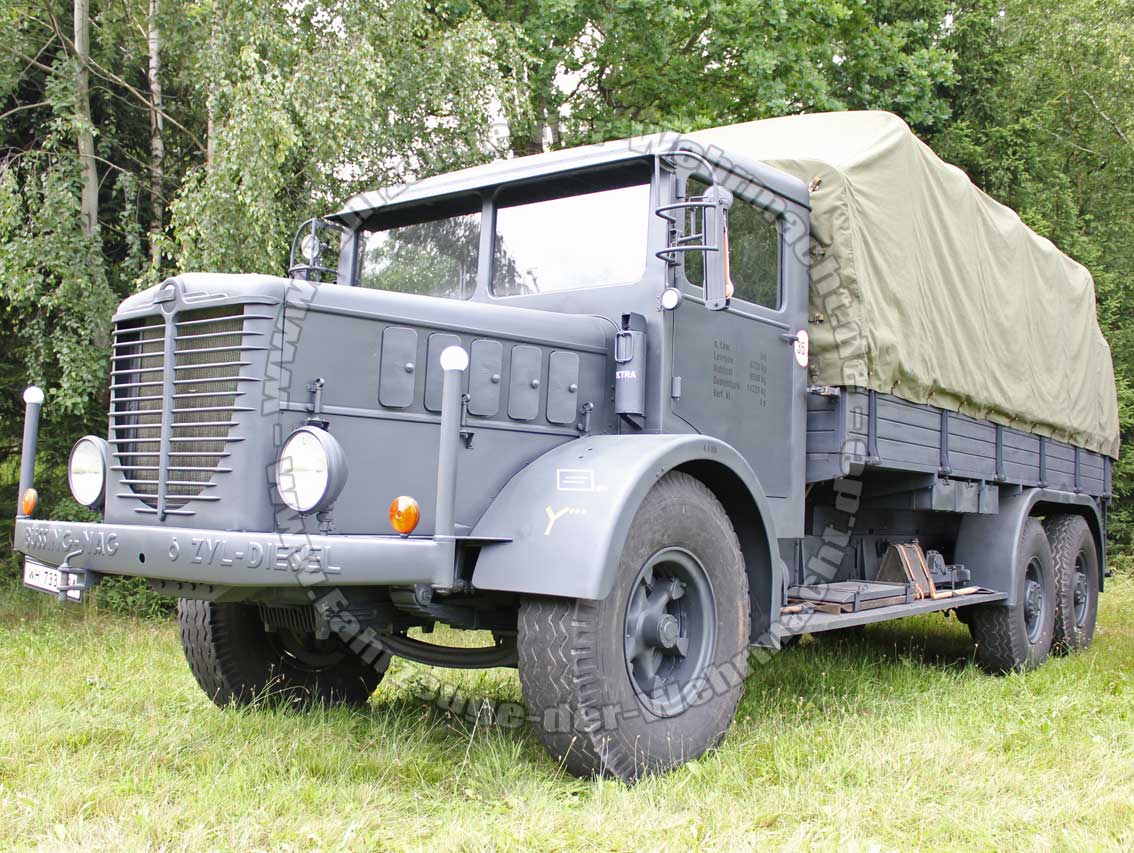
[img1]
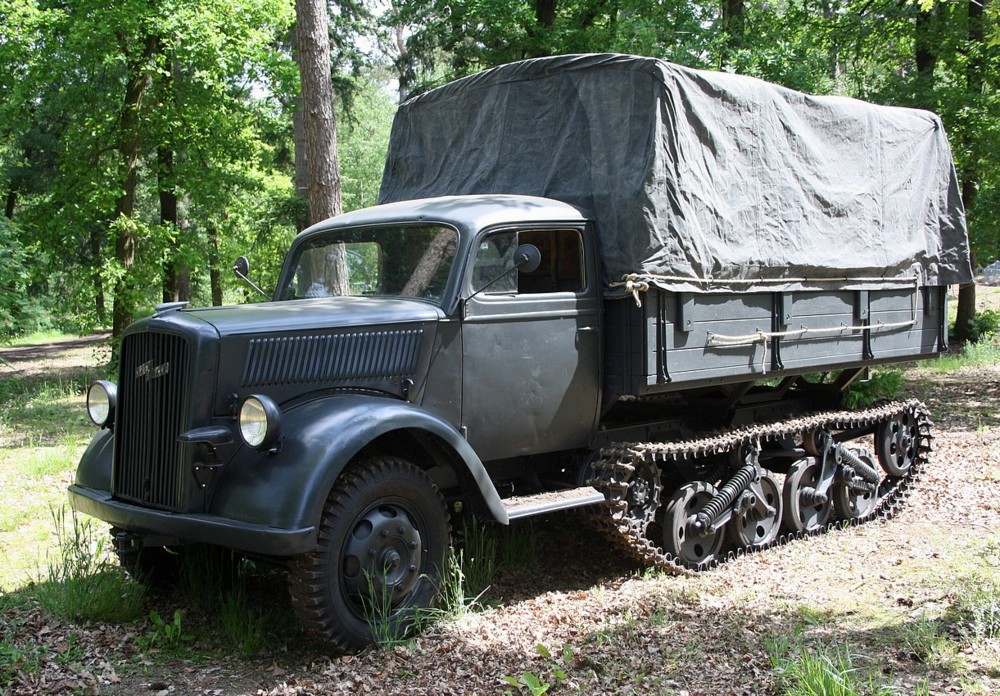
That's why I opted for this color
14 May 2020, 11:33
The dio is complete. Made some more enhancements to the truck, and after some more weathering put it in the dio. Very happy with the result!
17 May 2020, 17:43


