

Eduard Fokker Dr.I stripdown

engine resin base

engine, freeing the tubes

engine, freeing the tubes

busy soldering

PE-base for mg's

one MG finished

soldering the engine mount

basepart upper wing

folded and ready for soldering

soldered wing, still need to clean-up

soldered wing, still need to clean-up

soldered wing, still need to clean-up

baseparts

base midwing

base midwing

testfit

With frontparts in place

With frontparts in place

bottomplate treated with woodpaint from vallejo and oil-paint for veneer look, a tad too dark in my opinion

sideplates treated with decals from uschi, paint on the sides needs to be cleaned

centre spar with same treatment as with the bottomplate, but instead with pushing the brush up and down, you streak the brush lenghtwise

wheels need to be repainted/cleaned up

different stages of painting the wings

some detail

better picture of the engine

The hull, almost complete

and it's mega-size, still regretting the airco dh-1 1:144 as stripdown-model

struts
Комментарии
2 June 2014, 10:01
started soldering the upper wing as a test. Still need to do some cleanup...
26 August 2014, 00:55
I might be getting one of these so I will be spectating on this one 🙂
26 August 2014, 03:23
good luck with yours, wings are more easy then expected. Second set has been soldered
28 August 2014, 00:51
Soldering neatly at this scale is not going to be possible for me at this scale, what glues would be best for this project ?
28 August 2014, 01:47
Best one I've seen so far is this, really like the way he has made it look like wood 🙂
arcair.com/Gal10/960..3-Dr1-Straka/00.shtm
28 August 2014, 01:59
Hoi Choppa, do you have a little experience with soldering? Then I would give it a try, even if it's just for the middle pieces. Just don't use to much solder. Clean the parts really good with a glassfibre pen. For the soldering I use coreless solder and H-39 (Griffon) flux. I flatten the solder with a plier till it's approx 0.1/0.2mm (really flat) and I cut tiny "chunks" of it (max 0.5mm wide, 1-2mm long) I then place a little chunk at the connection, a little flux goes with it and heat it one second... connection established.
As for the glue, I would use an extra thin, till medium thickness, due to the distance between the parts is small but not zero.
That example is a nice one, a very nice one. I like it very much. Thanks.
28 August 2014, 07:24
I lost the bid on ebay, oh well, probably just as well given how small this kit is 🙂
this kit is just so cute and hugely appealing , I wish they would do a large scale version of this kit, like 1:24 🙂
Also, I can't help but think if they had included a few more plastic parts and some decals one could have built both the stripdown and complete versions of it, would have been a nice touch 🙂
28 August 2014, 21:23
you'll just have to scratch some stuff on the landing gear and a propellor, then there's the matter of the decals..
28 August 2014, 21:27
True and the decals required are few, luckily the kit comes with spare wheels the rest wouldn't be so difficult to scratch build. Buy never the less it would have been a nice touch 🙂
28 August 2014, 21:40
I've got one incoming for £18.89 from creativemodels.co.uk..ripdown-p-32215.html
28 August 2014, 21:43
I nearly got that deal, ended up bidding on ebay for one instead but now I've chickened out as I just don't think I am skilled enough to handle this small scale, the DH2 at 1:48 makes for a tempting alternative but it is not as good looking
28 August 2014, 21:59
just give it a try? there's no reason not to... It looks difficult, but it really is more intimidating then difficult. Never tried, never gained...
30 August 2014, 10:20
Ah, some crazy PE work🙂 Ok I will sit down and watching to what the man did! And by the way, excellent work so far!
27 January 2015, 20:34
Does the Fokker has bracing wires inside the wings and do you plan to add them?
29 January 2015, 17:37
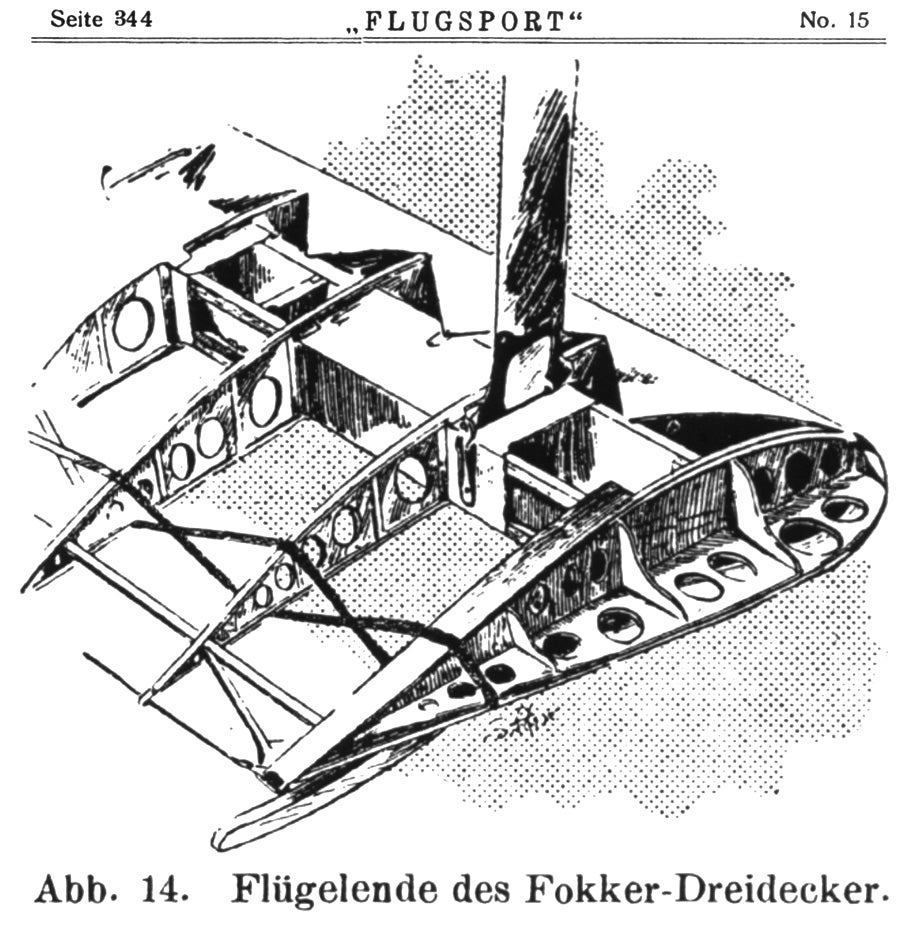
only a cross in front of the pilot and between the landing gear and hull, otherwise no wires were needed. It seems to have been a point of discussion, because pilots didn't feel safe without them. I do intend to try to add these.
[img1]
or do you mean the wires that are woven between the beams? Will try to...
[img2]

29 January 2015, 17:56
Thx for the extra information and yep I mean the ones between the beams. Looking forward to your progress. Cheers, Christian
30 January 2015, 13:43
Really liking this build thus far 🙂
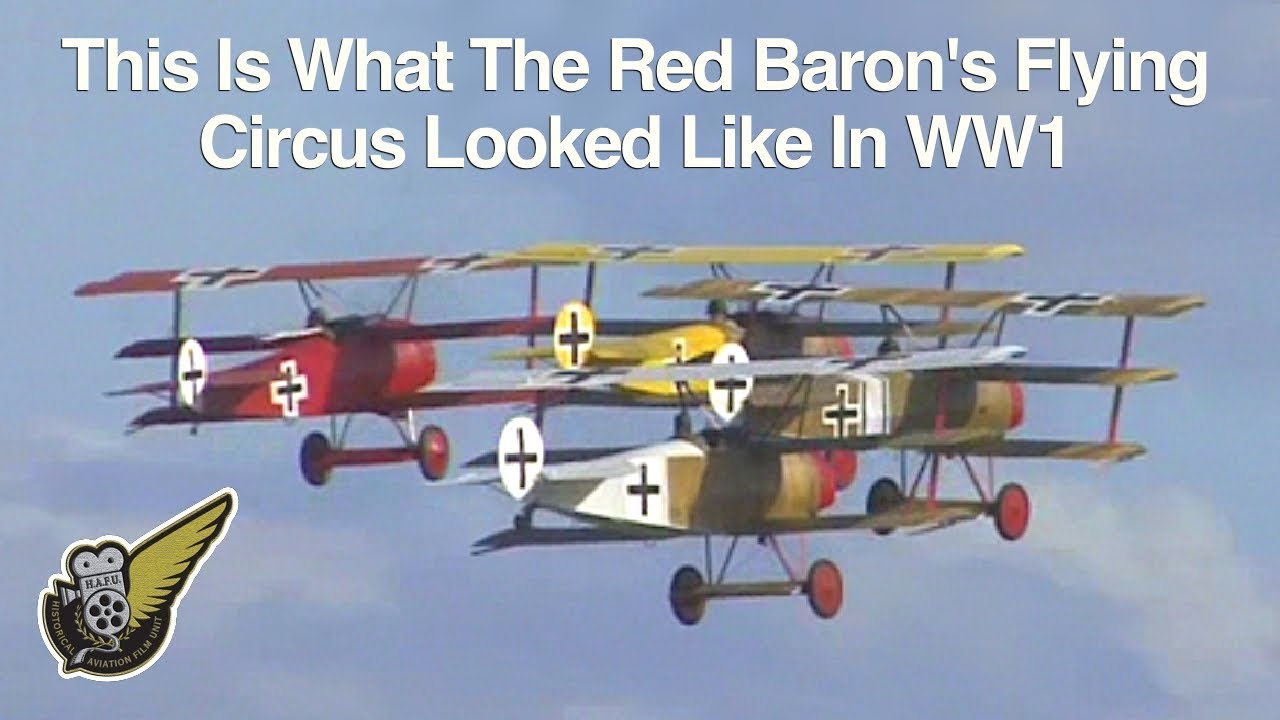
Here's a couple of cool little videos of this charming plane, enjoy 🙂
Youtube Video
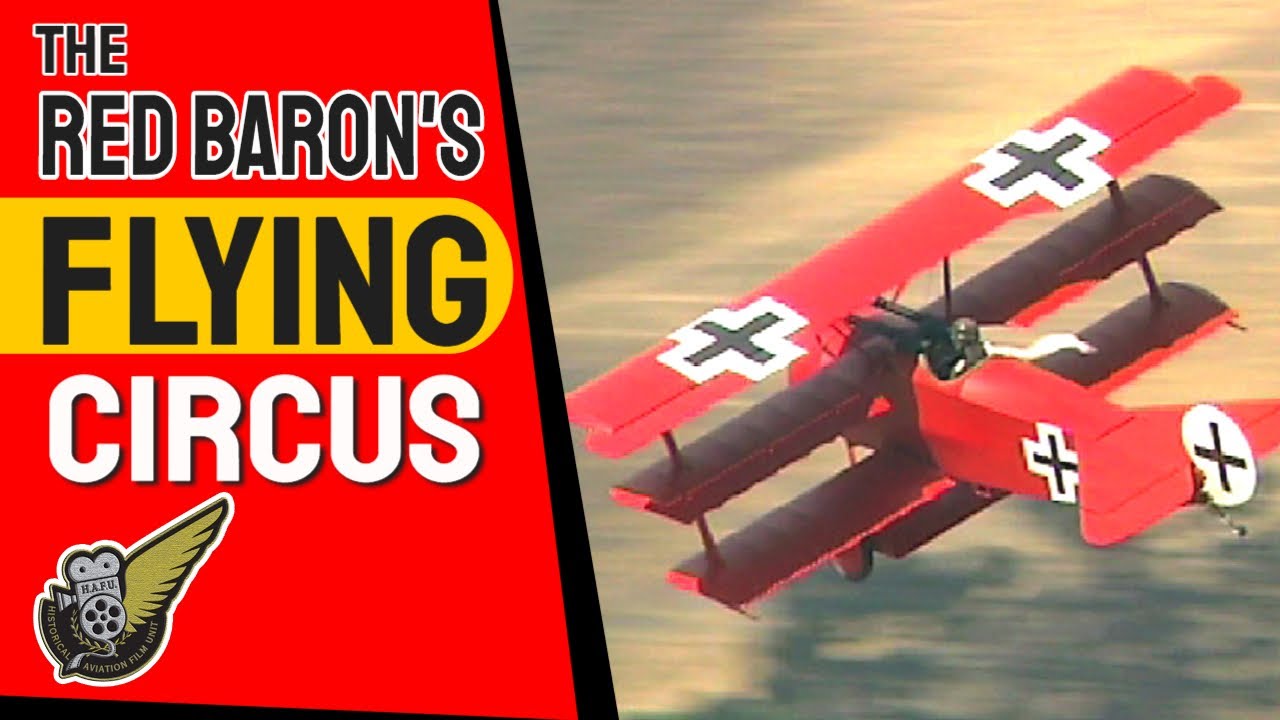
Youtube Video
30 January 2015, 14:16


