Renault R25 - GP San Marino 2005 - WIP

After the clean-up of the white metal parts, they receive a coat of white primer.

I did a painting test to decide which colors I was going to use: I decided to use Tamiya X-14 and X-4.

So this is how the body looks like after I airbrushed a coat of Tamiya X-14.

View from the other side of the car.

The body was put aside to dry, so I had the time to do some pre-assembly work like the rear gear box + rear wing.

Here I fixed the front spoiler parts together.

The barge boards are a mix of white metal parts and photo-etched parts.

Once all the sub assembled parts are fixed, it is time to dry fit them with the body. Looks ok so far.

View from a lower angle, still looking good.

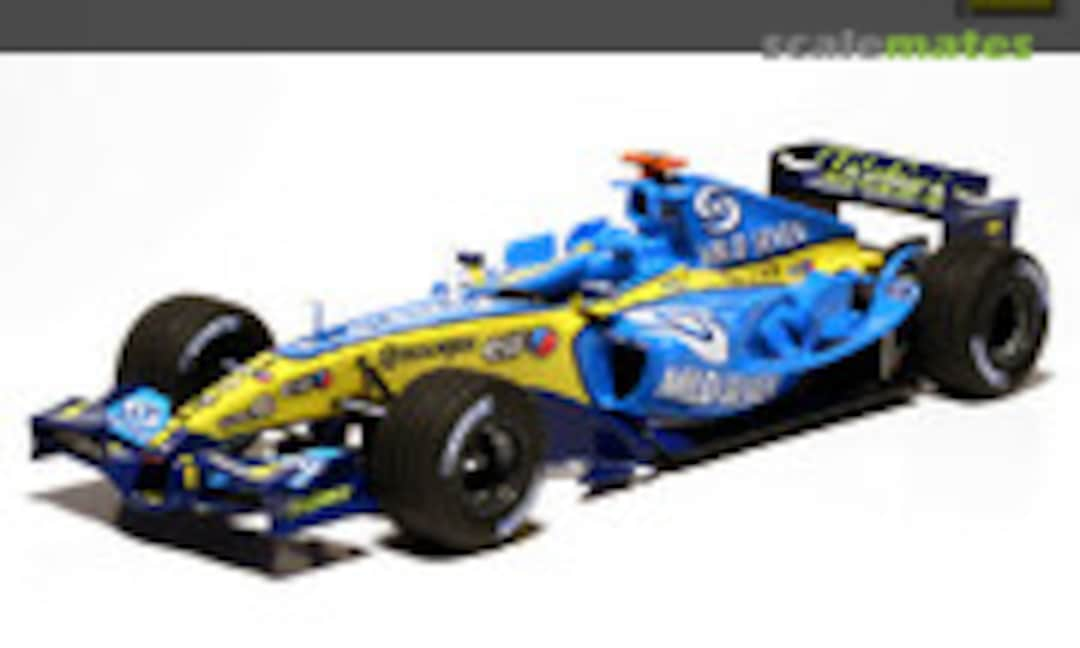
Next all the sub assembles parts were airbrushed in the correct colors, and I also applied the main (yellow) decal on the car. It took lots of decal solution, but in the end it worked out very well.

The photo-etched seat belts are bended into the right shape before they will be painted.

The front spoiler was decalled and clear coated.

Same procedure for the rear spoiler.

And once again the same procedure for the barge boards.

Before I started to fisx the decals on the body I clearcoated it (2 coats. Next the decals were applied, and I finished it off with 2 more clear coats.

Left rear view of the Renault.

Low angle view of the car: it's coming together nicely.

Low right view of the Renault.

Next the finished spoilers are fixed to the finished body.

All what's left to do here is to fix the barge boards and the wheels.
Komentáre
29 January 2015, 13:33