Ferrari 312 PB - Monza 1000 Km 1972 - Reference pics

First things to do: clean up the body and panel lines, and put on a (pink) primer coat.

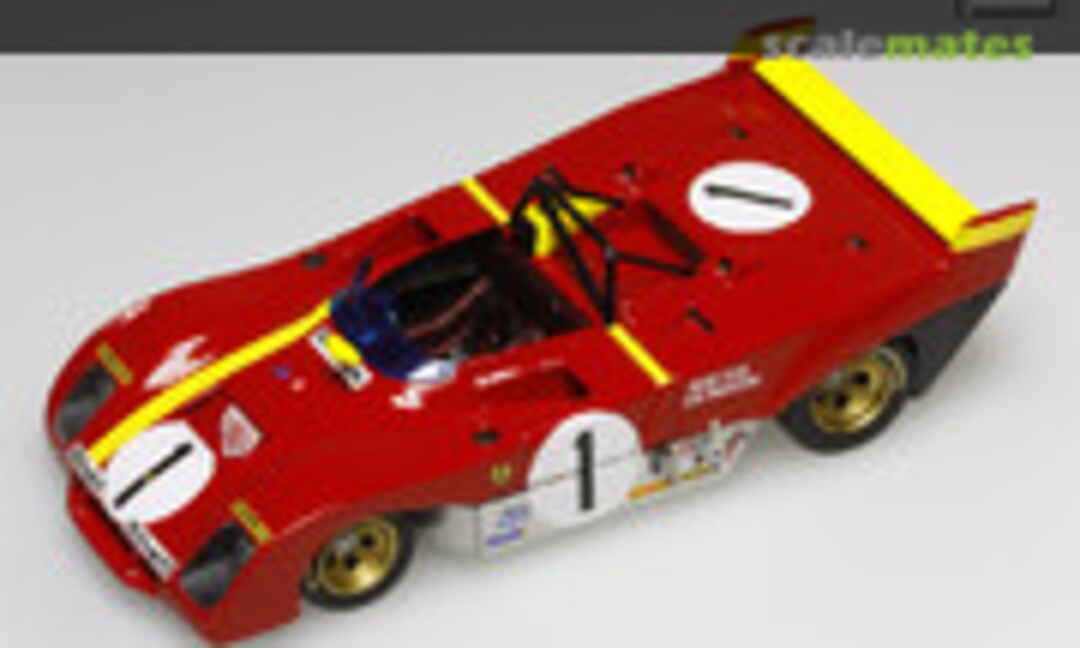
Next the body parts are spraypainted in Tamiya TS-08 Italian red.

After a second coat of Italian Red, it is time to start applying the decals.

First I fix the yellow stripes, which will form reference points for the upcoming sponsor decals.

Before I can apply the other decals, I have to fix the aluminium chassis parts at the bottom. Next I fix all the decals in place.

Once the decals are dry, I spraypaint a first protective clearcoat. I will probably apply a second coat tomorrow 😉

In the meantime I concentrate on the interior. The cockpit hub is painted and some photo etched parts are added. The seats receive a special treatment.

The small dashboard was painted and detailed as well. I added some aftermarket switches to the middle console. The photo etched seat belts and the steering wheel were painted.

So what did I do with the seats? First I applied some carbon fibre decals to them to get the 'stripes' pattern. Next I spraypainted the part with clear red at finally with flat varnish.

Once dry I applied the tiny photo etched attachment points. Also note the switches which are better visible here.

There is no real complete engine in this kit, but of course there is a part needed to which the rear suspension can be attched. Anyhow, I decided to add the 12 ignition cables for some extra realism.

The engine will only be visible from the bottom, so the wiring leads 'nowhere'...

I spray painted the rims in gold and filled the openings with flat black paint to give them some depth. The tire surfaces were sanded to give them a 'used' look and get rid of the shiny effect.

In the meantime a disaster happened. While I was trying to scrape away some resin material to the cockpit interior to install the pedals, I suddenly pierced through the body because the resin was a lot thinner than I anticipated. Shit happens...

So after an hour or so of despair, I decided to fill the gap with putty , sand the spot again and spray a spot-repair with the airbrush. In doing so, I ruined the decals of course.

But I had some extra decals in my spare box and after fixing them in place a gave the body and extra gloss coat. I think I have repaired the damage without consequences... 😉
Komentáre
1 5 May 2015, 17:51