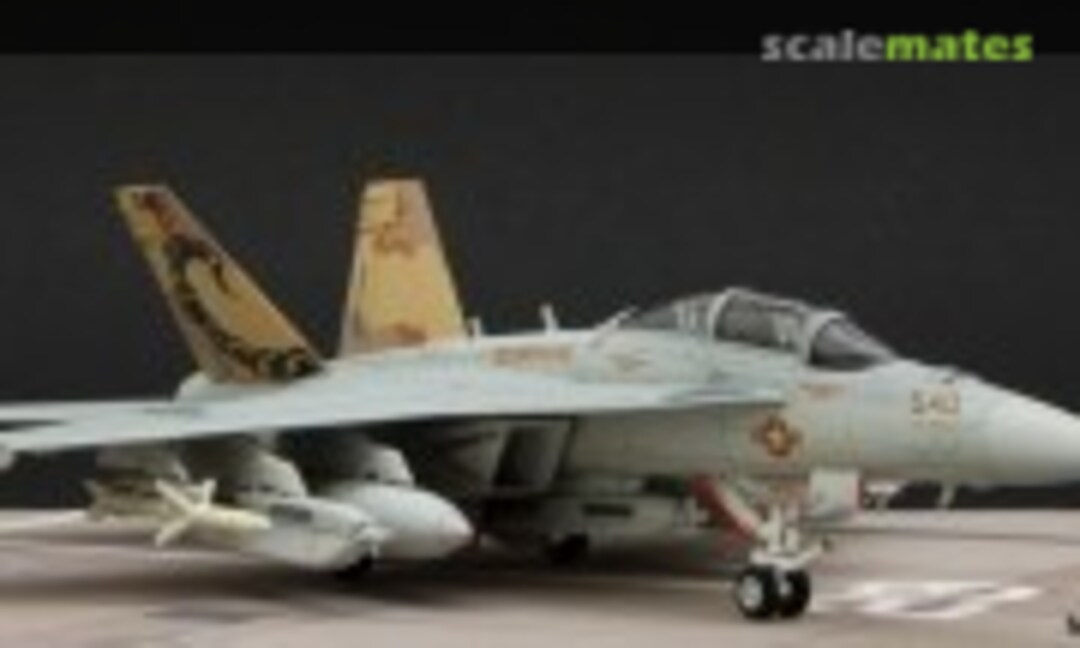
EA-18G Growler VAQ-132
Коментари
2 20 July 2016, 08:58
folowing. these kits are little gems... only some serious sinkmarks on the electronic pods...
20 July 2016, 09:04
These sets of Vallejo had interested me sometimes, but me no one could say how realistic are the colors. What can you tell us?
27 July 2016, 08:11
Hi Björn: I still have to compare the colour swathes with photos. The issue is that a new airplane shows a colour that is different from the some aircraft after some use (exposure to sun light and environment changes it). So I'm going to compare with photos of the exact airplane I'm modelling. These sets look good and seam to match the shades nicely, but who am I to say that they are the correct ones!
Cheers
mpminiatures.wordpress.com
27 July 2016, 09:01
In picture 3 you marked where the upper and lower hull meet. Are those red lines to mark the areas to fill or are they some kind of red putty?
27 July 2016, 09:09
Hi Hagel: I've used CA glue, tinted with some pigments. It helps to spot the areas not filed/sanded and for me, it's easier to scribe over ca glue than over other putties.
Cheers
mpminiatures.wordpress.com
27 July 2016, 10:47
It's just one of the several tips I picked up from Diego Quijano's books (published by AMMO).
Cheers
mpminiatures.wordpress.com
27 July 2016, 14:26
What pigments did you use? I will look into that book by the way.
28 July 2016, 07:54
how are the electronic underwing stores? Mine are one complete sinkmark instead of a useable part... maybe mine was made on a monday or friday 😉
Nice work BTW on this kit so far
3 October 2016, 12:38
Hi Bart:
There were some issues with mine also, but some CA glue mixed with talcum powder and pigments was used to fill any of the sunken areas. After polishing and engraving they look ok.
Cheers
mpminiatures.wordpress.com
3 October 2016, 14:00
I see the wing fences and the blisters on the sides of the aft fuselage but how did you build the antenna on the spine?
3 October 2016, 16:43
I've used several layers of alluminium tape (as on the sides). It's not perfect, but if it does not look ok under the primer, I can use a small bit of epoxy putty to improve its shape.
Cheers
mpminiatures.wordpress.com
3 October 2016, 17:28
After a few months without any progress, here are some photos of yesterday's work. The fuselage is painted (at least its base colour), trying to emulate the paint touch up work seen on photos of the 540 aircraft.
Cheers
mpminiatures.wordpress.com
1 March 2017, 10:32
Just uploaded a few more photos. The landing gear is already in place. Still needs some details to be painted and subtle weathering, but it is nearing its completion.
Cheers
mpminiatures.wordpress.com
13 March 2017, 22:44


