Nyhetsflöde
lade till ett nytt fotoalbum.
27 bilder
Slovak's Tiger
1:48
Option 1 colorwise. Seems to be the best mix with the tail decals. Planning to use my own cut masks for the camo..
Projekt: Slovak's Tiger
15 1 January 2021, 08:49
A 10-part PE front leg mudguard assembly! Does not get much more hardcore than this! 👍 Nice start, watching!
3 February 2021, 20:07
lade till ett nytt fotoalbum.
12 November, 18:51
slutförde denna artikel

MG Gundam 00
GN-003 Gundam Kyrios Celestal Being Mobile Suit Bandai Spirits 1:100
5059547 (2509135) 2020 Nytt verktyg 12 November, 18:54
slutförde denna artikel

MG Gundam 00
GN-002 Gundam Dynames Celestial Being Mobile Suit Bandai Spirits 1:100
5056767 (2457150) 2019 Nytt verktyg 12 November, 18:52
slutförde denna artikel

MG Gundam 00
Gundam Exia Celestial Being Mobile Suit GN-001 Bandai 1:100
0159452 (2064472) 2009 Nytt verktyg 12 November, 18:52
slutförde denna artikel

MG Build Divers Genius Head Line
Gundam Ex Impulse Premium Bandai Limited Bandai Spirits 1:100
5063924 2022 Nya delar 12 November, 18:51
vill ha den här artikeln
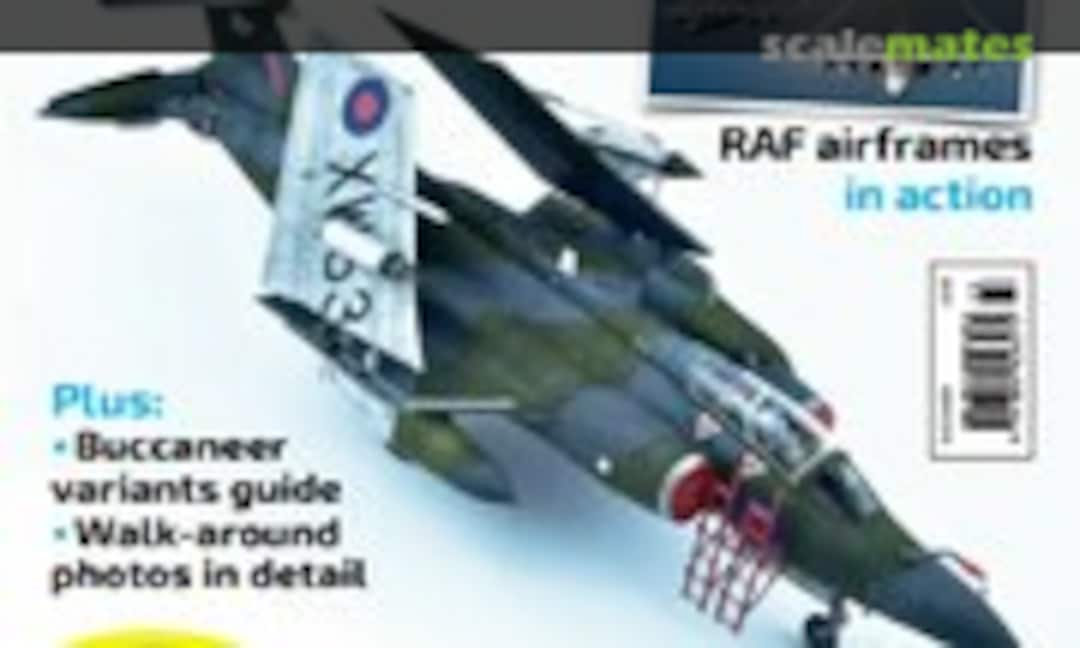
Airfix Model World | Buccaneer | Building Airfix's New-Tool Plastic Kits | Special Issue
English (TOC: 10 lines)
March 202312 November, 18:48
lade till ett nytt fotoalbum.
31 30 April 2020, 19:37
You're welcome! I hope you brought enough beer and chips as this might take a while 😉
An please make sure you keep a safe distance of at least 1.5m.
1 May 2020, 15:16
Bin auch gerne dabei, aber den Mindestabstand kannst Du vergessen. Da erkenne ich nichts mehr. 👍
1 May 2020, 15:55
Slow progress in the last days because of beautiful weather. Finally managed to finish No.2 turret
23 May 2020, 14:31
A few days off and bad weather lead to some progress on this project. Pontos set misses some details and the resin parts are generally excellent. A few show more flash and other minor defects. But still a vast improvement over the kit parts.
17 June 2020, 07:42
I managed to complete all the Armored Box Launchers and the Harpoon Launchers. I even put all my courage together and started the opened launcher from the Infini set. 83 PE parts, 5 turned brass parts, some plastic sheet an 6 hours was all it took to build an amazing tiny detail for New Jersey.
@Joerg: Herzlich Willkommen
19 June 2020, 19:21
The smokestack work in photo 10 looks really nice I think. Fun to see others drilling out the holes in pipes and stuff. 🙂
12 July 2020, 17:21
How can you not drill out all the pipes. That would be really insane 😉
12 July 2020, 17:25
Today it was time to finish the four Phalanx CIWS. The detail on the Pontos parts is absolutely breathtaking. A was with black oil and afterwards a careful dry brush with light grey and white is all that was needed.
26 July 2020, 13:44
Today I managed to complete all the 5 inch guns. The detail on the Pontos parts is superb! Only thing I had to change where the gun mantlets (not sure if that is what it's called for naval guns), as the Pontos parts are way to small.
2 August 2020, 11:26
Finally some progress to show. I used the old Tamiya kit to replicate the SH-3 Sea King seen on board New Jersey in 1983. I added struts to the wheel sponsons an the fin on the tail boom. The MAD probe on the starboard sponson was made from styrene rod. The tail rotor is made from thin styrene strips. The main rotor came from my own Elegoo Mars SLA printer. The Tamiya rotors look more like bricks...
Most of the markings are hand painted to match the exact Sea King shown in a series of pictures from 1983.
2 September 2020, 20:01
Upper superstructure with main mast and radars assembled, painted and weathered.
13 September 2020, 09:00
amazing job!!! the radar is fantastic. and i really like the SH-2 and Sea King
13 September 2020, 11:02
Moin Ingmar. Wie bekommst du auf dem letzten Bild dieses "verwaschene" Grau hin? Lackieren und dann? LG Thomas
23 March 2021, 09:14
Just found this project - fascinating work, so much attention to detail and an absolutely clean results - I really like your painting & weathering weathering too, you strike a great balance between macro & micro and a great scale impression result! 👍
- happy to jump on board mid-project 🙂
23 March 2021, 09:31
Thank you Slavo! The project has been on hold for quiet a while now. But hopefully I will get back to it very soon.
23 March 2021, 12:42
What I've seen looks fantastic. I predict that your USS New Jersey is going to be a excelent model
25 March 2021, 18:57
Das sieht alles unglaublich genial aus Ingmar. Super Bemalung und Alterung. Nur eine Kleinigkeit ist mir aufgefallen. Die untere Stiege im Bild 36 ist verkehrt angeklebt. Oder hat das einen bestimmten Grund?
9 April 2021, 20:53
Wow. What a lot of detail. How do you like the 3D printer you have? I've been thinking of getting one for creating parts and hopefully full 1/35 scale figs once I get some more Blender sculpting knowledge under my belt.
9 April 2021, 22:02
Thank you everyone!
@Stefan: Die Treppe hat es auf dem Fotor "nur" nach hinten umgebogen. Da ist schon alles richtig 😉
@Michael: I'm very happy with my Elegoo Mars. For around 250EUR it delivers very nice detail! I did a lot of modeling and sculpting in Blender the last months. Have a look at those two projects:
St. Mary's Church, Falklands April 1982 | Album by stugiii (1:350)
Lighthouse on Cliff 1/350 scale (3D printed) | Album by stugiii
18 April 2021, 16:41
Today I was able to complete the main armament. Turret No3 also needed some modifications to resemble the prototype in the 1984 time frame.
18 April 2021, 16:44
I'm curious, why are there handrails on the turrets? When would the sailors use them? How do they reach them? I'm primarily an aircraft builder, but appreciate great work. Thanks. Great attention to detail. Pleasure to see the work you do.
18 April 2021, 16:49
Hi Ed, I'm not entirely sure, but most likely they would be used to secure a sailor with a rope when doing maintenance or some paint work. You find similar rails around the whole bridge, e.g. for cleaning windows or repairing something from the outside
18 April 2021, 17:07
lade till ett nytt fotoalbum.
6 bilder
Messerschmitt Me 262 A-1a JV44 (April 1945)
1:72
Cutting the flaps to show them in lower position.
5 11 November, 13:50
äger denna artikel

Messerschmitt Bf 109E Foreign Service Aces, Pt.1 - Spain, Switzeland, Yugoslavia, Serbia Armory 1:144AR14306 (14306) 2019 Nya dekaler
12 November, 18:46
lade till ett nytt fotoalbum.
14 bilder
M4 sherman i have decided i want to make into a Normandy moc
1:35
One of my favourite quotes is from a WW2 American veteran: "Our tanks equaled five German tanks. But we always had six."...
Projekt: M4 sherman in Normandy
3 7 November, 18:10
lade till ett nytt fotoalbum.
16 bilder
Schleswig-Holstein work in progress 
1:350
Projekt: Schleswig-Holstein 1935
17 3 November, 21:15
Nice progress so far! Overall nice paintjob, but maybe try to use a little less paint on the railings. I see a lot of small paint balls forming there.
11 November, 19:49
Thanks for your interest and comments. I did something wrong with the primer when painting the railings which caused the paint balls. Also I'm not great at working with PE yet and the glue residue is often visible even if try to paint over it. All in all I still think I'm making some improvements compared to my last build. Rigging will be my greatest challenge for this build.
11 November, 20:41
Ah, ok! Well yes, your glue is visible here an there, but otherwise I find your application of PE is not bad at all! What works for me with railings is to hold them in place with one hand (and tweezers) and with the other hand apply a tiny amount of very thin super glue from a piece of thin copper wire fixed to a toothpick as handle. This will instantly wick into the gap and also instantly fix the railing in place. After that I paint over the seam with the appropriate colour and mostly end up with very nice glue joints.
12 November, 05:43
That is probably the correct way to do it Ingmar. I find it difficult to only use the thin super glue as it has zero adhesive effect until it bonds. I use super glue gel to fix one end of the railing and then use your method for the rest.
12 November, 08:55
I'm testing a grey-brown panel liner instead of the black one I used for all of my last ship. It looks good closeup but might be to subtle when you look at the whole ship. Is it a bad idea to use anything else than black panel liner even on lighter colours when doing 1:350 scale?
12 November, 09:24
Actually super glue should set / cure / stick faster the thinner it is. A gel does lengthen the setting time. I start at one side, place the railing, put a tiny bit of thin super glue at the joint and it will typically set withing 2-3 seconds. Then I move a bit further down, align the PE, put glue there and so on. What also increases the setting time is a larger gap. If the gap ist very small and the glue very thin it will usually literally set instantly.
I like my wash with a lot of contrast. On my modern US Navy builds (kind of a medium gray) I will use blue-black panel line wash from AMIG. On a lighter gray, as with the superstructure on DKM units, that might be a bit to much contrast though.
12 November, 09:47
I will try to master the thin super glue but I think the sticky property of the gel before it cures is very helpful. I can still use gel when gluing where it will not be visible at all.
Another thing I have done differently with this build is to just base paint the details and railings before I attach them to the superstructure and hulI. I will gloss coat, weather, matt coat and oil highlight the superstructure mostly built together but excluding the masts and funnels. I will do the same thing with the hull with everything added except main guns.
I noticed the super glue attacks the paint much more than when everything was already gloss and matt coated before gluing but maybe the end result will be better.
12 November, 16:28
Strange. I never have noticed my glue attacking or damaging the painted surfaces. Usually, I build my ships in sections which get painted separately before final assembly. Also, I always airbrush my railing before gluing it to the model. There will be scratches from tweezers, but for me it is much easier to make some touch-ups than to brush paint the whole railing on the ship.
12 November, 18:39
/sv/search.php?q=*&page=newsfeed&fkSECTION[]=Newsfeed
search-solr.php?lang=sv
35
35
/sv/search.php?q=*&page=newsfeed&fkSECTION[]=Newsfeed
35
todo


