Porsche 911 Carrera (993) - 1993 - Reference pics

I opened the cooling openings (green arrows) to be able to fix some realistic mesh later on. I also closed the license plate attachments (red arrows), and I used some 1/48 airplane drop tanks to serve as headlight mirrors (blue arrows).

I found tons of reference pics showing an extra 'spoiler' on top of the rear window, so I decided to add one to my model as well.

The trunk a disaster. There is no way you can make it fit, let alone that it could be made a working trunk! The top of the trunk needs to be raised (blue arrows) and the middle needs to be lowered (red arrows). I decided to fix it in closed position.

I wonder how Italeri designers joined the chassis and body of the model: there simply is no decive holding the parts together! I decided to scratch one myself, at least now the chassis doesn't need to 'float' in the body...

The headlights mirrors are also absent in the kit. Behind the covers there is simply nothing to see. This is not acceptable, so I scratched them from old Thunderbolt drop tanks. I removed the headlight washers and logo to replace them later on.

I did a firs dry fit and noticed that the rear wheels are standing too far to the front of the wheel arch, and the car is sitting too high. So I replaced the attachemnt pins (red to green) and lowered the suspension 1mm.

This is the result: the car sits ok now and the wheels are centered in the wheel arches.

The building instructions suggest that the rear bumper should be fixed to the body before putting it on the chassis, but they also suggest to leave the front bumper off the body until completion.

This is not a good idea because adapting is a must. I also had to reduce the opening for the taillights, because they didn't fit.

Now all the major body issues have been tackled (I hope), so I can start thinking about putting the body into primer...

The rims that I used in the dry fit photo's, were unfortunately enough not cleaned up before Italeri chromed them. So I had to clean them up and respray them. I chose aluminium instead of the exagerated chrome look, the same color as the rear spoiler.

The body itself was first put in grey primer and then a few small adjustments were nessecairy.

After a new thin coat of primer it looked good, so I sprayed a coat of Tamiya TS-17 gloss aluminium on the Porsche.

"Gloss aluminium" doesn't mean that the paintjob stops here: I will of course protect the paint with some clearcoat layers.

But first I will aplly the very few decals on the dried body before I start to clearcoat...

Next I applied 3 clear coats.

The polishing hasn't been done yet.

The headlight interiors have been painted silver to creat a mirror effect.

In the meantime the chassis was painted and assembled as well.

I gave the bottom a Smoke wash to accentuate the shapes.

Next I painted and assembled the interior. The dashboard received a dry brushing to enhance the depth of an all-black surface.

The same strategy was followed for the seats and the door panels. I worked with different shades of grey (not the book) and drybrushings.

Other view of the interior.

Another interior shot.

The engine would have been a nice base to to some super detailling, but since the bonnet will be closed I just built it OOB.

Dryfit of the body with the interior in place. Looks ok.

I had to adjust the black sidewalks however, because they were about 1mm too wide at both sides.

With the sidewalks shaved off, everything fits nicely.

As you can see, not a lot of engine detail remains visible with closed bonnet.

Next the panel lines were colored and the window frames were painted, and the windows were fixed to the roof.

The Porsche was fixed to a base plate so I can finish the build without touching it.

Almost finished now, just some exterior trim needs to be done.

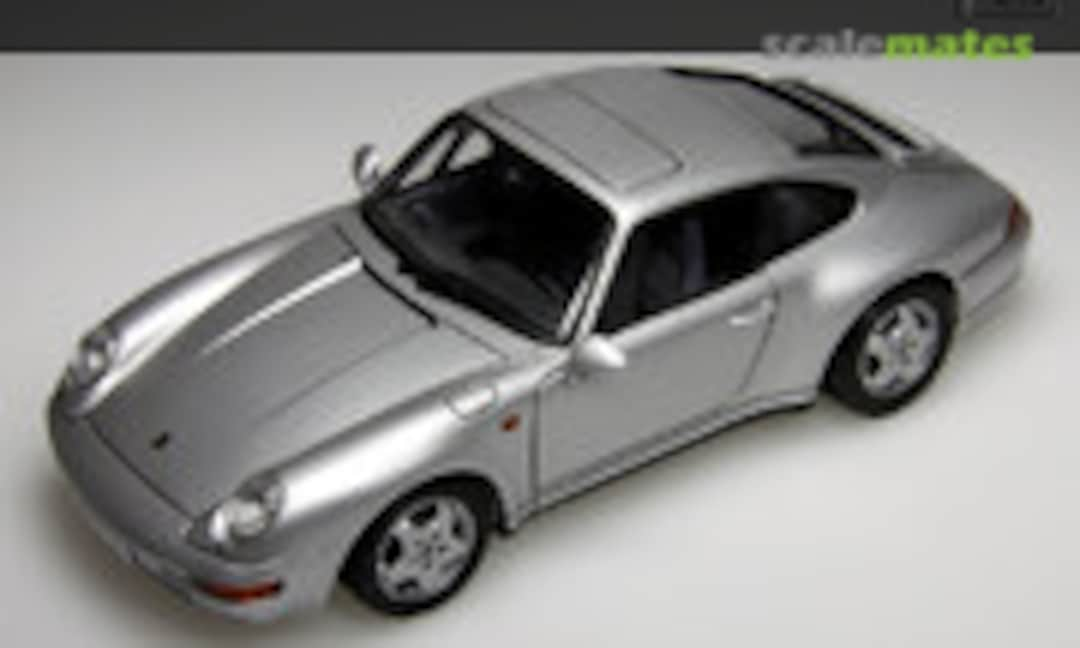
At this stage the Porsche starts to look like a real one 😉
Коментарі
1 30 September 2014, 17:22
Time to start a new project, which is part of my collection "Porsche 911's". This time I will build the Porsche 993, which is considered by many Porsche-freaks as the last real 911, since it is the last air-colled Porsche 911.
30 September 2014, 17:27
...
Yep! with you on this one Stefan, might even pick up a few tips along the way;)👍
30 September 2014, 20:27
I'm not much of a car fan...but this is interesting....count me in!
30 September 2014, 20:35
Thanks mate. But it's simple: if you want to build a 1/24 993 coupé, you can't do it without using the Italeri kit 😉
And they have one good thing (which I will have to use after tonight): they have a customer service for spare parts 😉
2 October 2014, 20:26