

Matchbox 1/72 F-16A KLu

I decided to rebuild a kit once built by one of my kids. First job: figuring out how to get rid of the thick Revell acrylic. Aceton works but is slow going…

… luckily a bath of oven cleaner worked as well with considerably less effort. Also collected the unused parts and other F-16 odds and ends from the spares bin, adding some more colors to the signature Matchbox ones.

The butchering continues. This time no old tube glue that breaks loose nicely but Revell Contacto requiring brute force. What a mess… Did not dare to further disassemble the fuselage.

Starting with restoring the carnage resulting from cutting out the wheel doors, which themselves were a total loss.

Like most of the kit detailing the rear end sucks. Airbrakes were separated to thin the edges and I opted for a better-detailed open exhaust from an unknown donor kit. Had to widen it to mate the Matchbox kit and went a bit overboard. Oops…

The canopy did not survive either. Luckily I have a forward canopy from that same unknown donor kit which I will graft on.

Putting things back together again. Installed aft part of the spine and reassembled speed brakes.

Sculpting the cockpit surround to match the replacement canopy.

So far it is working out better than anticipated. Cutting off the rear of the original canopy.

Oops, not quite a parallel cut. I will have to hide the triangular gap but luckily there is a big frame there.

Scabbing on the donor exhaust. Lot’s of filing needed of course.

Preparing the wings for reassembly

The kit wing tanks are inaccurate so I dug up spare Skyraider wing tanks that more or less fit the contours, except for the aft end. Some cutting, spreading, and filling will take care of that.

Et voila, a set of reasonable wing tanks, with fins still to be added

Started on the cockpit. Bit of a challenge with the fuselage already assembled.

Modified the kit's early prototype ejection seat to resemble an ACES seat, made side panels and consoles, and adapted the kit’s instrument panel.

Upper fuselage scribed! Really improves the too-smooth look of the Matchbox kit. Had several nasty fights with the fuselage spine seam…

Painted and installed cockpit parts. Hardly accurate but looks quite nice.

Butchering the donor tailplanes. Discovered that my subject still had early tailplanes in the eighties.

Installed the canopy parts with UV glue. Had to pinch the rear of the forward canopy to fit. Fingers crossed it will not develop cracks over time.

Scraping away at the canopy edges to improve the fit. Didn’t achieve perfection on this side…

Spicing up the empty gear bays. Lined the edge of the nose gear bay because of the damage incurred when removing the door, making the bay too narrow. Oh well…

Completed scribing the lower fuselage

Installing the main bits. Which of course require more putty…

Wing roots needed a lot of attention and I had a bad experience with AK white putty, which dries up to an almost “unsandable” rock-hard finish if not smoothed before drying…

Decided it was good enough for priming. Finished main assembly with the ventral fins. Also made a new nose gear door.

The primer coat is on, some additional work is required along the canopy's lower edge. Could not get this side as perfect as I would have liked.

First colors on the radome, wheel wells, and tailpipe

Pre-shading and marbling done

Light grey on the underside. Used mostly Humbrol paints for this build.

Underside masked, with a spot remaining where I had to repair a crack that reappeared.

The upper side next, with the medium grey…

… followed by more masking and the darker grey. Tried to offset the mask with rolls of masking tape, which worked well on the forward edge but not so well on the tail fin.

Gloss coat to prepare for decaling

I used the old matchbox decals, which where only barely usable. I augmented them with home made decals to create the tailband and brighten up the roundel colors.

For weathering I used Revell weathering powders for the first time. I went a bit overboard though and I could not remove it fully from the Matchbox decal carrier film. Duh…

Sealed by a matt coat. Always a tense moment when removing the remaining masking, with unfortunately some dust evident under the canopy.

Final detail painting of the wheel wells and sticking on the gear bits. I used CA as there was little in the way of attachment points remaining.

Installing the pylons. I intended to add sidewinder training rounds but left them off in the end as I found them spoiling the sleek looks.

Wing tanks and landing gear actuators are installed and all that’s left is reinstalling the pitot tube. Again…

And one more done!


Коментарі
22 29 May 2023, 07:33
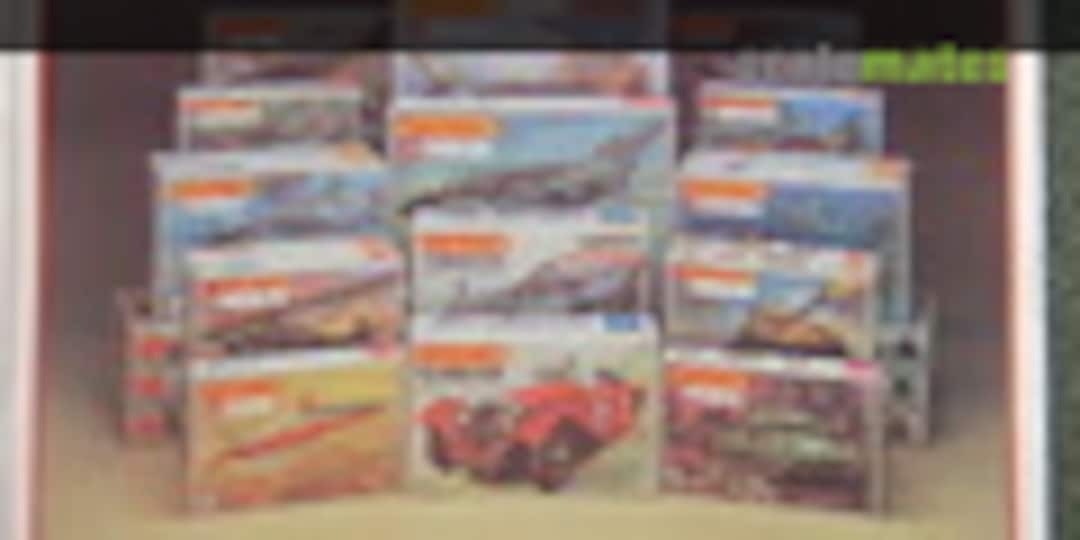
And here is my contribution to the Matchbox 50th anniversary group build. No Matchbox kit lying around in my stash so I had to dig into the storage pile to find a "suitable" candidate. Not my greatest build ever but still a nice one. I really like the challenge to revive old kits. It requires inventiveness and lots of old-fashioned elbow grease to make something out of them again and it is great practice to improve your modeling skills. Thanks for watching!
29 May 2023, 07:53
Hell of a show. What about the competition? Nice to see that it flies in Frysian colours by the way.
29 May 2023, 11:50
Project info


Group Build
Matchbox 50th anniversary group build
1. Квітень 2022 до 31. Грудень 2023
1. Квітень 2022 до 31. Грудень 2023