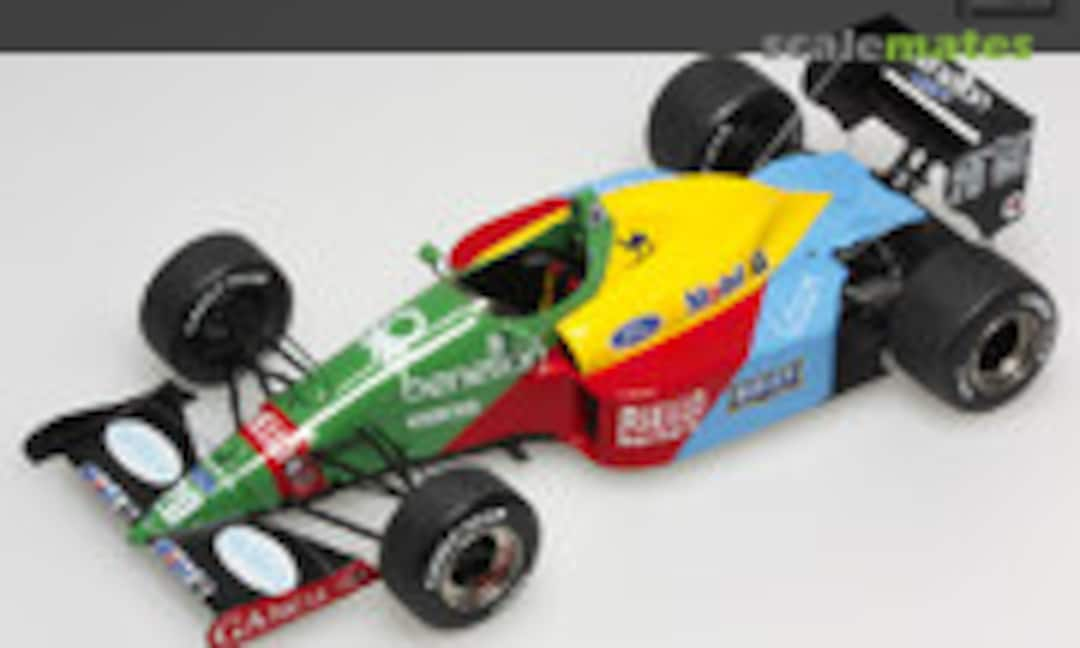
Benetton B188 Ford - GP Great Britain 1988 - WIP

In the Starter kit are decals for the yellow, red and blue areas. All you gotta do is spray the green. But because the kit is almost 30 years old I'm not sure about the decal quality. So I chose to buy a Zero Paints set, specially made for this purpose.

Step 1: I cleaned up the resin body, and I fixed the white metal front wings and photo-etched endplates. I chose this method because it was a hell of a job to line up the front wings symmetrically, which would be nearly impossible with a finished body.

Next I put the body in white primer, enabling me to spray the first colour (yellow) without any concern over the white base.

Step 2: I apply the yellow coat without masking the body. Of course I will have to mask the yellow area once the paint is dry, to be able to spray the next clour (red).

To be honest I have to say that this is the 2nd time I do this job, because I wasn't satidfied with the result the first time. I'll wait longer before I mask off the sprayed area's this time, because that is what went wrong last time.

Step 3: I mask the yellow part of body with BMF at the borders, which I fill up with Maskol (liquid masking film). Next I spray the red areas.

I didn't take a picture at every colour stage of this proces, but I guess you get the idea...

So after repeating the proces five times (once for every colour + black front wing) this is what you get. Not 100% perfect, but at least a lot better than the first time, and the result always beats using the decals.

So what you see here is the result of only using paint + airbrush, no decal was applied here, although Starter did include the colours red, yellow and blue in the decal sheet.

This is the decal sheet I am talking about. It looks quite allright, but since the kit is almost 30 years old, and since no decal can beat the airbrush, I decided not to use it (except for the smaller sponsor decals of course).

The rear spoiler is made of photo-etched parts, as usual in this scale. But how can you fix these parts in a symmetrical and perpendicular way?

I always use calipers for this job. I apply some masking tape to the ends, with the sticky side outwards. Then I put the end plates between the calipers and I open them, enabling to slide the horizontal wing parts between the end plates in a perfect way.

Now all what's left to do is to apply some superglue between the joints and the spoiler is ready, symmetrical and perpendicular 😉

In the meantime I applied a first clearcoat to the body.

This coat is only there to make it easier to apply the decals without 'silvering' effect.

Once the clearcoat is dry (about 48 hours later) I start to apply the decals.

To make sure that the old decals don't 'desintegrate' once put in water, I apply a coat of 'Liquid DeCal Film' by Microscale to the decals sheet.
评论
6 July 2016, 17:19


