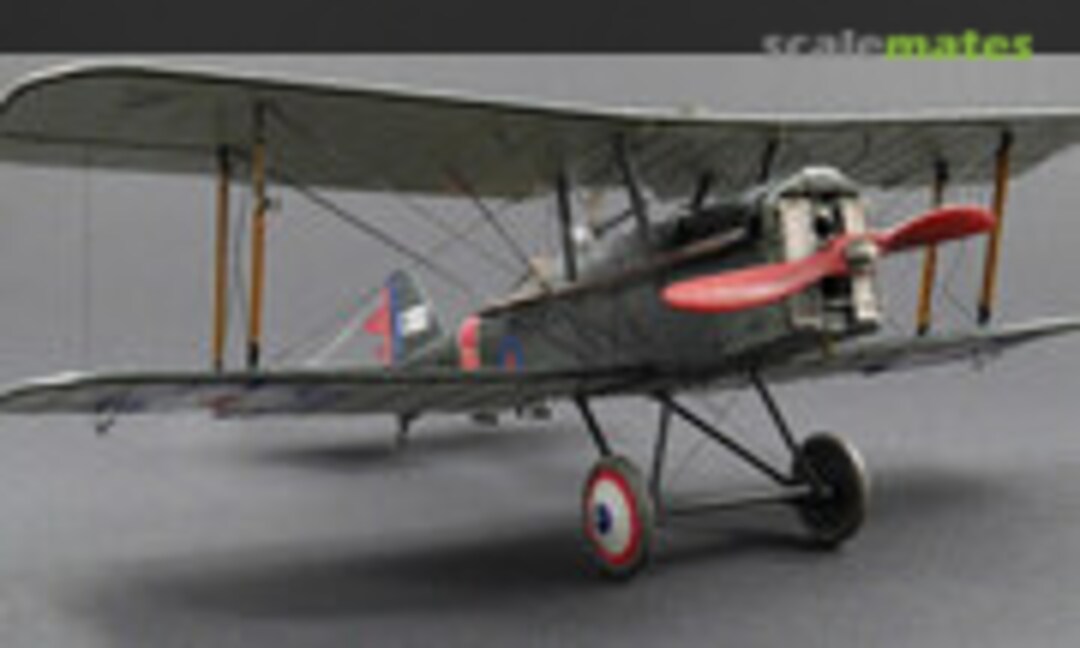
Work on the SE.5a Nightfighter

Kit parts


Shutters added

Final radiator.


Finished engine.


Mounted for test run in machine vice.

Holt flares are part of the Royal kit.

Flares itself made from stretched black sprue.

collet as holder

More holding PE ..

6 flares done, with damn little wing nuts!


Nice tail skid.

Plugged into fuselage.

For closing of small slots I use the kit part and remove the upper half. Will be replaced by PE.

Wood panting and clear part.

The clear part is wavily, but this is correct!

This I don't like: a raised line for a cover.

Replaced by thin PS.

Primed white and masked, darkend.

Linen color painted.

Kit wheels

Brassin wheels looks much better, but not part of Royal kit 🙁

Now prepared for masking an painting.

There a options for the bonnet, but "my" needs is crosswise.

Also the front needs extra work due to the other radiator.


Wood painting of struts.

Struts are prepared.


Now some masking

Masked the line color to airbrush the leading edge in green too. The white mask is Tamiya curved tape.

All holes masked.

Primed and metal colors.


Exhaust is a not that easy variant ...

Black primed, Gunze H453, Alclad exhaust manifold

Pipes replaced with glowed Nickel silver pipes.

New telescopic sight, because I used the kit one for Bristol fighter. Stretched sprue and brass.

All the add ons mounted.

The outlets was opened a bit more.

Terminals for the rigging with that flat EZ-line.

Rigging started.

Added brass to improve strength of the axles.

28 ropes are done.

Also the tail needs some wires.

And a detail of the rigging.


评论
2 29 September 2018, 17:36
Welcome! Only a very small update - six "Holt flares" landing lights for the Night fighter.
2 October 2018, 14:38
Amazing so far. Could you write something about wood that you use for the propeler?
4 October 2018, 06:46
Thank you mates! Yes, it is a great kit. But the amount of tiny parts is unusual high.
6 October 2018, 15:24
Only a small update - inspection windows are handled in an early state.
6 October 2018, 20:29
wow! the underside of the lower wings 👍 After soldering in micromania manner now stitching? 🙂
22 October 2018, 17:51
Thx! The kudos about stitching are going to Eduard, comes with the kit for free 🙂
22 October 2018, 18:31
Thank you mates! The props are a relaxing part of the build, I like to work with wood.
23 October 2018, 20:22
Thx! ... and that is a oob build! 🙂 But this kit is somehow complex due to big amount of parts, at least together with the optional sets.
24 October 2018, 14:25
It's getting to the point where I can only look at bughunter's builds through a mirror... I'm afraid they might turn me to stone...
24 October 2018, 14:55
That is looking so good. Have this one on the shelf. Wow - a lot of detail packed in to this littlekit. Takes a master to bring it out.
24 October 2018, 20:42
As always, great work, every your project is another valuable lesson and inspiration for me. Thank you.
4 November 2018, 19:14
Wish i' have a third of your Pe and rigging skills... Fabulous FRank 👍
4 November 2018, 21:59
Truly remarkable craftsmanship. Can you provide some narrative on picture 68, i.e. the purpose of the white paper strip?
6 November 2018, 02:38
Wow... a series of gurgling noises is about the best I can manage... unbelievably believable.
6 November 2018, 03:41
Alec, that is no paper 🙂 It is the "Tamiya masking tape for curves". It is some kind of white PVC to be able to be stretched around curves, available in 3 sizes.
Greg, you find always so nice words 👍
6 November 2018, 18:49
Awesome work. Very helpful and inspiring to watch the "work in progress" 👍
6 November 2018, 21:23
Thank you mates! I added the last WIP pictures, this dark beast is finished.
11 November 2018, 20:49
Thank you mates! And don't miss the gallery of the finished model, attached to the project.
12 November 2018, 19:44
Album info
Started 2017, but long time inactive