Russian T-50 Infantry Tank
HobbyBoss | No. 83827 | 1:35

Facts
- Brand:
- HobbyBoss
- Title:
- Russian T-50 Infantry Tank
- Number:
- 83827
- Scale:
- 1:35
- Type:
- Full kit
- Released:
- 2015 New tool
- Barcode:
- 6939319238276 (EAN)
- Topic:
- T-50 » Tanks (Vehicles)
Box contents
Dimensions:
300x220x50 mm
(11.8x8.7x2 inch)
Weight:
370 g (0.82 lbs)
Boxart designed by Vincent Wai
Product timeline
Full history »Marketplace
Online shops

USD 31.66

USD 40.09

USD 46.99

USD 42.08

€ 30.84

zł 98.67
Show all offers » (12 in total)
Alternative SKUs for HobbyBoss 83827:
HB83827 | HBB83827 | HBB-83827 | HBS83827 | 6939319238276
Note: Prices and availability are indications only. Also check if the product actually matches!
Related products
All related products » (9 in total)
In-box reviews
External reviews
Advertisement
 Review ArmourMaster
All reviews » (5 in total)
Magazines
Comments
Not a ton of parts but a very tricky - and frustrating - build. The drive sprocket was too narrow for the tracks. I was able to pry both apart a bit after I had completed them and press the individual track links onto the teeth as the cement on the track links slowly dried. I didn't dare pull the sprockets out afterward since I figured I wouldn't have much chance placing them back in exactly as I had them. I glued them in at that point and painted them attached to the completed tracks (not my preferred method). Speaking of which, the individual track links were a pain! I get the realism point of view, but gluing tiny guide teeth onto each tiny track link is not very fun - and this is a hobby we do for fun, right? I glued them on while the track links were still on the runners to make it easier to handle and then I removed the links a day later. The rest of the build was relatively quick as there wasn't much on the exterior of this tank. However, there were two other issues that bogged things down. The first was the PE grill covers. They are too short. There was no way I was going to use the injection molded ones as they were solid. Using them as a form, I bent the PE. No matter how much I fiddled with them, either the front or the rear was going to come up short. I chose the front and glued a small piece of styrene to the front of the grills so they extended to the opening. About 2mm so not that noticeable. Make sure to paint the inside of the tank or the tan plastic is sure to be seen. The second issue was the string of bolts next to the turret mantlet. This part is a thin piece of plastic that is supposed to be bent around a previously attached piece in an almost half moon shape. Two are needed and four are provided. Lucky! The plastic was thin so I thought maybe it might be pliable enough to easily bend. Snap! Almost an instant break. Very brittle plastic. I applied a lot of cement to the back hoping to soften it. Nope. I boiled it in water for a long time. Nope. I held it over a burner with tweezers and just when nothing seemed to be happening, it curled. To the left. But it bent! Anyway, I ended up using all four pieces, all four snapped, all four curled from the heat, but I was able to salvage enough from the burner experiment that I was able to secure the strips onto the mantlet sides. Using some putty, I make it look good enough. The rivets aren't parallel to the ones on the other side since I kind of had to Frankenstein's Monster them together, but it's not really noticeable. Maybe a hair dryer might have worked better. Anyway, other than those issues - and make no mistake - they are pretty major, the kit looks good when finished. It looks like a mini T-34. This is my last Hobby Boss kit for a while having built a ton of their Soviet tanks in a row starting with their T-18. I'd have to say this was the most frustrating one. Honestly, while all the others had some issues, I'd recommend any of them. Not so with this one. I do not recommend this kit. Lots of frustration. It's certainly not for the beginner. Mine came out looking very nice, but it wasn't a fun build. For completists only!
24 November 2019, 03:07
Projects
3 images
Zvezda Lavochkin la-5F (kitbash La-5 and La-5FN)
1:35
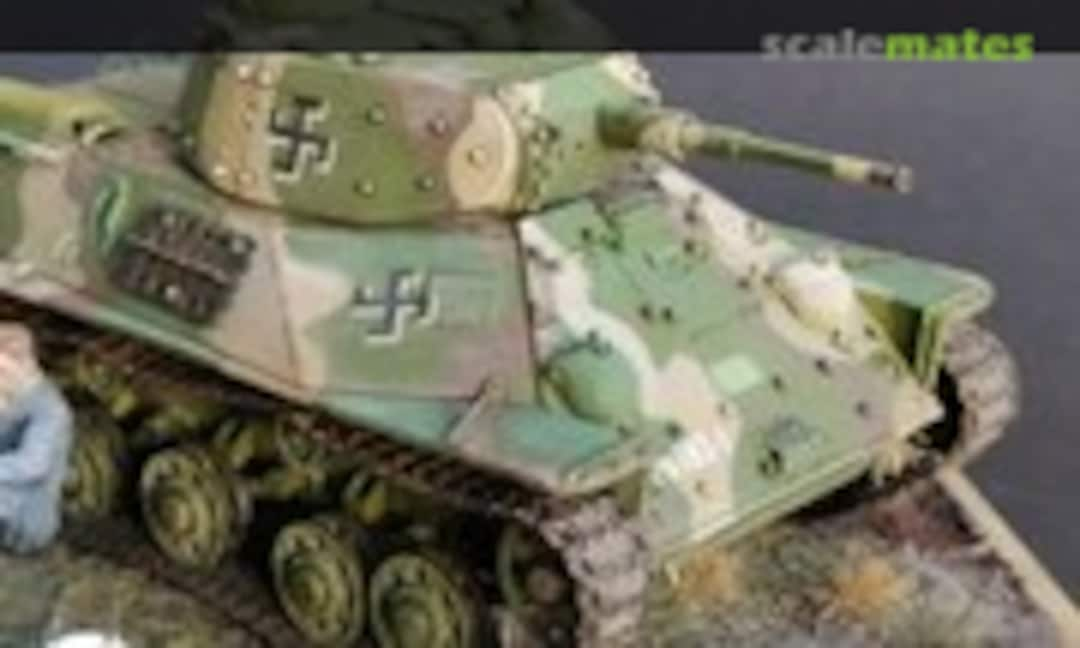
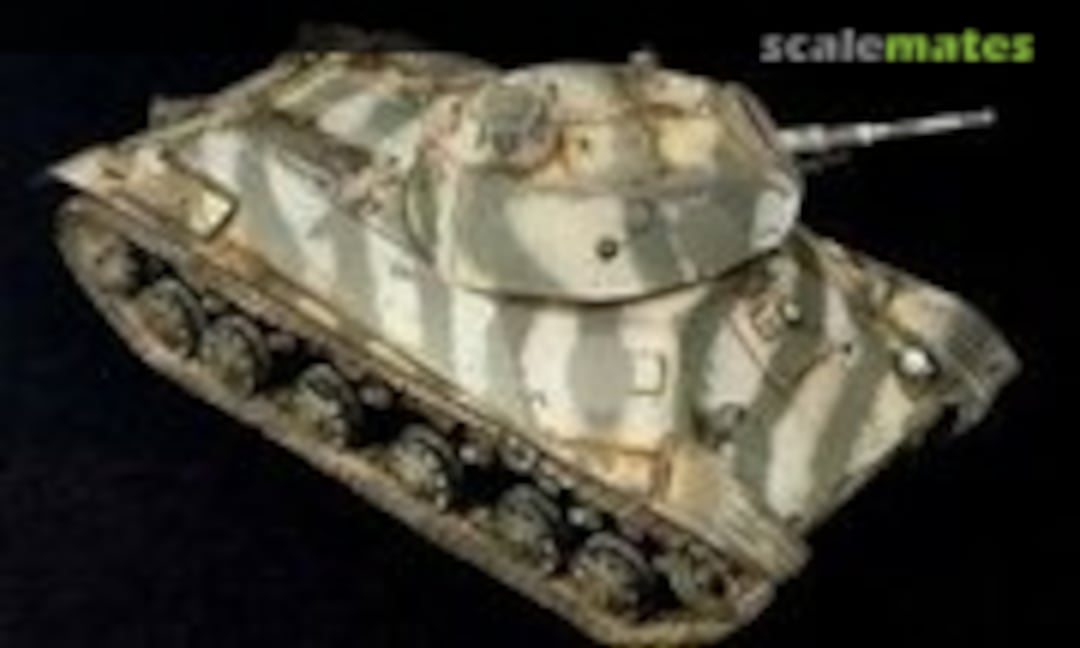
Project: Hobbyboss Russian T-50 infantry tank
All projects » (6 in total)
Gallery
Reference material
All walkarounds » (3 in total)


