
Newsfeed-
")
")
a adăugat un nou photoalbum.


80 26 February, 14:43
Been cooking up this idea since I got the 1/72 RF-8. My original plan was to build the plane in the cover of the Osprey RF-8 book, flown by Lt Andre Coltrin over Vietnam. With a little help from a 1/72 version of the Furball MiG Master sheet, I will rearrange the nose and tail numbers to make BuNo 146871 as it flew in Vietnam during its 1966 cruise off the USS Oriskany.
I also found an Academy F-8E, which has decals for a VF-111 jet that flew on the same cruise, so decided I will build it as the RF-8's escort, which they often had during their photo runs. I also figured, why not build them together? They will be displayed in flight.
26 February, 22:47
Good to have you gents, looking to start this one soon! I like researching and adding reference photos, so I just added some in the meantime.
29 March, 13:32
Normally I don't follow 1:72 scale models...for this one I'll make an exception...😅😉, grab myself a seat here! Love those Crusaders...
23 April, 12:53
Got intrigued by Rando's comment on Jos' build, so I popped over here. Looks like a very interesting build as well!
23 April, 13:10
Happy to have you gents here, I'll be getting to this one just as soon as my elaborate P-51 build is done...
24 April, 14:14
Here we go, double Crusader build. Gonna be comparing the short-run Sword RF-8 with Academy's F-8, which has been the go-to in 1/72. I have extra Academy kits so I'm swapping out the RF-8 kit's nice resin seat, I'll use it for a future open canopy build. The pilots will be obscuring seat detail in a closed canopy anyway.
15 May, 03:54
Welcome David!
I assembled the PJ pilots and started nipping off parts to assemble the fuselage. Getting the pilots to fit in their seats is tricky so far. Fit on the Academy kit parts is pretty nice. Sword kit is not as easy since there's no locator pins but they align well
19 May, 04:25
Pilots are fully painted now. The F-8E pilot is based on Dick Schaffert, who was a pilot on this 1966 cruise. While I don't know of any specific plane he flew, F-8 pilots often flew jets that were assigned to others, so he's flying 149180 on this escort mission. In order to accommodate them, I had to remove the rudder pedals and front of the cockpit tub on the F-8E. It won't really be visible when the cockpit is buttoned up anyway.
27 May, 14:17
I didn't like how the Sundowner helmet turned out so I stripped the paint and airbrushed it this time with tiny wedges of tape, then shaped and touched up everything. Just need to add a black stripe for the visor groove.
29 May, 03:49
Thanks and glad to have you J35J! Pilots, seats, ejection handles, and joysticks are all in place. Time soon to start putting the jets together.
31 May, 04:40
Hello Guy, welcome 😊
Fuselages are together. Now getting all the panels and gear bay doors to sit flush.
8 June, 04:20
Thanks Calvin! It's quite nice if you remember it's a short run kit and you prep and test fit parts a lot before gluing anything. Has been a far from perfect first effort by me but I like how it goes together. It's shape is pretty accurate too. The Academy kit is very plug-n-play in comparison
8 June, 19:52
Welcome S M! I have been painstakingly installing the gear doors closed. Stuffing blutack in the wheel wells helps with frustration. Both F-8s have tiny aft gear doors on the main bays that took a lot of time to line up. The RF-8's nose doors were also very tricky. Happy to say I'm done getting the gear doors on.
22 June, 04:14
Me too - Bonanza gear struts. God bless Albion Alloys. Great stuff if you've not used any of their items.
23 June, 19:39
I have not but am always looking to add new things in this hobby, I'll check them out! I actually have an old Minicraft 1/48 Bonanza that I might do something with one of these days.
23 June, 20:49
Took a big long tour on the clear parts struggle bus this past week. Got glue smudges on a camera window, the windscreen, and canopy on the RF-8, which all had to be buffed out. Hopefully I get the canopies attached snug without issues tomorrow night. Finding that carefully lining the attachment point with Revell Contacta on a toothpick is less risky than TET.
28 June, 03:57
Like the planes. Like to see them in flighr. Like the effort you put in.
Feel you when putting pilots properly in and closing wheel well doors.
Anxious for the paint job.
1 July, 04:07
Thanks all, getting closer to painting. A ton of work has gone into smooth out and scribe the lines around the gear bays on both jets, not to mention persistent seams. Also turned my attention to sanding down and rescribing the fictitious bumps on the folding joints, which the RF-8 has as well. The RF-8 also has wedge-shaped plates on the droops, which were only present much later, so those were sanded down as well. There's still a few things I want to try to perfect before I begin painting. I also have to decide if I want to paint the wings separately, in all likelihood I'm going to glue them on first because I want the fuselage section to be flush.
21 July, 02:23
Alright, wings are on. I feel like this will make masking more complicated, but better for making sure they conform to the fuselage. I am so ready to paint these jets
8 August, 03:55
I missed this one, following. I love these side by side builds.
Great progress so far. 👍
9 August, 05:14
Hi friends three months later I'm finally painting the damn things. Here's my current take on preshading, blackbasing, what have you. Gave the white areas a white base that I preshaded with dark gull grey. Then mottled the black with white for some variation with the light gull grey. Elsewhere I built the missiles, launch rails, and painting the horizontal stabs.
16 August, 04:18
Coming along nicely! Your blackbasing tedhnique looks very effective, I am curious how they will turn out!
16 August, 05:04
I've painted the undersides of the CVW-16 birds. Unfortunately I did something stupid, something I even decided against at first--I tried doing a "pour" into the intakes to get them painted. This was a bad idea for the RF-8 in particular. I thought that since they were glued together I could get away with no leaks, but I saw the paint level draining, and I knew the paint would appear inside the camera windows. Lo and behold I saw paint when I peeked under the masks.
Feels horrible that I did this, even if I have some ways I could fix them. I can pop the side windows out and clean the bottom side windows, but putting them back in will be a pain since the side windows are meant to be attached from the inside. UGH. Any clever ideas to fix this mess are welcome, this is definitely one of those "mojo killers."
19 August, 15:30
Think I fixed the windows. The bottom windows will still be a little smudgy. But I was able to get the sides back in by gluing a toothpick to the mask and rotating it from the inside, then seating it on the frame.
20 August, 04:12
After fussing with the white for what seemed like forever, I finally masked to paint the gull grey. Unfortunately this revealed a ghost seam on the spine, so on the plastic putty goes. Hopefully it goes away.
30 August, 05:14
Fortunately I was able to defeat them with putty and paint! It's just crazy they'd show up after working on all the seams and surfaces for the past few months. I also removed the ECM blister from the VF-111 jet's tail, since reference photos and instructions showed they didn't have them at the time.
30 August, 22:50
Fussing a lot with the color of the nose tip. Also very difficult to mask off. Lots of touching up needed. The tip seems either a tan or greyish hue, but I have no photos to base it on.
5 September, 16:51
Thanks guys! Cleaned up the paint edges on the nose and feel a lot better about how it looks now. Also painted an anti-glare area in front of the camera fairing. Just gotta paint the tailpipes and it's on to clear coat and decals!
6 September, 12:06
They look really great! I have to say, the F-8 is one fine looking aircraft and your models definitely do them justice. I cannot wait to see them with decals! About ghost seams, I have seen them appearing on my models weeks after they are finished. I guess it's the cement seam cracking a little bit because of tensions in the plastic, but I have long since stopped worrying about it.
9 September, 05:05
Thanks Thomas! I appreciate that, I'm super anxious to start the decals myself, going to be the most rewarding part of the whole project. Still had some touchups and wanted to paint the leading edges of the flight surfaces with flat aluminum to represent Coroguard. Clear coats go on *I hope* tonight.
Gotta say, building two planes at once sure is a different kind of challenge and test of your patience. It's fortunate that they are mostly the same, but it's still time consuming to do everything twice. I spent at least an hour masking off the leading edges and it took all of five minutes to paint! Probably won't be doing a double build again for quite awhile.
9 September, 13:08
One side of the decals mostly done. Buncha stencils to do also. I'm super paranoid about breaking the ventral fins so I stood them up on wads of blutack which works pretty well.
11 September, 04:16
")
")
")
a adăugat un nou photoalbum.
4 imagini
1:72 Hobbycraft CC-142 Dash 8-100 CFB Lahr 1987-1991
1:72
What I expected...


Proiect: CC-142 Dash 8-100 CFB Lahr 1987-1991


15 September, 18:24
")
")
a adăugat un nou photoalbum.
4 imagini
Panzerjäger der Bundeswehr
1:35
The KaJaPa from „Das Werk“. Nice kit.


Proiect: VT 1-2: The StuG for the Eighties


6 11 July 2022, 18:37
")
")
")
a adăugat un nou photoalbum.


27 25 August, 10:13
These four pictures begin a project that should result in one of the largest models I have ever attempted. Not the biggest - the 1:32 Liberator holds my record here - but close!
However, the impressively large box contains surprisingly little and, also surprisingly, large components such as the fuselage, wings and tailplane are already assembled. Incidentally, these are made of fibreglass and require their own treatment.
These parts are also stable and clean. A bit of filling was required, as the traces of glue and filler on the seams are very rough and show air pockets. This will now be sanded, the cockpit sawn out and the windows drilled - well, modelling a little differently than usual! 🙂
25 August, 10:20
The panel lines look ok I guess. I mean, I would be happy with those panel lines.
25 August, 11:26
Like it , nice project.
I'm working on the Beriev Be-6 Armoured Flying boat,
Revisiting a kit after 33yrs.
All the best with yours...😃👍👍
25 August, 11:52
A true behemoth it is. I will surely follow this build with utmost interest!
25 August, 13:15
Looking forward to seeing this take shape. 🙂
I believe the last Mars had it's final flight two weeks ago.
Youtube Video
Youtube Video
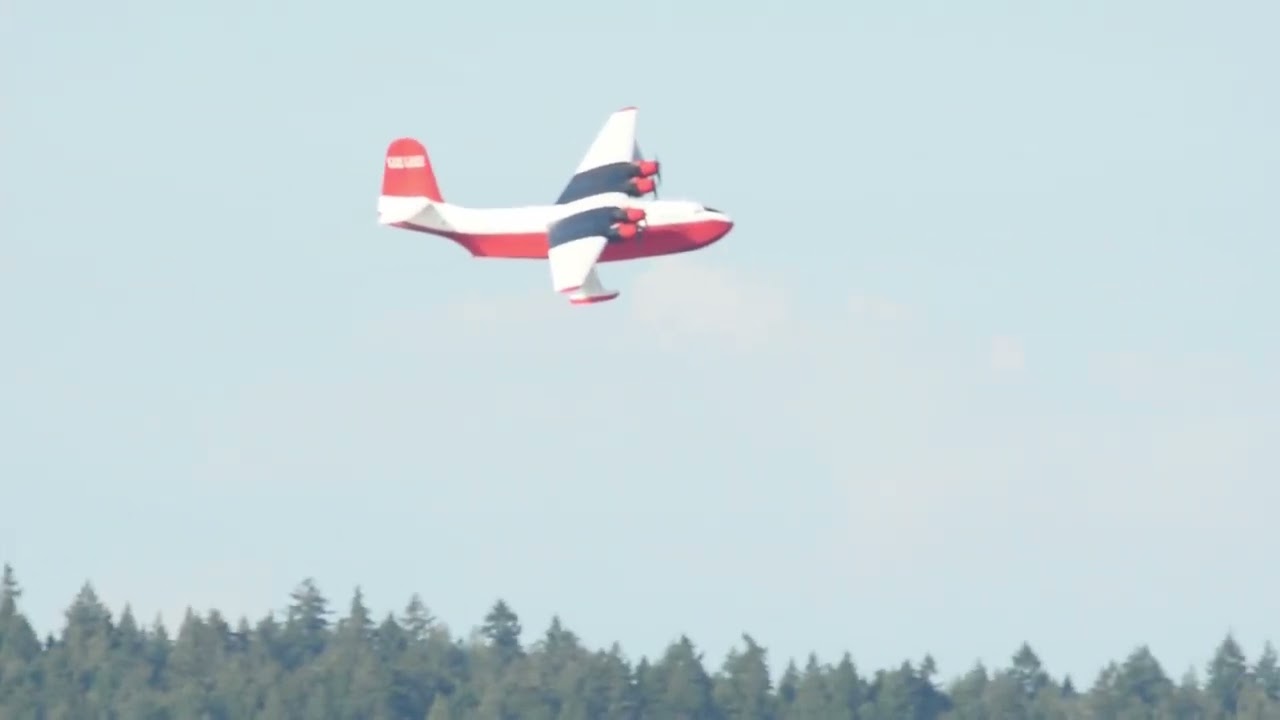
25 August, 13:22
I am very happy about all your interest! In fact, I also started this project because of its topicality; the pictures of the last flight of Hawai Mars are always a heart-warming pleasure; this one in particular, thanks Gorby for posting it!
Today I drilled the openings for the windows in the fuselage; I determined the diameter of the holes from kit glass parts. They seem a bit big to me, but we'll see. As I'm not going to use the clear parts from the kit, but want to make them with Klearfix, I could reduce the diameter quite a bit.
The next steps will be to finish sanding the fuselage seams - now only the top side has to be done - and then to glue the wings and stabilisers to the fuselage. To do this, I'm cutting solid steel rods to length, which I'll glue in place with a two-component adhesive.
The Mars should be ready by mid-October: I want to take it to the Euromodel in Ried, Upper Austria.
And yes, In fact, the more or less finished Fairchild F.91 had to serve as a scale model in the background! 🙂
25 August, 14:11
Du bist echt eine Bau-Maschine, Roland! Und immer kommt etwas sehr schönes raus! 👍
25 August, 14:26
The construction of Mars is progressing: I'll show you a few construction steps in a little 'time lapse'. Attaching the wings and tailplane with 2k glue worked well; the materials could be sanded smooth and fine afterwards. However, the brittleness of the fibreglass caused some difficulties; parts kept splintering off and had to be filled, sanded and re-engraved. As I always do the whole thing standing up, wearing a mask and under running water, this always turns into an almost athletic exercise 🙂 But now it seems to be over and the Mars is ready for its first encounter with colour... I took the two crew members under the cockpit canopy to make the proportions clear and to keep my options open for presenting the finished aircraft - who knows, maybe it will take off or fly?
29 August, 07:38
It's a bit of a monster! 😮
Doesn't look like an easy build but you seem to be beating it into shape. 🙂
29 August, 08:57
Wow... an unusual and gigant model... It seems like fiberglass is difficult to handle.
Great job so far, Roland!
29 August, 19:49
Thank you very much for your motivating feedback and your interest, mates!
30 August, 10:50
I have to follow that behemoth 👍 I don't think I'll ever find enough space to build one myself 😄
30 August, 11:00
My goodness, your models are just getting bigger and bigger! I cannot wait to see it finished!
30 August, 12:04
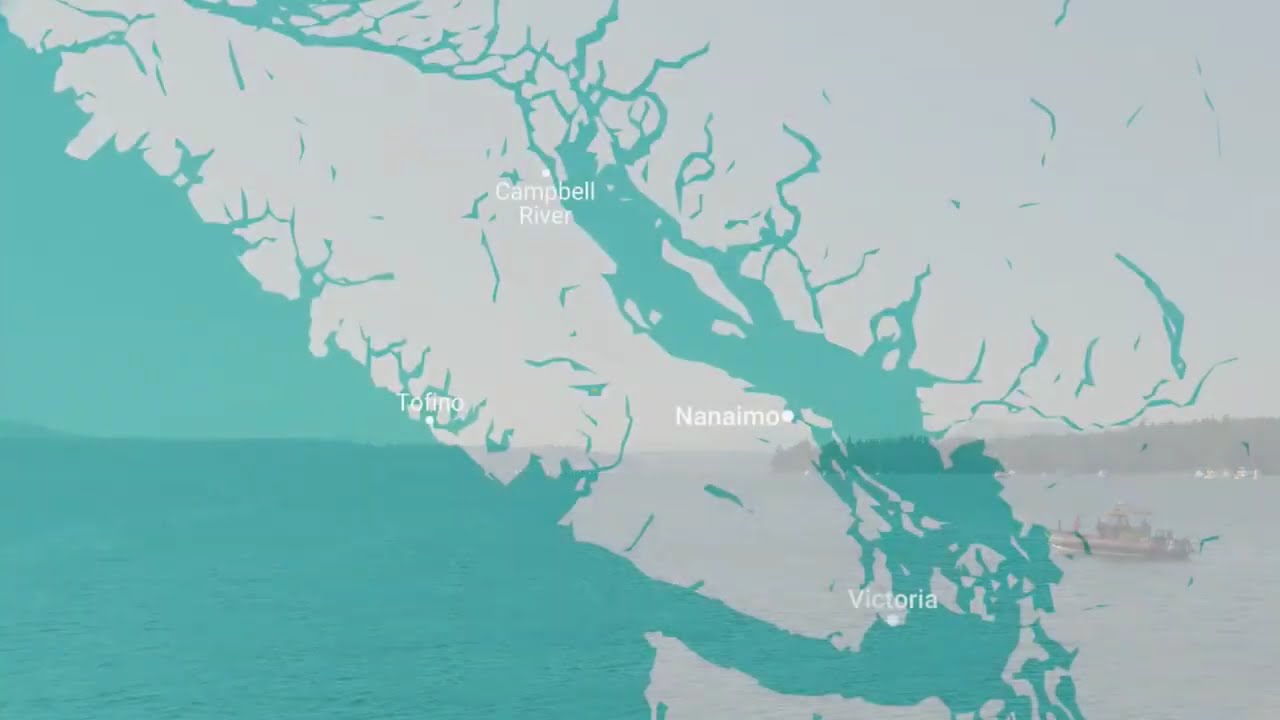
Following as well. Just saw its retirement flyby and landing in Pat Bay, Its Huge.
31 August, 13:19
Fortunately, the Martin Mars has reached the stage where the colouring and surface design will be the main thing; so far I've been 'plugging holes' again and again: the fibreglass surface proves to be quite brittle, damage is difficult to putty, and when re-engraving the lost panel lines it quickly happens that it cracks again under the carefully guided scalpel blade - and a new hole has already appeared. The new pictures show a few such construction sites, for example at the bow under the cockpit glazing or on the back of the fuselage between the wings.
But, all in all, in retrospect it's all half as bad, now I'm looking forward to the paintwork!
Thank you, mates, for your interest and feedback! Ray, I would have liked to have experienced that too!
15 September, 18:24
Roland, I was unaware of these problems with fiberglass and it is a shame that these kits are so expensive considering the quality of these materials. I think the worst is over. You can feel proud of the work done so far. The effort was worth it. Go on!
15 September, 18:31
Those are encouraging responses, yes, Cuajete, I think so too. Thank you both for your interest and comments!
15 September, 18:33
")
")
")
")
vrea acest articol
")
Ah-6F/J Attack Version Conversion and weapon set
CMK (Czech Master Kits) 1:48
4276 15 September, 18:32
vrea acest articol
")
1977 Pontiac Firebird Trans Am Special Edition
Rays Kits Decals (Rays Decals) 1:25
RKD246 2023 Instrumentul nou 15 September, 18:32
")
vrea acest articol
")
1971 Chevrolet Chevelle "Heavy Chevy"
Rays Kits Decals (Rays Decals) 1:25
RKD808 2024 Instrumentul nou 15 September, 18:31
")
")
vrea acest articol
")
MD 500F extended vacuformed canopy
AVM Scale Models 1:48
15 September, 18:31
")
")
")
a adăugat un nou photoalbum.


16 15 September, 09:45
Well done pretty model! Shows how extremely detailed kit this is for this scale 👍👍👍
15 September, 15:30
I heard this kit is extremely detailed, but you made it look even more realistic 👍
15 September, 18:29
")
vrea acest articol
")
MH-6E/J Little Bird - Conversion set for Academy
CMK (Czech Master Kits) 1:48
4275 2012 Instrumentul nou 15 September, 18:29
")
")
a adăugat un nou photoalbum.
22 imagini
1968 Camaro Z/28
1:25
Calling it done


Proiect: '68 Chevrolet Camaro Z/28

4 21 August, 20:17
")
/ro/search.php?q=*&page=newsfeed&fkSECTION[]=Newsfeed
search-solr.php?lang=ro
35
35
/ro/search.php?q=*&page=newsfeed&fkSECTION[]=Newsfeed
35
todo